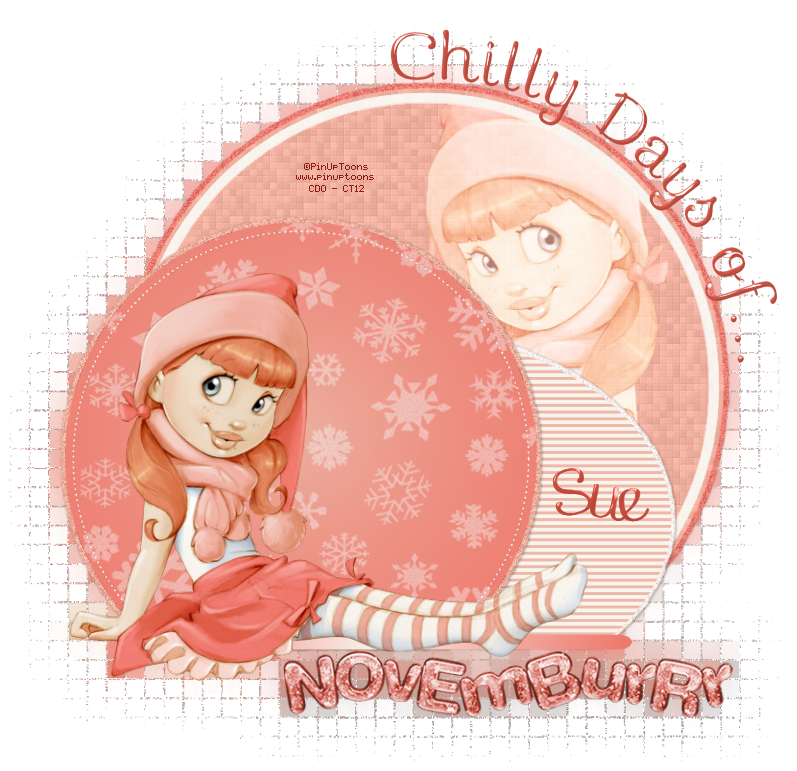
This tutorial was written by me and for those
who have a good working knowledge of psp.
Supplies Needed
Tube
Artwork by ©PinUpToons at CDO.
Filters
Eye Candy 5 - Impact - Gradient Glow
and/or any other filters of choice
...........................................................
Okay, let's get started
Remember to save often!!!
Open template and shift D
Close original and re-size canvas to 800 x 800
Crop after tag is done
Unhide and fill bg layer in with white
Delete top 10 layers except the Novemburrr blue layer
So from info layer down to w/a shadow layer except the Novemburrr blue layer
Delete white square layer as well
So from info layer down to w/a shadow layer except the Novemburrr blue layer
Delete white square layer as well
There are a few basic steps for this template that are repetitive.
1. Select layer
2. Float
3. Add new layer
4. Fill with color of choice
5. Apply filter of choice
6. Apply gradient glow and noise at 30 to original layer
Go HERE if you aren't familiar on my way of adding gradient glow using EC 5 Impact
Go HERE if you aren't familiar on my way of adding gradient glow using EC 5 Impact
We are going to start at the bottom layer (in layers pallet)
and work our way up the template following the steps above.Use my tag as guide if needed
large blue circle - #f1b1a1 + fritillary (7,30,10,10)
Paste mirrored close up tube and crop
Change blend mode to multiply at 26% opacity
Duplicate tube and change blend mode to screen at 100% opacity
Paste mirrored close up tube and crop
Change blend mode to multiply at 26% opacity
Duplicate tube and change blend mode to screen at 100% opacity
white circle - #f9f4ee
Close all layers besides tubes, circle, circle gradient glow layer, and cream colored inner circle
Merge visible and move up and right to where you like it
Open all layers back up
blue oval - #f9f4ee + scanlines (6,3,-255,0,0 #f3c3b7)
small blue circle - #ed887b + #eca697 gradient
snowflakes - opacity to 40
dotted circle - #f9f4ee
blue strip - same gradient as above
novemburrr blue - colorize to match + move to bottom right-ish area
Paste tube and place where you like
Once you get that done now copy merge
Paste as new layer at the bottom above white bg
Gaussian blur - 7
Texture Effect - Mosaic Antique - Default
Circle preset shape
Draw out an circle larger than your circle layer
Add new layer
Type out text on curve
Convert to raster
Delete circle layer
Add bevel of choice and gel effect if desired
Add name
In layers pallet click text arrow
Right click name
Convert text to curves - As character shapes
Click arrow
Now select each letter of your name and move right or left and up and down
Any way you like
Apply bevel and gel effect if desired
In layers pallet click text arrow
Right click name
Convert text to curves - As character shapes
Click arrow
Now select each letter of your name and move right or left and up and down
Any way you like
Apply bevel and gel effect if desired
Close bg layer
Add drop shadow to layers
Add copyright info
Crop and Save
Add copyright info
Crop and Save


No comments:
Post a Comment