Showing posts with label Misticheskaya. Show all posts

Saturday, September 27, 2014

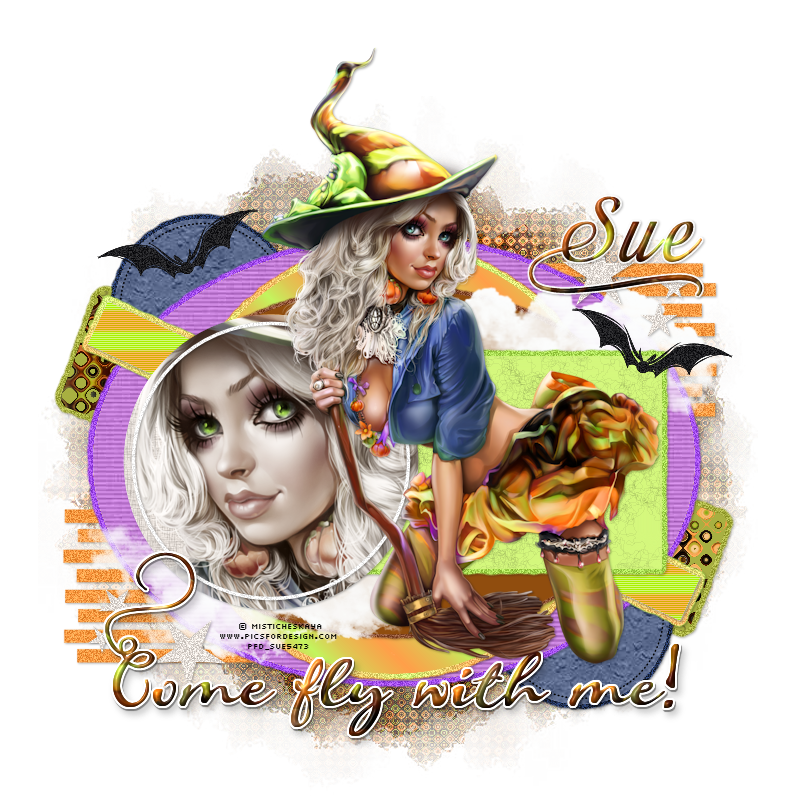
Come Fly With Me


 photo comeflywithme.png


This tutorial was written by me and for those
who have a good working knowledge of psp.

Supplies Needed


Tube
Artwork by by ©Misticheskaya at PFD

Template

Font
Almibar Swash 1

Filters
Eye Candy 5 - Impact - Gradient Glow
Filters Unlimited (FU)- Paper Textures
Dsb Flux - Bubbles
Richard Rosenman - Scanlines
and/or any other filters of choice


Mask

 Big Mask 001 by Vix


...........................................................


Okay, let's get started
Remember to save often!!!

Open template and shift D
Close original and re-size canvas to 800 x 800
Crop after tag is done
Unhide and fill bg layer in with white

Delete info layer 

There are a few basic steps for this template that are repetitive.
1. Select layer
2. Float
3. Add new layer
4. Fill with color of choice
5. Apply filter of choice
6. Apply gradient glow  and noise at 30 to original layer

Go HERE if you aren't familiar on my way of adding gradient glow using EC 5 Impact 


We are going to start at the bottom layer (in layers pallet)
and work our way up the template following the steps above.


Use my tag as guide if needed

left & right purple stripes - orange + noise

green stripe - pattern or gradient I made one using skirt area of tube + 
float then apply bubbles filter

left & right purple circles - blue + FU wallpaper fine

orange oval - purple + FU striped paper

blue stripe - gradient + scanlines

green circle - gradient 

blue oval - purple + FU stripes

white rectangle - delete

purple rectangle - green + fine leather

green circle - light gray + paste mirrored tube
duplicate and on bottom tube change blend mode to 
luminance (L) and on top one
change blend mode to screen at 55 opacity
Add new layer and using circle brush set about 15 color eye area 
Change blend mode on layer to multiple 

green stars - light gray + noise

white circle frame - noise

word art black - pattern or gradient you made to match skirt + bevel of choice
merge the 3 text layers together
Move down

Paste tube - place where you like it

Add name +  add white outline
Close bg layer

Add new layer above bg layer
Fill with pattern or gradient
Apply bubble filter
Apply mask
Merge group

I added bat from another of Dee's templates HERE

Add drop shadow to layers


Add copyright info

Crop and Save

Saturday, October 26, 2013

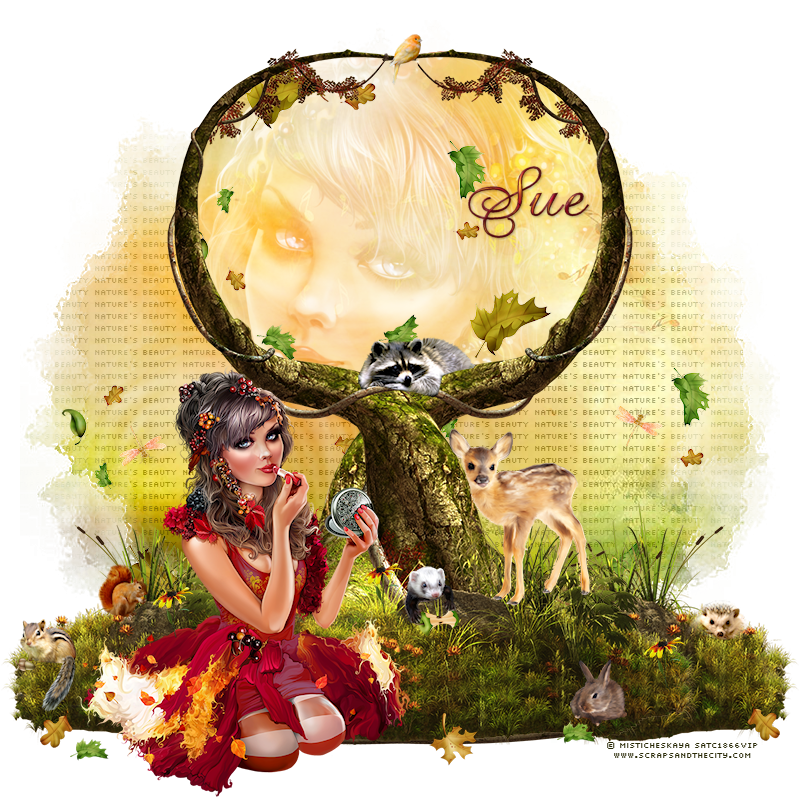
Nature's Beauty

 photo naturesbeauty-1.png

This tutorial was written by me and for those
who have a good working knowledge of psp.

Supplies Needed


Tube
Artwork by ©Misticheskaya at SATC

Font
Gravura LET

Scrap

Mask
Big Mask 001 by Vix

Filters


Okay, let's get started
Remember to save often!!!

Resize elements as desired depending 
on your tag size preference

Open 800 x 800
Crop before saving

Use my tag as a guide if desired

Paste paper 13
Apply mask
Merge group

Paste element 114
Duplicate
Mirror
Type text of choice
Convert to raster
Using copies filter set to tile with a gap of 1 apply
Apply mask to text layer
Change blend mode to luminance (L) and opacity to 45

Crop moon part in middle top on both
Merge together
Crop deer on the left if desired

Click inside circle of tree
Expand by 5
Invert
Paste paper 13 again
Delete
Paste close up mirrored tube
Delete
Select none
Move both below tree
Change blend mode on tube to screen  

Now add elements of choice from kit

I USED
23
25
32
33
34
35
37
38
39
40
41
50
53
86
91
105

I cropped some of the little animals so this is up to you

Add name
I gave mine a bevel and drop shadow

Add copyright info

Crop & Save

Wednesday, October 16, 2013

Witches Lair

This tutorial was written by me and for those
who have a good working knowledge of psp.

Supplies Needed


Tube
Artwork by ©Misticheskaya at SATC

Scrap

Mask


Okay, let's get started
Remember to save often!!!

Resize elements as desired depending 
on your tag size preference

Open 800 x 800
Crop before saving

Use my tag as a guide if desired

Paste paper 5
Apply mask
Merge group

Paste frame 47
Move more to left then center
Click inside using magic wand and expand by 5
Invert
Paste paper 9
Delete
Paste mirrored close up tube
Delete
Select none
Duplicate tube
On bottom copy change blend mode to screen
On top copy change blend mode to soft light at 50 opacity

Paste tube and place at right pf frame

Now add elements of choice from kit

I USED
12
26
34
41
51
54
55
56
76
88
89
101

Add name
I gave mine a bevel and drop shadow

Add copyright info

Crop & Save

Thursday, August 25, 2011

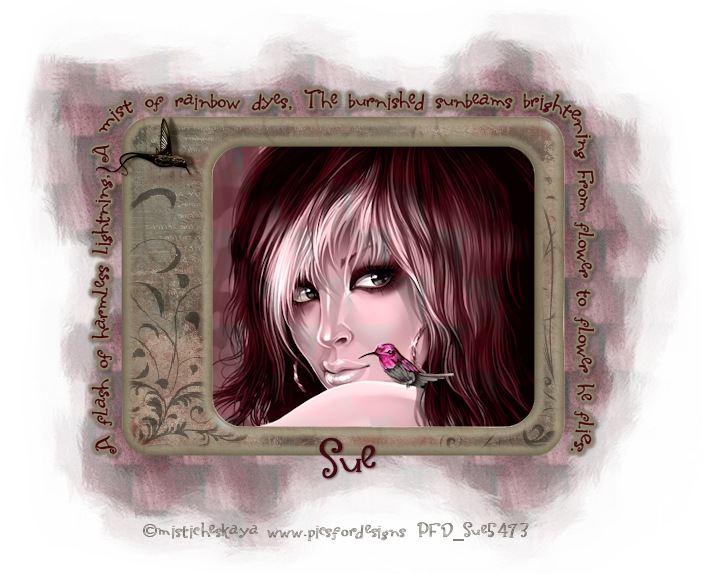
Hummingbird

Photobucket

This tutorial was written by me and for those
who have a good working knowledge of psp.


Supplies Needed

Tube of choice, I used artwork by misticheskaya at PFD.
Frame:Grunge Frames from ZiggyFan Designs.
Font of choice, I used Yippy Skippy Alt.
Mask: # 210 from Insatiable Dreams.
Plug-In : Filters Unlimited 2 (optional)
               Eye Candy 4 - Gradient Glow (optional)


Open New Canvas size 700 x 650.

Paste Grunge Frame and center in canvas.

Using Selection Tool - Rectangle
draw a rectangle larger than the opening in frame.

Add new layer and flood fill with color from tube.
I used #884952. Move to bottom.

Selections - Invert.

Paste tube or image and place where you like it.
Hit delete.

If using same tube as myself ...

Change Opacity to Luminance Legacy.
Using Selections tool - point to point
Outline the hummingbird on shoulder and her eyes.
Edit - copy and paste as new layer.
Place where they go.

Then paste Hummingbird from tube layers.
You will have to crop just the one hummingbird
and mirror and place.
Add dropshadow to hummingbird tube.
I used -1 / 7 / 50 / 3 black.

For mask layer - I copied a part of my tubes hair
and pasted as a new image in psp and moved it to one
side and duplicated and moved that one to other side
and so on untill all of the layers is filled with
different bits of the image and then I merged visible.
Then Effects - Image Effects - Seamless Tiling.
If you like the look of it then back to tag.

In Materials Pallet change either foreground or
background to pattern we just made.

Add New Layer and move to bottom.
Flood fill with pattern.

Apply Mask and merge group.

Apply Filters Unlimited 2 - paper texture -
mineral paper limestone.

Add new layer and place below mask layer.
Flood fill with white.

Look at mask layer and if any outline is showing use
eraser tool and just erase.
(my pet peev as I hate straight line edges so totally up to you lol)

Preset shapes tool - rounded rectangle
Draw a rectangle just a bit larger than the frame.

Keep layer as a vector layer and using text tool click when you see
the A with half cirle and add your text. If this is not
positioned where you like it play around with space bar
or where you start the text to begin with.

My Text Saying...

A flash of harmless lightning.
A mist of rainbow dyes.
The burnished suneams brightening.
From flower to flower he flies.

Once you have text where you like it
convert it to raster and add gradient glow
changing default settings of width to 5
and color to #8e846d.
Add dropshadow using settings 1 / 1 /50 / 3.

Add name and copyright.

You are done!

I am sure there are many different and maybe
easier ways to get same effect I did but this is
just the way I do it. =)