Showing posts with label Martin Abel. Show all posts

Tuesday, March 1, 2016

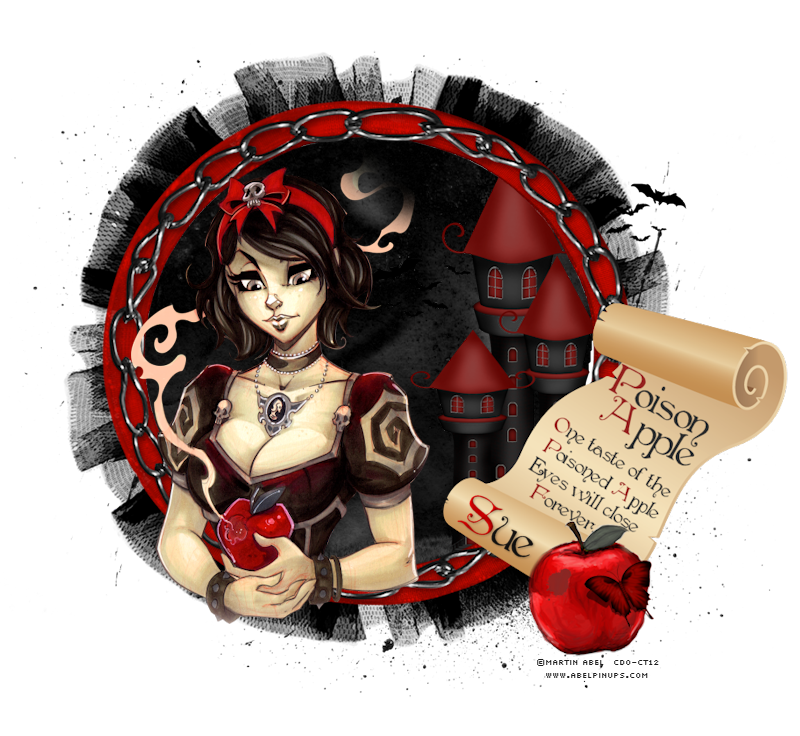
🍎 Poison Apple 🍎

 photo poison apple.png
This tutorial was written by me and for those
who have a good working knowledge of psp.


Supplies Needed


Tube
Artwork by ©Martin Abel  at CDO.

Font
Penshurst

My Cluster

.....................................................................


Okay, let's get started
Remember to save often!!!

Open new canvas to 800 x 800


Paste frame

Paste bg layer and place where it goes

Paste tube
Place where you like it
Duplicate
Move one below frame
On top tube using eraser tool erase any part needed

Add any other elements of choice to tag if desired

Add name
I used red for first letter than black for the other letters
Rotate and put on bottom of scroll or where ever you like

Add CR info
Crop & Save

I know this is a simple easy tut but I hope you enjoyed it and feel free to colorize or add new items to make tag your own.

Friday, December 5, 2014

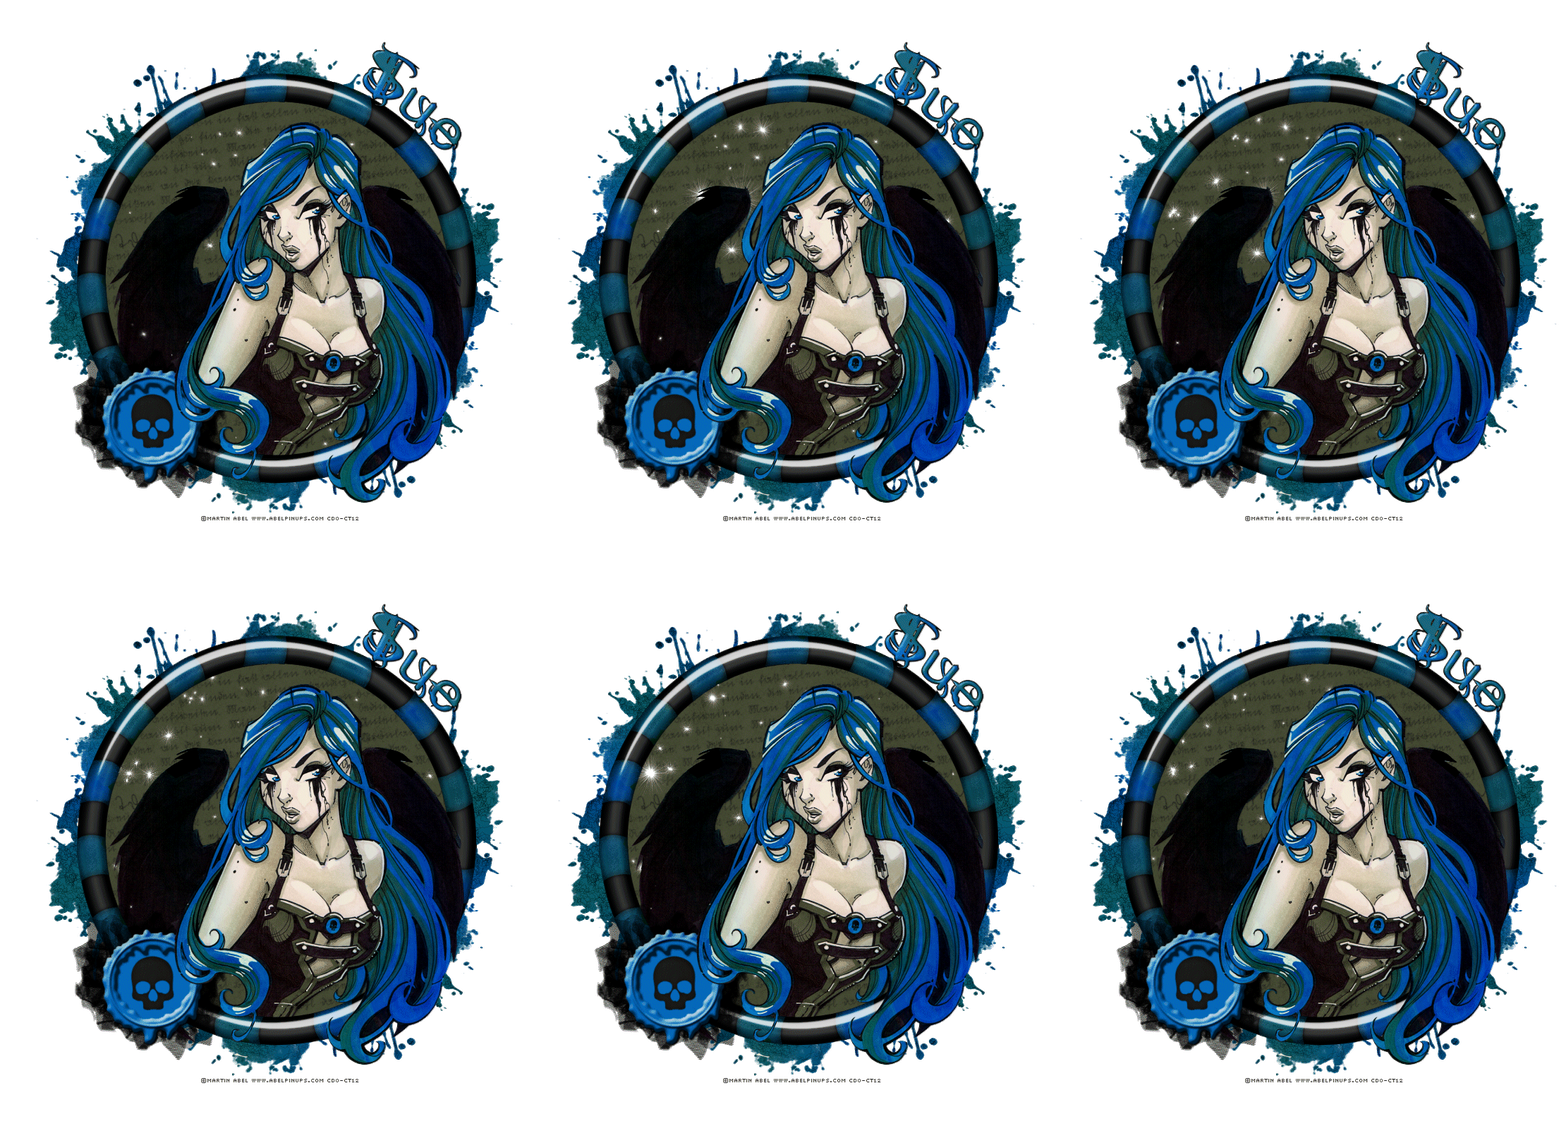
☠ Darkness ☠

 photo darkness.gif
This tutorial was written by me and for those
who have a good working knowledge of psp.

Supplies Needed


Tube
Artwork by ©Martin Abel  at CDO.
Releasing Soon

Font
THINK ME WICKED

My Cluster

Animation Shop
Optional

Animation 

Brush
Text brush of choice


Okay, let's get started
Remember to save often!!!

Open new canvas to 800 x 800


Paste frame
Select area just bigger than opening using selection tool
Add new layer
Fill with color of choice
Apply texture of choice 
I used fine leather
Add new layer
Using text brush in color of choice fill space with text
Lower opacity if needed
Select none
Move both layers below frame

Paste tube
Place where you like it
Duplicate
Move one below frame
On top tube using eraser tool erase any part needed

Using circle preset make circle bigger than the frame
Add new layer
Using text tool type name on curve
Apply bevel of choice
Delete circle layer

Add drop shadow to layers

Add CR info

Now to animate

Close top tube 

Copy merge and paste into AS
Ctrl L until you have 18 layers

Open animation
Ctrl A
Drag animation to tag and place where you like
Veiw to make sure you have it how you like it

Back to PSP
Close the bottom layers and leave just top tube and frame open
Copy merge
Paste as new animation in AS
Ctrl L until you have at least 18
Ctrl A
Drag and place where it goes

Crop & Save

Friday, March 28, 2014

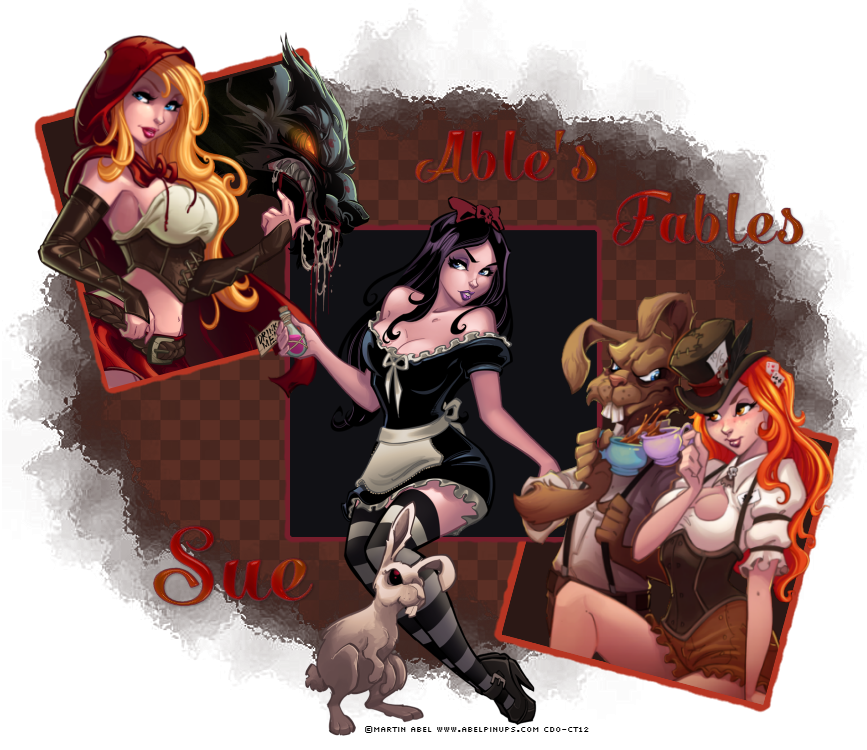
Able's Fables

 photo ablesfables.png

This tutorial was written by me and for those
who have a good working knowledge of psp.

Supplies Needed


Tube
Artwork by ©Martin Abel  at CDO.

Font
Salamander Script Bold

Filter
Lokas - Gel Effect

Mask
Big Mask 001 by Vix

My Supplies


Okay, let's get started
Remember to save often!!!

Open my supplies
Shift D and close original

Feel free to colorize if using different tubes

Move text where you like

Paste tubes
For each one move to where you like and duplicate
Crop bottom tube to bg layer
Crop excess from top tube

For middle tube you just paste

Add drop shadow to layers

Add name
I did same thing to name as text
Make gradient of two colors from supplies
Add gel effect


Add CR info

Crop & Save

Monday, December 16, 2013

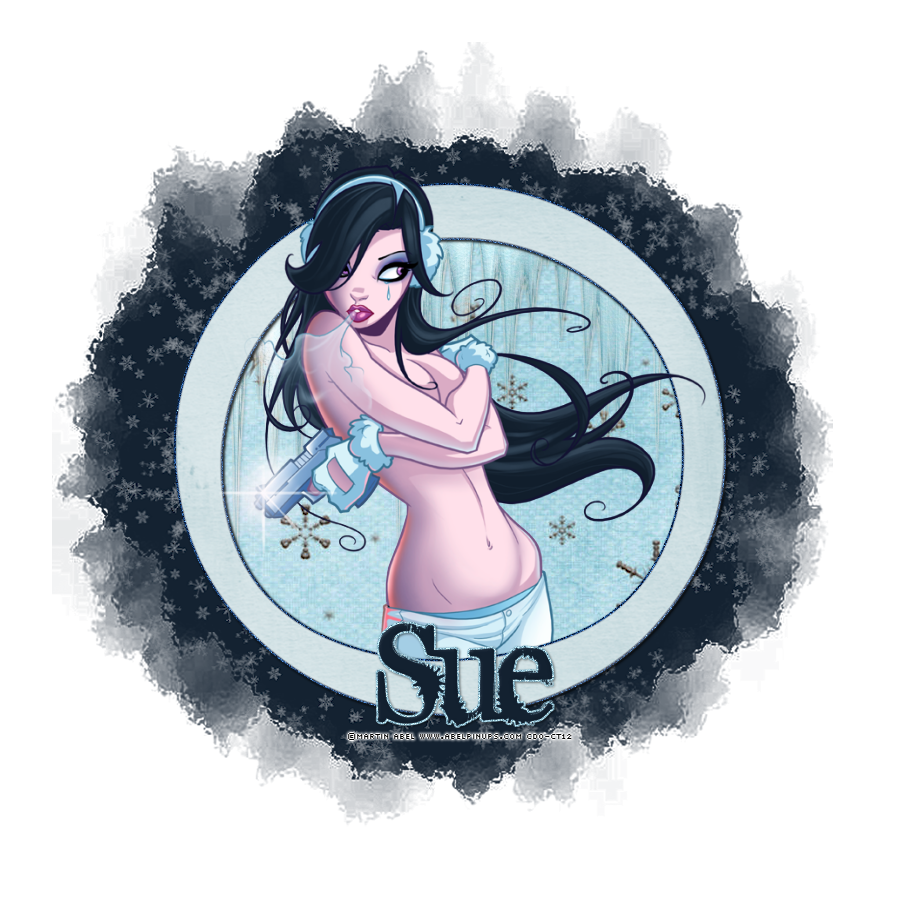
Killer Cold

 photo killercold.png


This tutorial was written by me and for those
who have a good working knowledge of psp.

Supplies Needed


Tube
Artwork by ©Martin Abel  at CDO.

Font
Supafly 36

Mask
Big Mask 001 by Vix
Filters
EC 5 Impact - Gradient Glow 

Scrap


Okay, let's get started
Remember to save often!!!

Open new canvas to 800 x 800

Fill with color of choice
Apply mask
Merge group

Float mask
Invert
Paste element 3 a few times around mask
Delete
Select none

Paste frame
Float
Expand by 3
Add new layer
Fill with color of choice
Apply noise at 50
Select none
Move below frame

Click inside frame
Expand by 10
Invert 
Paste paper
Delete
Duplicate and change blend mode to multiply
Merge the two layers

Paste icicles
Delete
Change blend mode to luminance (L)
Paste tube
Duplicate
Delete on bottom tube
Move below frame 
Select none
Crop the bottom of top tube

Add drop shadow to layers

Add name
I did same thing to name as frame to get outline

Add CR info

Crop & Save

Saturday, November 17, 2012

MA Rocker

Photobucket
This tutorial was written by me and for those
who have a good working knowledge of psp.

Supplies Needed

Tube of choice, I used tube by ©Martin Abel at CDO
Scrap kit, I used (PTU) MA Artist Series Kit 04
 by Pimp'd Designz
Font of choice, I used "eL&FoNt(ûrBAN CallIgRAPhy!"

Let's Begin!

New canvas 700 x 600

Paste frame 2
Click inside using magic wand and expand by 10.
Invert
Paste paper 01
Delete

Paste close up tube and move to left side
I mirrored mine as well
Delete

Paste smaller tube and place on right
Duplicate and on bottom layer delete
Select none
On top right tube crop bottom part of tube

On the left tube select float then add new layer
fill with color from tube and change blend mode of tube to luminance (L)

Paste elements of choice

Use my tag as guide if needed

Add drop shadow to layers

Add name

Add copyright info

Save


Tuesday, March 20, 2012

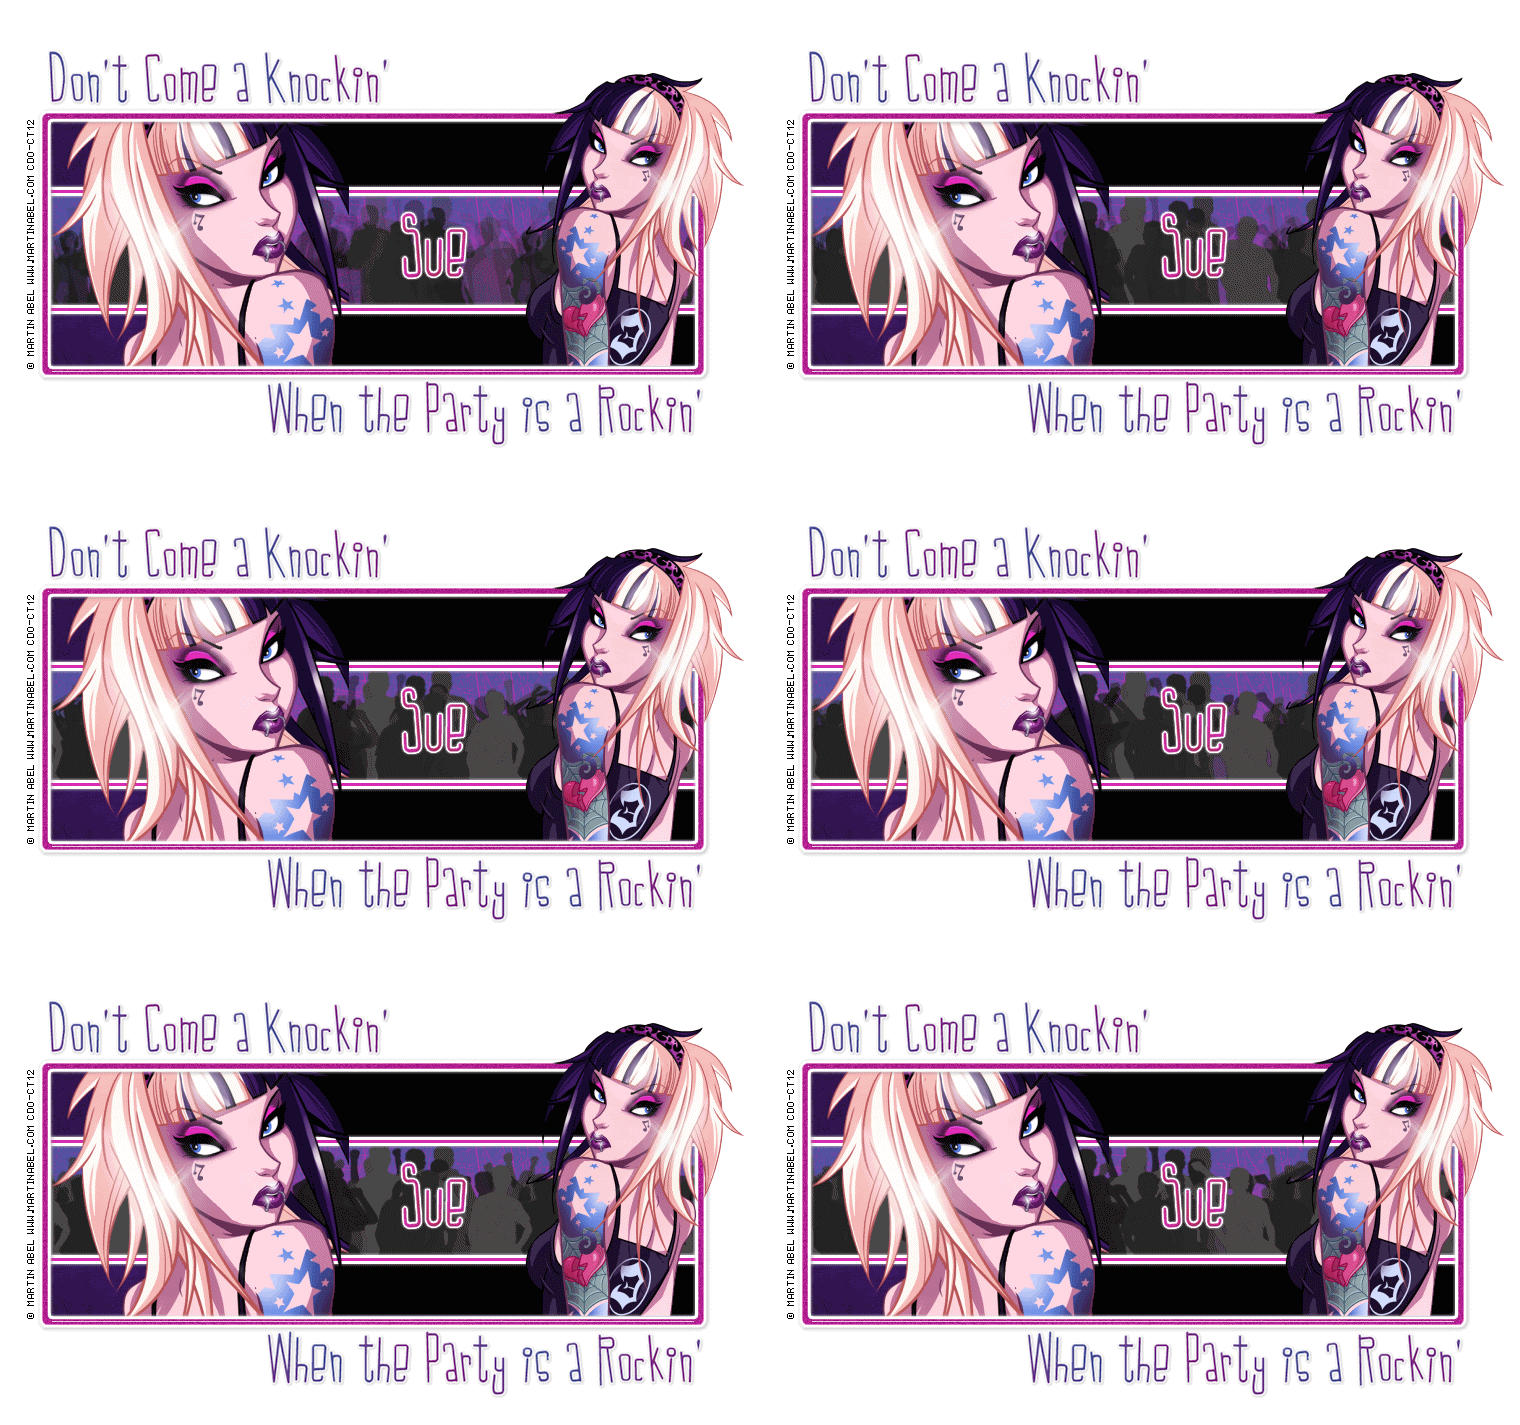
Let's Party!

Photobucket


This tutorial was written by me and for those

who have a good working knowledge of psp.


Supplies Needed

Tube of choice, I used tube by ©Martin Abel at CDO
Font of choice, I used LDJ Jilly Nilly.
Tag Template, I made this so please do not share.
Animation, I used dance crowd made by Lovey.
Optional Plug-ins, Eye Candy - Gradient Glow   
Animation Shop                         


Let's Begin!  

Open my template and shift D. Close original.

Close top 4 layers and copy merge and paste into Animation Shop.
Ctrl L until you have 16 frames.

Open animation and re-size by 95. Ctrl A and drag to left side of tag and repeat for right side.
This is just so the length of tag gets animation on it.

OK back to PSP
Close open layers and open the ones that are closed.

Paste your tube(s) and place where you like it. I used a close up and smaller one. Use my tag if needed.

Add drop shadow and copyright. 

Add name and give it a gradient glow using 3,50,100 white then drop shadow.

Copy merge and paste into animation shop.

Ctrl L so you have 16 frames.

Ctrl A and drag to tag.

Go to animation - frame properties and change to 20 for all.

I also changed my animation properties so background was white so when it saves it doesn't look choppy but this is up to you.

That's it!!!

Save as gif.