

This tutorial was written by me and for those
who have a good working knowledge of psp.
Okay, let's get started
Remember to save often!!!
Open template and re-size canvas to 800 x 800
Crop after tag is done
Close info layer
There are a few basic steps for this template that are repetitive.
1. Select layer
2. Float
3. Invert
4. Paste paper
5. Hit delete
We are going to start at the bottom layer (in layers pallet)
and work our way up the template following the steps above.
First merge duplicate layers together
grey with grey, blue with blue and red with red
So 6 layers are now 3
grey - paper 10
blue - paper 9
red - paper 8
blue rectangle - paper 4
black circle - paper 7
while selected paste tube and delete
I mirrored mine before pasting
Lower opacity to 45
Here are the settings I used
Delete the extra colors so it looks like the one below
blue - paper 9
red - paper 8
blue rectangle - paper 4
black circle - paper 7
while selected paste tube and delete
I mirrored mine before pasting
Lower opacity to 45
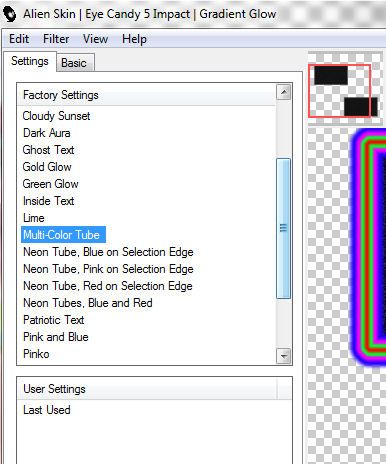
Okay once you have paper on all your layers it's time to add gradient glow.
Usually one of my steps above is to close original but not for this tag.
We are going to add the gradient glow to the original template layer
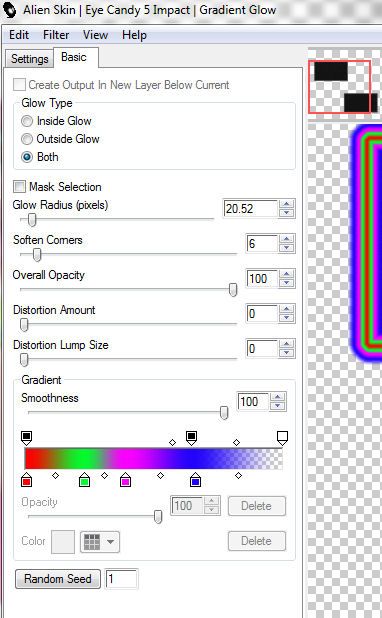
Here are the settings I used


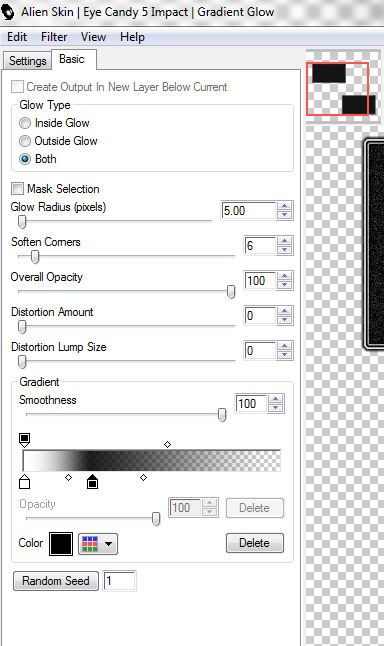
Delete the extra colors so it looks like the one below
Just click color and then delete button
Use any color for layers

Apply noise at 30 to layers after you add gradient glow
Add drop shadow as well
Paste tube and place where you like it
Paste tube and place where you like it
Now start adding elements of choice to your tag
I used elements
bunny 1
glasses
heart 2
ribbon 2 - duplicate and add gradient glow like above
skateboard
sneakers
sparkles 1 and 2
spray can
butterfly - from bonus kit just change blend mode to luminance (L)
Use my tag as a guide for placement if needed
Once you have tag how you like it add drop shadow to layers of choice
Add name
I added noise then duplicated and added gradient glow and noise to bottom layer
Add copyright info
Crop & Save
No comments:
Post a Comment