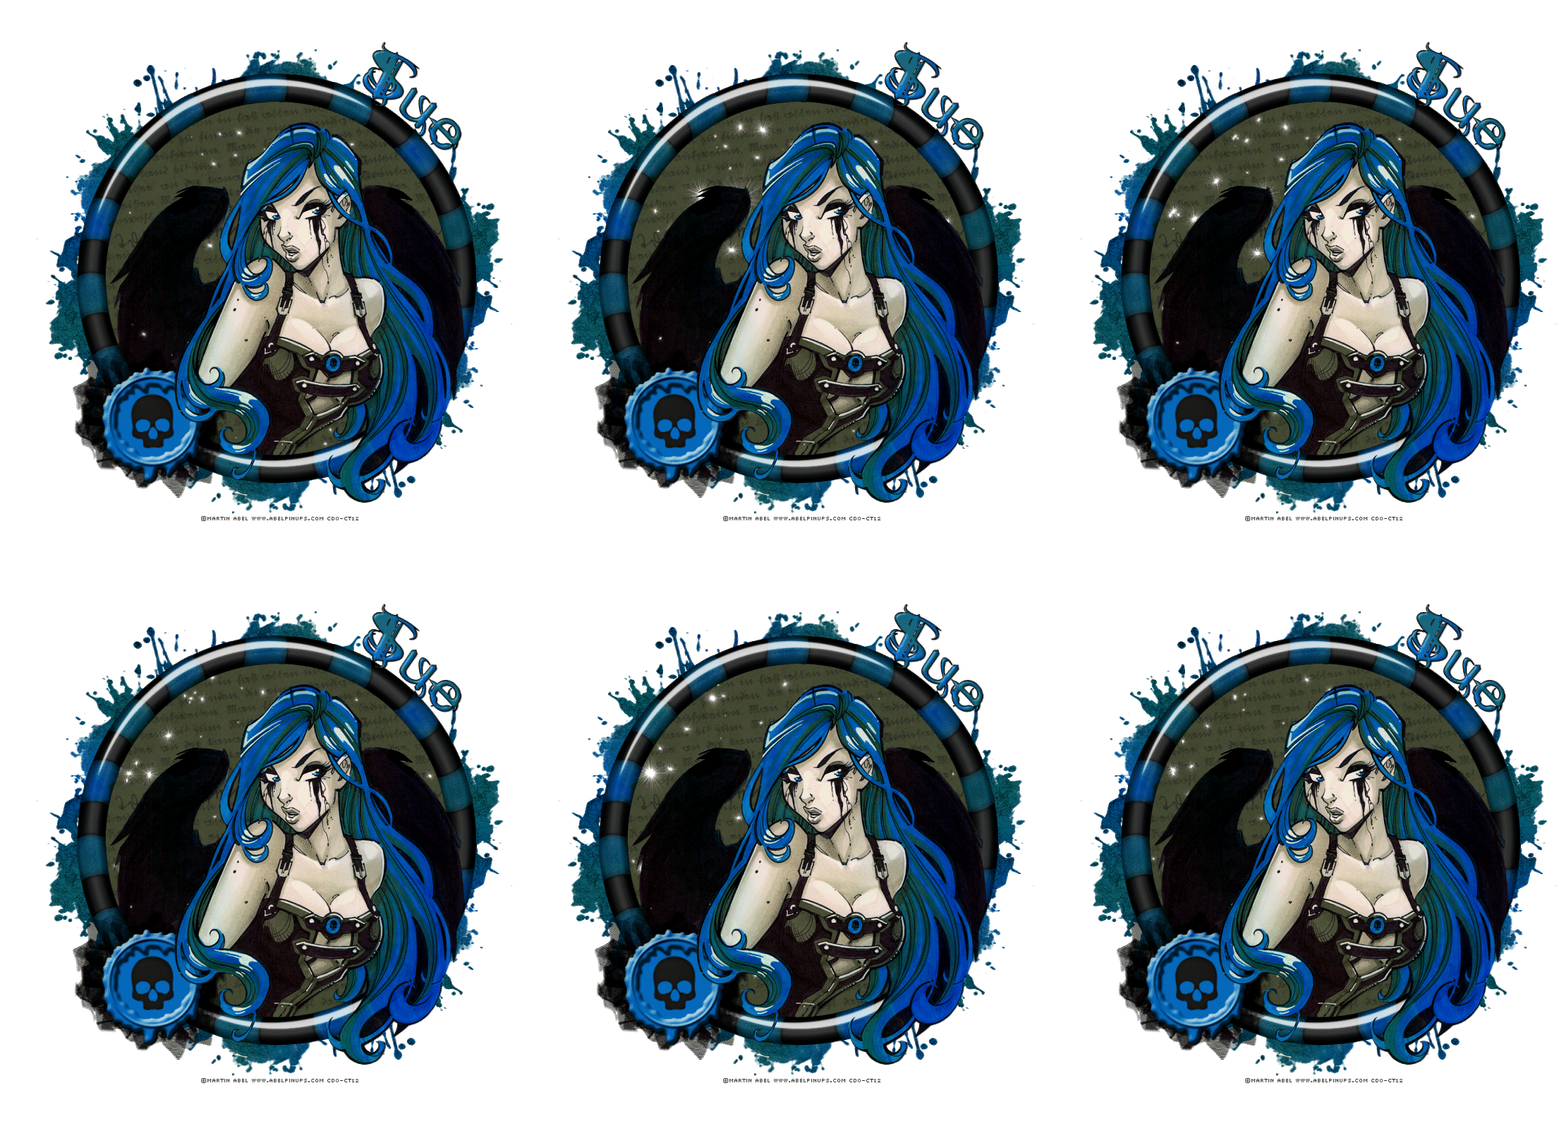
This tutorial was written by me and for those
who have a good working knowledge of psp.
Okay, let's get started
Remember to save often!!!
Open new canvas to 800 x 800
Paste frame
Select area just bigger than opening using selection tool
Add new layer
Fill with color of choice
Apply texture of choice
I used fine leather
I used fine leather
Add new layer
Using text brush in color of choice fill space with text
Lower opacity if needed
Select none
Using text brush in color of choice fill space with text
Lower opacity if needed
Select none
Move both layers below frame
Paste tube
Place where you like it
Duplicate
Move one below frame
On top tube using eraser tool erase any part needed
Place where you like it
Duplicate
Move one below frame
On top tube using eraser tool erase any part needed
Using circle preset make circle bigger than the frame
Add new layer
Using text tool type name on curve
Apply bevel of choice
Delete circle layer
Add new layer
Using text tool type name on curve
Apply bevel of choice
Delete circle layer
Add drop shadow to layers
Add CR info
Now to animate
Close top tube
Copy merge and paste into AS
Ctrl L until you have 18 layers
Open animation
Ctrl A
Drag animation to tag and place where you like
Veiw to make sure you have it how you like it
Back to PSP
Close the bottom layers and leave just top tube and frame open
Copy merge
Paste as new animation in AS
Ctrl L until you have at least 18
Ctrl A
Drag and place where it goes
Crop & Save


No comments:
Post a Comment