This tutorial was written by me and for those
who have a good working knowledge of psp.
Supplies Needed
Tube
Artwork by ©PinUpToons at CDO.
Filters
Eye Candy 5 - Impact - Gradient Glow (GG)
...........................................................
Okay, let's get started
Remember to save often!!!
Open template and shift D
Close original and re-size canvas to 800 x 800
Crop after tag is done
Unhide and fill bg layer in with white
There are a few basic steps for this template that are repetitive.
1. Select layer
2. Float
3. Add new layer
4. Fill with color of choice
5. Apply filter of choice
6. Apply gradient glow and noise at 30 to original layer on desired layers
Go HERE if you aren't familiar on my way of adding gradient glow using EC 5 Impact
Go HERE if you aren't familiar on my way of adding gradient glow using EC 5 Impact
We are going to start at the bottom layer (in layers pallet)
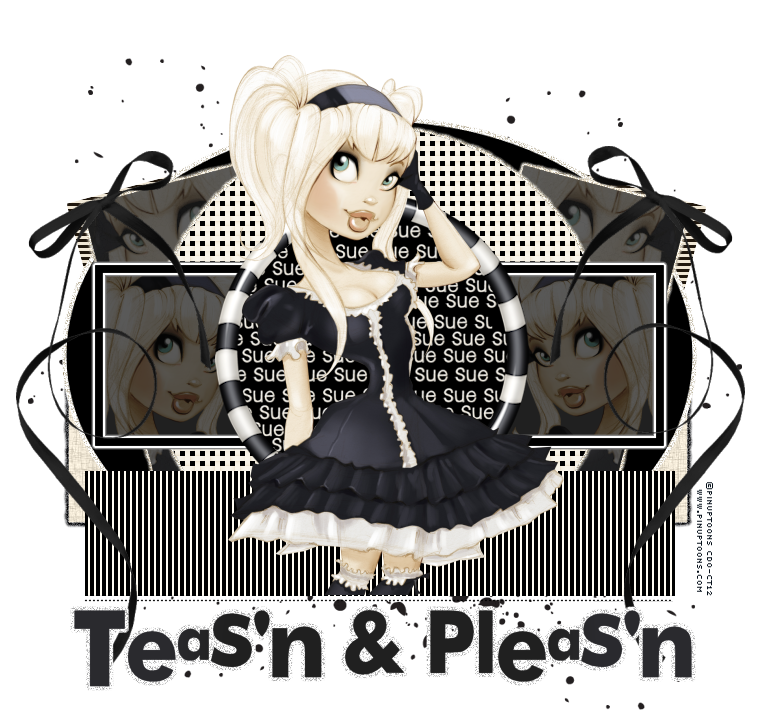
and work our way up the template following the steps above.Use my tag as guide if needed
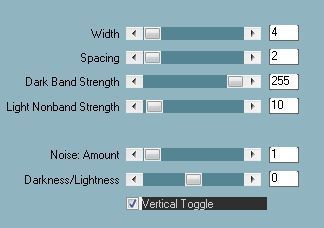
pink rectangle - #f6eee0 + FU Papyrus + GG
blue squares - #f6eee0 + RR

pink rectangles - black + tube + mirrored tube
lower opacity to 30
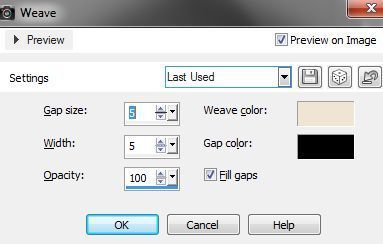
gray circle - #f6eee0 + texture - weave

blue rectangle - black + tube + mirrored tube
change blend mode to soft light
rectangle frame - colorize h-0 s-0
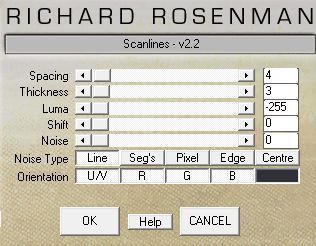
blue rectangle - #f6eee0 + scanlines
Add name
Apply copies filter - line
Duplicate and move so name is not all in a line
Continue until circle area is covered
Merge them together
Float circle
Invert
Delete name layer
Paste my circle frame
Paste tube
Paste bow
Paste splatter and move to bottom
Apply copies filter - line
Duplicate and move so name is not all in a line
Continue until circle area is covered
Merge them together
Float circle
Invert
Delete name layer
Paste my circle frame
Paste tube
Paste bow
Paste splatter and move to bottom
Close white bg layer
Add drop shadow to layers if desired
Add copyright info
Crop and Save
Add copyright info
Crop and Save


No comments:
Post a Comment