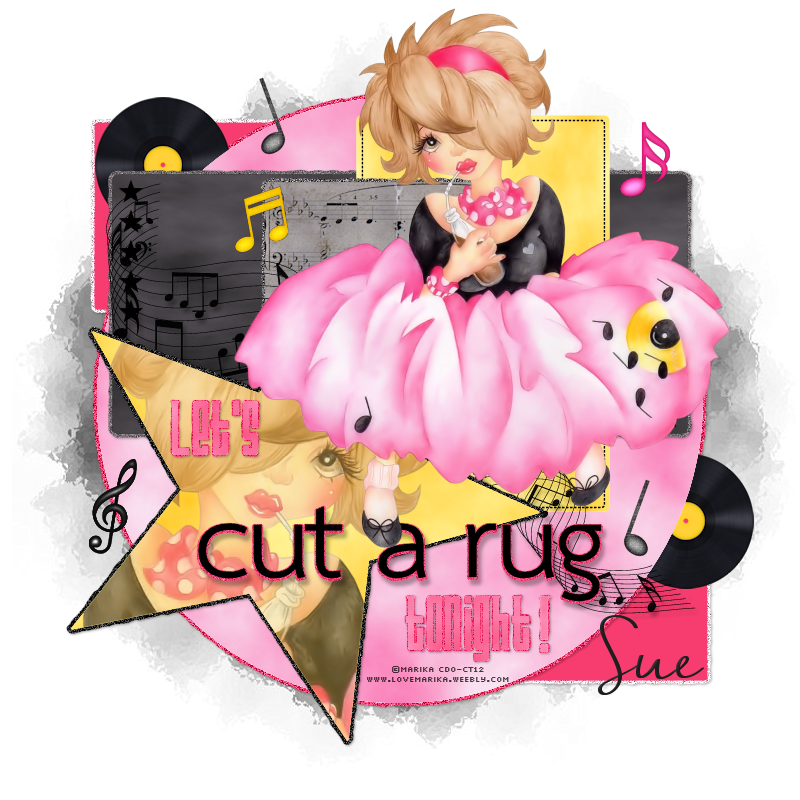
This tutorial was written by me and for those
who have a good working knowledge of psp.
Supplies Needed
Tube
Filters
Eye Candy 5 - Impact - Gradient Glow
Mura's Meister - Cloud
Mask
Big Mask 001 by Vix
My Supplies
...........................................................
Okay, let's get started
Remember to save often!!!
Open template and shift D
Close original and re-size canvas to 800 x 800
Crop after tag is done
Delete info layers
There are a few basic steps for this template that are repetitive.
1. Select layer
2. Float
3. Add new layer
4. Fill with color of choice
5. Apply filter of choice or paper texture
6. Apply gradient glow and noise at 30 to original layer
Go HERE if you aren't familiar on my way of adding gradient glow using EC 5 Impact
Go HERE if you aren't familiar on my way of adding gradient glow using EC 5 Impact
Start at bottom and work way up template
black rectangles - #f73d6f
delete large white circle
large orange circle - #f85b93 + #facfe7 for cloud
grey rectangle - #202020 + #808080 for cloud
pink rectangle - #f8c73b + #fff8a1 for cloud
circle layers can be deleted as well
creme square - #aaa3a1 + music overlay
white star layer deleted
star - #f8c73b + #fff8a1 for cloud + close up mirrored tube
Lower opacity to 65
Don't forget to add the gradient glow to original layer and add noise for outline look
Use my tag as guide if needed
Once you have all the layers filled with color or texture of choice
Add anything else you would like
Paste tube
Add new layer and move to bottom
Fill with color of choice
Apply mask
Merge group
Fill with color of choice
Apply mask
Merge group
Add name
Add drop shadow to layers
Add copyright info
Crop and Save

No comments:
Post a Comment