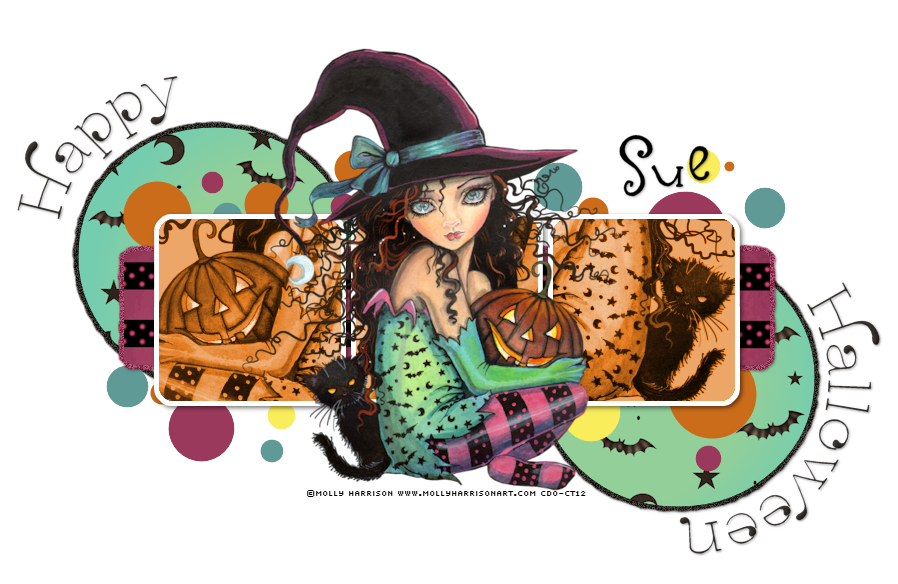
This tutorial was written by me and for those
who have a good working knowledge of psp.
Supplies Needed
Tube
Artwork by by ©Molly Harrison at CDO
...........................................................
Okay, let's get started
Remember to save often!!!
Open template and shift D
Close original and re-size canvas to 800 x 800
Crop after tag is done
Unhide and fill bg layer in with white
Delete info layer and orange stripes, leaves, cat and text layers if desired
There are a few basic steps for this template that are repetitive.
1. Select layer
2. Float
3. Invert or add new layer
4. Paste paper or fill with color choice
5. Delete if paper
5. Delete if paper
6. Apply gradient glow and noise at 30 to original layer
Go HERE if you aren't familiar on my way of adding gradient glow using EC 5 Impact
Go HERE if you aren't familiar on my way of adding gradient glow using EC 5 Impact
We are going to start at the bottom layer (in layers pallet)
and work our way up the template following the steps above.Use my tag as guide if needed
black circles - paper 1 + black
dots - change to colors that match tube
purple strip - paper 2
blue squares - orange + tubes set to luminance (L)
Paste tube - place where you like it
dots - change to colors that match tube
purple strip - paper 2
blue squares - orange + tubes set to luminance (L)
Paste tube - place where you like it
Add text on curve
Using the preset shape tool
Make a circle
bigger than the one we already have
Keep circle as a vector
Add new layer
Make a circle
bigger than the one we already have
Keep circle as a vector
Add new layer
Click text tool
Click the right center of circle when
you see the A on a curve
and write saying of choice.
Click the right center of circle when
you see the A on a curve
and write saying of choice.
Convert to raster
Add name
Close bg layer
Add drop shadow to layers
Add copyright info
Crop and Save
Add copyright info
Crop and Save


Adorable Sue!
ReplyDeleteThanks Dee!
ReplyDelete