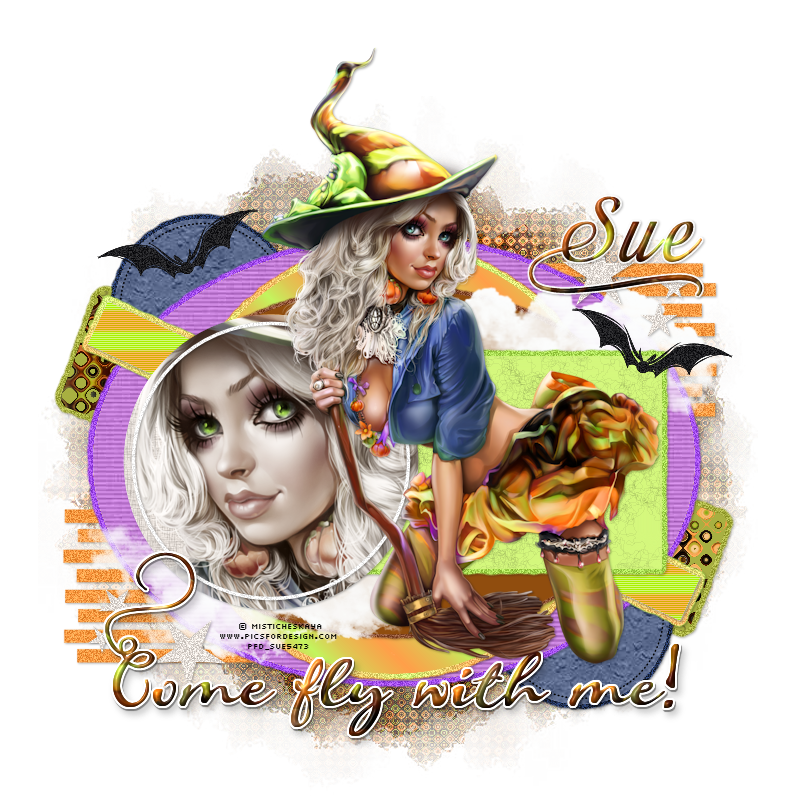
This tutorial was written by me and for those
who have a good working knowledge of psp.
Supplies Needed
Tube
Artwork by by ©Misticheskaya at PFD
Filters
Eye Candy 5 - Impact - Gradient Glow
Filters Unlimited (FU)- Paper Textures
Dsb Flux - Bubbles
Richard Rosenman - Scanlines
...........................................................
Okay, let's get started
Remember to save often!!!
Open template and shift D
Close original and re-size canvas to 800 x 800
Crop after tag is done
Unhide and fill bg layer in with white
Delete info layer
There are a few basic steps for this template that are repetitive.
1. Select layer
2. Float
3. Add new layer
4. Fill with color of choice
5. Apply filter of choice
6. Apply gradient glow and noise at 30 to original layer
Go HERE if you aren't familiar on my way of adding gradient glow using EC 5 Impact
Go HERE if you aren't familiar on my way of adding gradient glow using EC 5 Impact
We are going to start at the bottom layer (in layers pallet)
and work our way up the template following the steps above.Use my tag as guide if needed
left & right purple stripes - orange + noise
green stripe - pattern or gradient I made one using skirt area of tube +
float then apply bubbles filter
left & right purple circles - blue + FU wallpaper fine
orange oval - purple + FU striped paper
blue stripe - gradient + scanlines
green circle - gradient
blue oval - purple + FU stripes
white rectangle - delete
purple rectangle - green + fine leather
green circle - light gray + paste mirrored tube
duplicate and on bottom tube change blend mode to
luminance (L) and on top one
luminance (L) and on top one
change blend mode to screen at 55 opacity
Add new layer and using circle brush set about 15 color eye area
Change blend mode on layer to multiple
Add new layer and using circle brush set about 15 color eye area
Change blend mode on layer to multiple
green stars - light gray + noise
white circle frame - noise
word art black - pattern or gradient you made to match skirt + bevel of choice
merge the 3 text layers together
Move down
Paste tube - place where you like it
Add name + add white outline
Close bg layer
Add new layer above bg layer
Fill with pattern or gradient
Apply bubble filter
Apply mask
Merge group
I added bat from another of Dee's templates HERE
Add new layer above bg layer
Fill with pattern or gradient
Apply bubble filter
Apply mask
Merge group
I added bat from another of Dee's templates HERE
Add drop shadow to layers
Add copyright info
Crop and Save


No comments:
Post a Comment