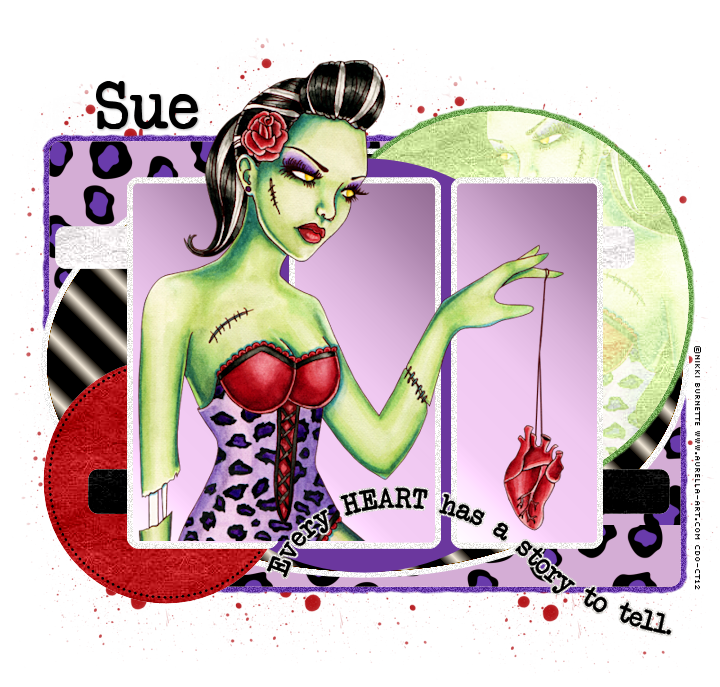
This tutorial was written by me and for those
who have a good working knowledge of psp.
Supplies Needed
Tube
Artwork by by ©Nikki Burnette at CDO
Filters
Eye Candy 5 - Impact - Gradient Glow
Filters Unlimited (FU)- Paper Textures
and any other filters of choice
Brushes
Splatter brushes of choice
...........................................................
Okay, let's get started
Remember to save often!!!
Open template and shift D
Close original and re-size canvas to 800 x 800
Crop after tag is done
Fill bg layer in with white
Delete info layer + little hearts if desired
There are a few basic steps for this template that are repetitive.
1. Select layer
2. Float
3. Add new layer
4. Fill with color of choice
5. Apply filter of choice
6. Apply gradient glow and noise at 30 to original layer
Go HERE if you aren't familiar on my way of adding gradient glow using EC 5 Impact
Go HERE if you aren't familiar on my way of adding gradient glow using EC 5 Impact
We are going to start at the bottom layer (in layers pallet)
and work our way up the template following the steps above.Use my tag as guide if needed
pink rectangles - paper I made HERE
white oval - noise
green oval - gradient of black and off white
top right circle - green + FU paper texture - fibrous paper fine + tube on screenbottom left circle - red + FU same texture as above
top & bottom strips - black and white + FU texture
pink circle - purple
center strips - purple + tube
white frames - noise
I cropped text and added white outline
Add name
Using splatter brushes of choice
add new layer and brush around tag edges
Move to bottom
Close bg layer
Add drop shadow to layers
Add copyright info
Crop and Save
Add drop shadow to layers
Add copyright info
Crop and Save


No comments:
Post a Comment