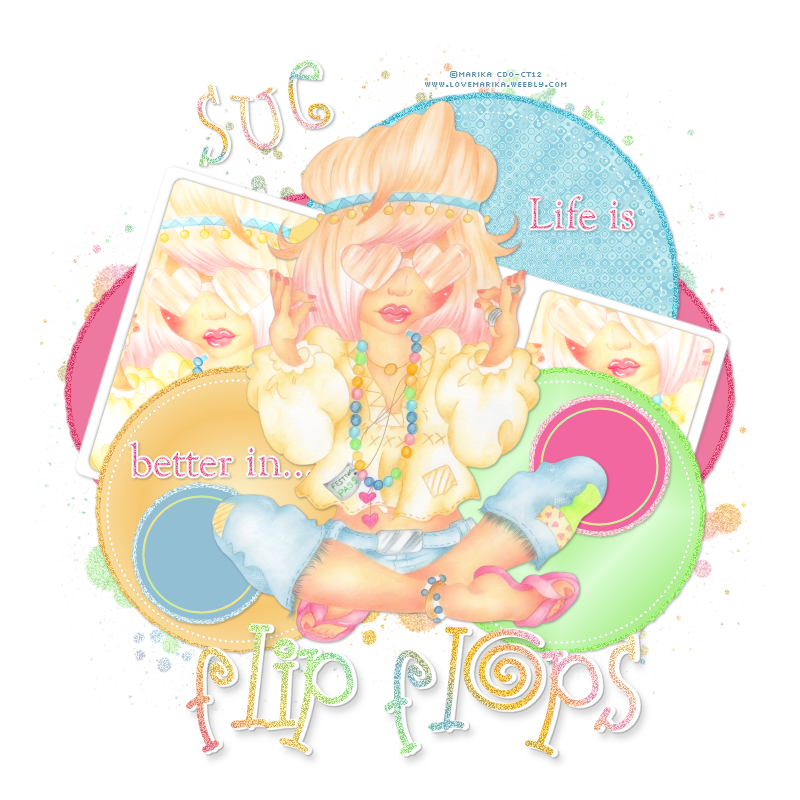
This tutorial was written by me and for those
who have a good working knowledge of psp.
Supplies Needed
Tube
Filters
Eye Candy 5 - Impact - Gradient Glow
Filters Unlimited (FU)- Paper Textures
DSB - Bubbles
and any other filters of choice
Brushes
Splatter brushes of choice
...........................................................
Okay, let's get started
Remember to save often!!!
Open template and shift D
Close original and re-size canvas to 800 x 800
Crop after tag is done
Fill bg layer in with white
Delete info layer
There are a few basic steps for this template that are repetitive.
1. Select layer
2. Float
3. Add new layer
4. Fill with color of choice
5. Apply filter of choice
6. Apply gradient glow and noise at 50 to original layer
Go HERE if you aren't familiar on my way of adding gradient glow using EC 5 Impact
Go HERE if you aren't familiar on my way of adding gradient glow using EC 5 Impact
We are going to start at the bottom layer (in layers pallet)
and work our way up the template following the steps above.Use my tag as guide if needed
pink oval - #ed79a1
large blue circle - gradient of #e8fcfd & #93bfd4 on radial style + bubbles
black rectangles - #fce18a + mirrored tube + duplicate tube (overlay)
left pink circle - gradient of #f6c770 & #f8da9a on sunburst style
left blue small circle - #93bfd4
right pink circle - gradient of #cef9c2 & #d4facb on sunburst style
right blue small circle - #f2679f
black outline circles - gradient of #fbe9b9 & #cdf9c0
life is better text - #ed79a1 + noise + I separated mine to place apart
flip flop text - gradient of all the colors used + noise
Paste tube
Add name
I did name in gradient and in white and just moved white to right like flip flop text is and added noise
I did name in gradient and in white and just moved white to right like flip flop text is and added noise
Using splatter brushes of choice and gradient you made
add new layer and brush around tag edges
Move to bottom
Close bg layer
Add drop shadow to layers
Add copyright info
Crop and Save
Add drop shadow to layers
Add copyright info
Crop and Save


This is so cute. Thanks so much.
ReplyDeleteYou're welcome! Glad you liked it!
ReplyDelete