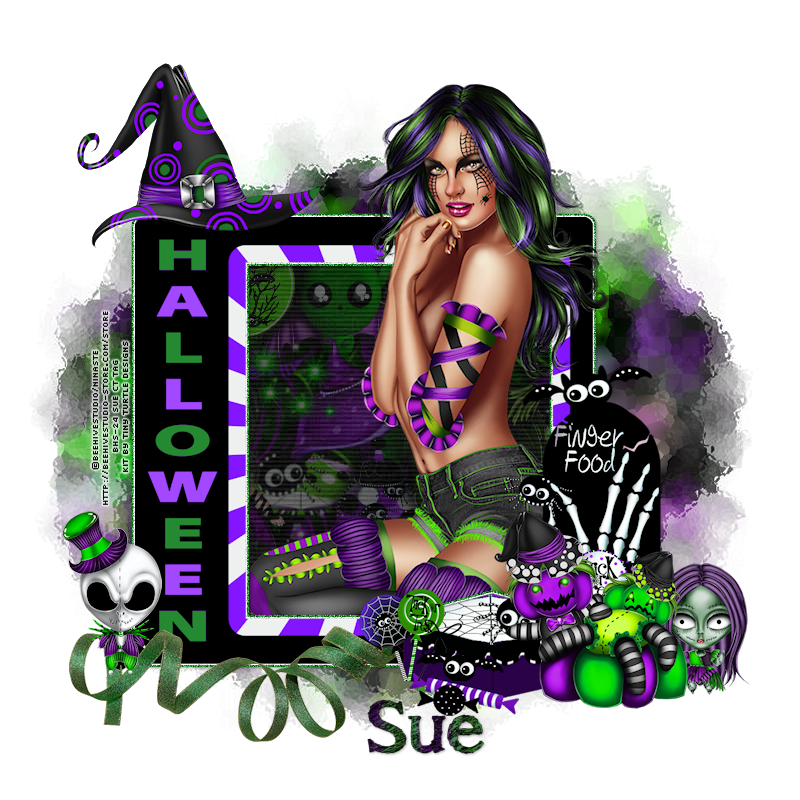
This tutorial was written by me and for those
who have a good working knowledge of psp.
Scrap
Filters
EC 5 Impact - Gradient Glow
Xenofex - Shower Door
Okay, let's get started
Remember to save often!!!
I am very into matching so I tend to change
colors of items as you may notice in my tutorials
Resize elements as desired
Open new canvas 800 x 800
Paste preview paper
Paste preview paper
Apply shower door filter
Apply mask
Duplicate frame and apply gradient glow and noise at 50
Crop the gradient glow from the right items
Apply mask
Merge group
Paste frame 23
Select open area of frame
Invert
Paste paper 54
Delete
Paste preview paper
Delete
Select none
Lower opacity of preview paper to 30
Using magic wand click every other
letter in halloween on frame
letter in halloween on frame
Invert
Paste paper 5
Delete
Select none
Merge together
Duplicate frame and apply gradient glow and noise at 50
Crop the gradient glow from the right items
**For tube hair like mine**
To achieve the same look I have for my tube
with both green and purple hair
this is what you need to do
Open tube with all the layers in psp
Copy purple hair tube and paste as a new image
Then go back to tube and copy green hair image
and paste as new layer on the purple tube canvas
That way they should be lined up exact
Now using eraser tool set to small size round at 100%
opacity start erasing parts of the green hair
This will give it a "highlight" look like mine
Once that is how you like it copy merge and paste into your
tag canvas
Duplicate and move one tube below frame
On top tube crop bottom of tube
Paste hat 12
Duplicate
On bottom hat colorize to green
On top hat using magic wand float parts of the hat and delete
I deleted the inner circles, a few lines, and middle of buckle
Now add elements of choice from kit
I Used
10
15
16
20
29
34
127
Add name
I made a gradient of purple and
green with foreground of black
Add drop shadow to layers
Add CR info
Crop & Save


No comments:
Post a Comment