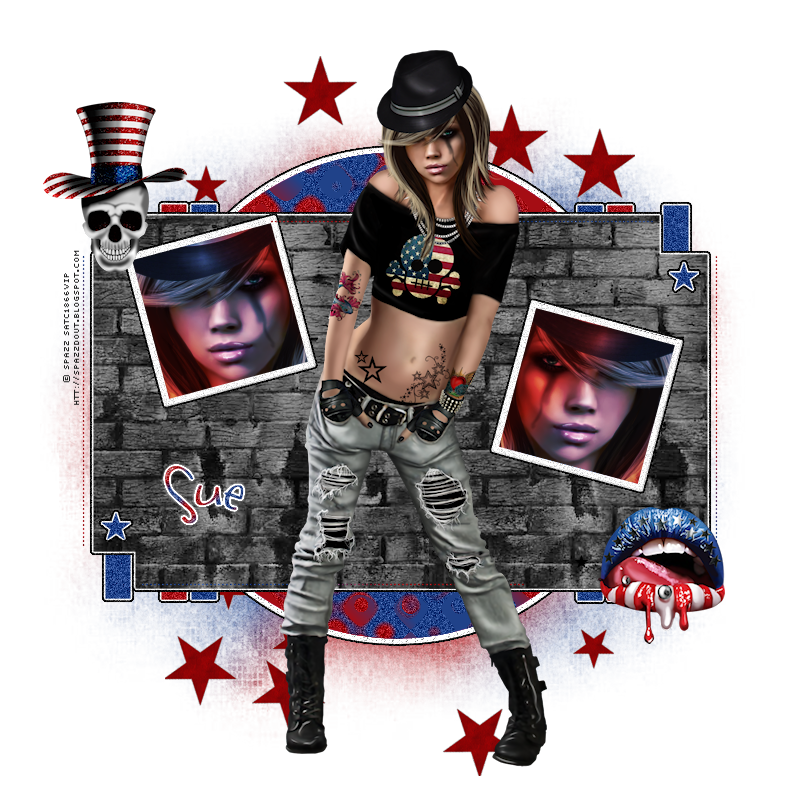
This tutorial was written by me and for those
who have a good working knowledge of psp.
Supplies Needed
Tube
Scrap Kit
Filters
EC 5 Impact - Gradient Glow
DSB Flux - Bubbles
Mask
Grungi 10 by Sharon at Creative Misfits
Grungi 10 by Sharon at Creative Misfits
Okay, let's get started
Remember to save often!!!
Open template and shift D
Close original
Delete info and word art layers
Re-size canvas to 800 x 800
Start at the bottom and go up
There are a few basic steps to follow
1. Select layer
2. Float
3. Add new layer or invert
4. Paste paper or fillwith color
5. Hit delete
6. Apply gradient glow and noise at 30 to original layer
Go HERE if you aren't familiar on my way of adding gradient glow using EC 5 Impact
6. Apply gradient glow and noise at 30 to original layer
Go HERE if you aren't familiar on my way of adding gradient glow using EC 5 Impact
gg/n = gradient glow and noise
Add new layer
Make gradient of two colors
Fill new layer
Apply mask
Merge group
Move to bottom above bg layer
rectangle lines - blue and red fill with noise at 30
circle - gradient of red and blue then duplicate an apply bubbles to top layer and noise
black rectangle - paper 1
stars - blue fill plus noise
dotted lines - gradient fill
small squares - gradient + tube
change blend mode to hard light
Now add elements of choice
I used
lips
skull 2
stars 2
Add name
Apply noise and white gradient glow
Add copyright info
Crop & Save


No comments:
Post a Comment