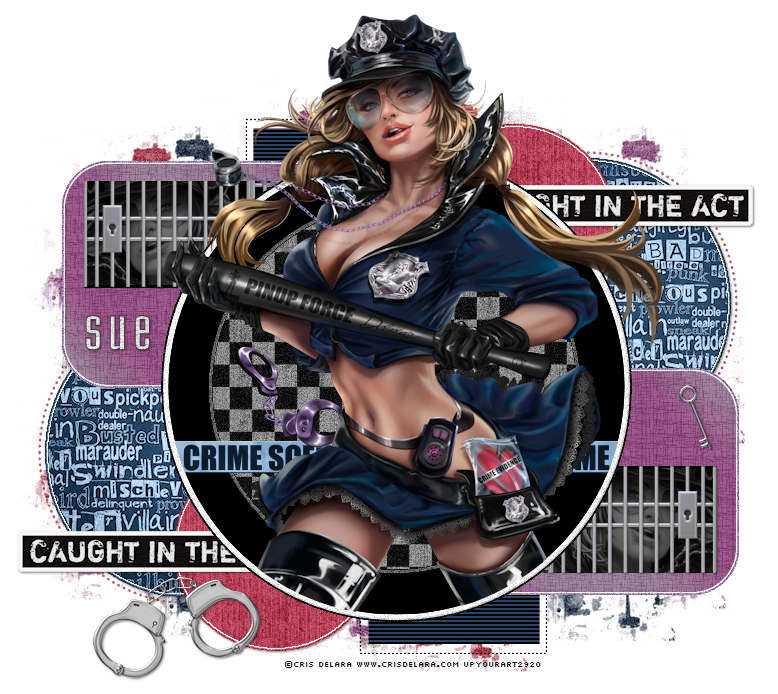
This tutorial was written by me and for those
who have a good working knowledge of psp.
Supplies Needed
Tube
Tube
Artwork by ©Cris DeLara at UYA
Template
Splatter Brush
Filters
EyeCandy 5 Impact- Gradient Glow
Richard Rosenman - Scanlines
Filters Unlimited 2 - Paper textures
Okay, let's get started.
Remember to save often!!!
Open my template and shift D
Close original
Delete info and word art layers
Start at the bottom and go up
Merge duplicate layers together - circle with circle and so on
There are a few basic steps to follow
1. Select layer
2. Float
3. Add new layer or invert
4. Paste paper or fill with color
5. Hit delete
6. Apply gradient glow and noise at 30 to original layer
Go HERE if you aren't familiar on my way of adding gradient glow using EC 5 Impact
6. Apply gradient glow and noise at 30 to original layer
Go HERE if you aren't familiar on my way of adding gradient glow using EC 5 Impact
gg/n = gradient glow and noise
Add new layer and use splatter brush around edge of tag in different colors and move to bottom
Add new layer and use splatter brush around edge of tag in different colors and move to bottom
I used parts of this scrap kit because I had it but any kit or pattern fill will easily work so just use what you have
big circles - paper 4 colorized
dotted circles - color from tube
small circles - paper solid 4 colorized
rectangle lines - delete and replace with word 2 element
small squares - color from tube and scan lines top two settings change to 2
rounded rectangles - gradient of two colors from tube
Apply FU paper texture papyrus
black small rectangles - paste tube and crop and then paste jail door and delete for both sides
Change blend mode to luminance on tubes
center circle - paper 4 checks colorized
Now add any elements of choice from kit
I used
key
handcuffs
crime scene tape
Paste tube
Duplicate
Float black circle
Invert
Delete on bottom tube
Crop bottom part of top tube
Merge together
**don't forget step 6 above - gg + noise**
Add name
Add drop shadow to layers
Add copyright info
Crop & Save


No comments:
Post a Comment