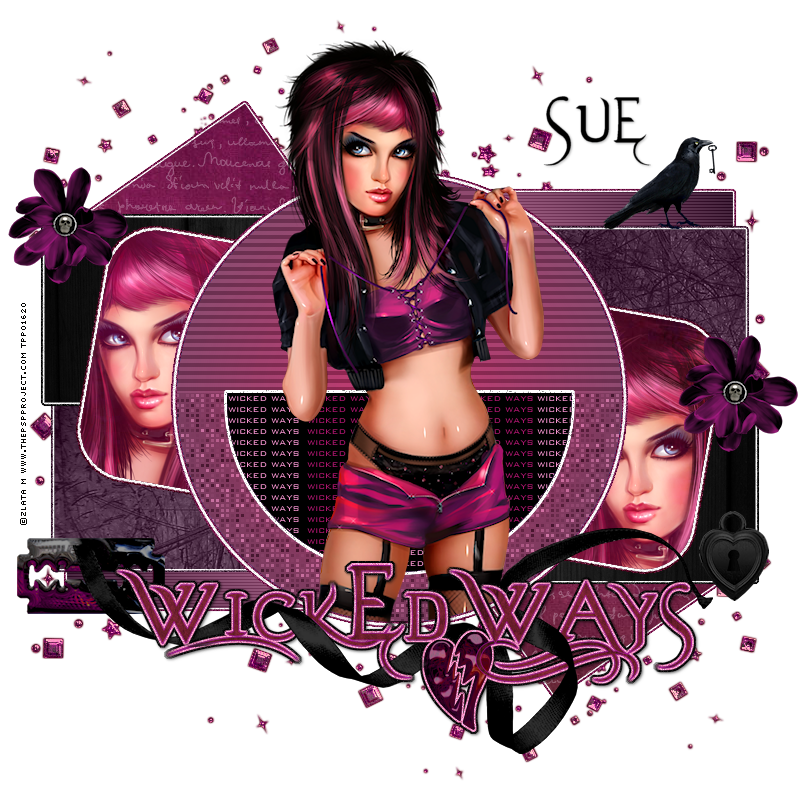
This tutorial was written by me and for those
who have a good working knowledge of psp.
Scrap
(PTU) Dearly Departed Kit by Tiny Turtle Designs at SATC
Template
Filters
EyeCandy5 Impact - Gradient Glow
Photo Effex - Scan Lines
Mura's Meister - Copies
Mura's Meister - Copies
Okay, let's get started
Remember to save often!!!
Open template and re-size canvas to 800 x 800
Crop after tag is done
Close info and text layers and fill bottom layer with white
Follow these steps
1. Select layer
2. Float
3. Invert or add new layer
4. Paste paper or fill with pattern or texture
5. Hit delete if using paper
6. Apply gradient glow to original
layer using color of choice and then noise at 30
Go HERE if you aren't familiar on my way
of adding gradient glow using EC 5 Impact
of adding gradient glow using EC 5 Impact
We are going to start at the bottom layer (in layers pallet)
and work our way up the template following the steps above.
First merge duplicate layers together
dark purple rectangles - gradient of two colors
Apply scan lines filter
lilac squares - paper 37 and text 54
Change blend on text to luminace (L)
blue squares - add new layer fill with color from tube
then paste paper 37 and change blend mode to luminance (L)
purple rectangles - paper 35
grey rounded rectangle - paper 40
Paste tube on both sides
Merge tubes
Change blend mode to screen on tube layer
light purple circle - add new layer and fill with color
Change blend mode to luminance (L)
If still not dark enough merge the two and duplicate and on top copy change blend to multiply and adjust opacity to darkness you want
purple half circle - black
**Remember to add gradient glow and noise to the original layers**
Type wicked ways out twice
Make sure text is small
Before applying changes highlight one
of the text and change color so that they are different colors
Objects - Align - Center
Apply copies filter using tile
Change gap to 1
Float half circle
Invert
Crop text layer
Paste tube
Duplicate
Float big circle
Invert
Click delete on bottom tube
Crop bottom part of top tube
Merge together
Invert
Click delete on bottom tube
Crop bottom part of top tube
Merge together
Paste wicked text at bottom of tag
Duplicate
Apply gradient glow and then noise
Now start adding elements
I used
130
37
38
63
77
89
For the ribbon place it where you like it
Duplicate
Move one below wicked element
On top ribbon use eraser tool and erase parts of ribbon
Add drop shadow to layers
Add name
Add copyright info
Close white bg layer
Crop and Save
Duplicate
Apply gradient glow and then noise
Now start adding elements
I used
130
37
38
63
77
89
For the ribbon place it where you like it
Duplicate
Move one below wicked element
On top ribbon use eraser tool and erase parts of ribbon
Add drop shadow to layers
Add name
Add copyright info
Close white bg layer
Crop and Save


No comments:
Post a Comment