

This tutorial was written by me and for those
who have a good working knowledge of psp.
Scrap
(FTU)Emo Babe Colab by Kristin and Kaci
Template
Filters
EyeCandy5 Impact - Gradient Glow
Penta - color dots
Photo Effex - Scan Lines
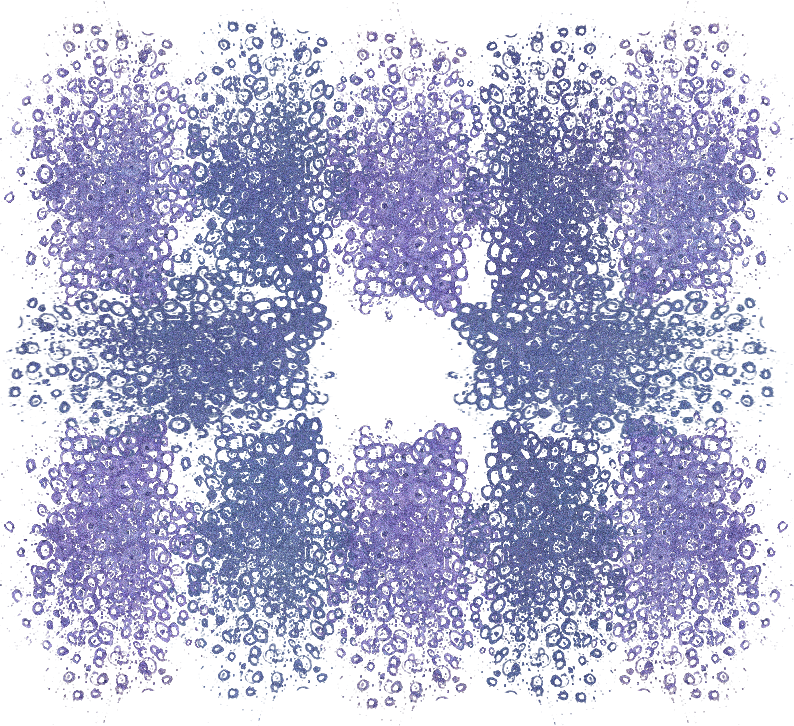
DSB Flux - Bubbles
Paper Textures
I used a few texture papers for my template layers
which you can find a wide range of HERE
Photo Effex - Scan Lines
DSB Flux - Bubbles
Paper Textures
I used a few texture papers for my template layers
which you can find a wide range of HERE
My Background
Okay, let's get started
Remember to save often!!!
Open template and re-size canvas to 800 x 800
Crop after tag is done
Close info layer and fill background layer with white
Follow these steps
1. Select layer
2. Float
3. Invert or add new layer
4. Paste paper or fill with pattern or texture
5. Hit delete if using paper
6. Apply gradient glow to original
layer using color of choice
Go HERE if you aren't familiar on my way
of adding gradient glow using EC 5 Impact
of adding gradient glow using EC 5 Impact
We are going to start at the bottom layer (in layers pallet)
and work our way up the template following the steps above.
First merge duplicate layers together
I do this as it saves me time as I use same paper or texture
on duplicate layers but if you don't just omit this step
Paste my background layer and move to bottom above white layer
Feel free to colorize to match your tube
black rectangles - kaci paper 9
white rectangles - paper texture of choice
grey bottom rectangles - kaci paper 5 colorized to match tag and scanlines applied
grey top rectangles - gradient of two colors and apply bubbles using default setting
dark grey rectangles - gradient then color dot filter changing distance to 9 and then paste tube - duplicate tube
change top to hard light at 10 opacity and bottom to 50 opacity
black circle - gradient and apply scan lines and paste close up tube - change blend on tube to screen at 35 opacity
Add any elements from kit you wish
I used
Kaci
bow 3, ribbon 1,star 1 and star 2
Kristin
sparkles
Use my tag as guide for placement if needed
Paste tube
I couldn't resist this tube as I loved her hair and everything about it especially as there are so many different colors to choose from
Add name
I used a pattern I made HERE
Float - Expand by 2
Fill new layer with light color
Move below name
Merge together
Add drop shadow to layers
Add copyright info
Close white layer
Crop & Save
No comments:
Post a Comment