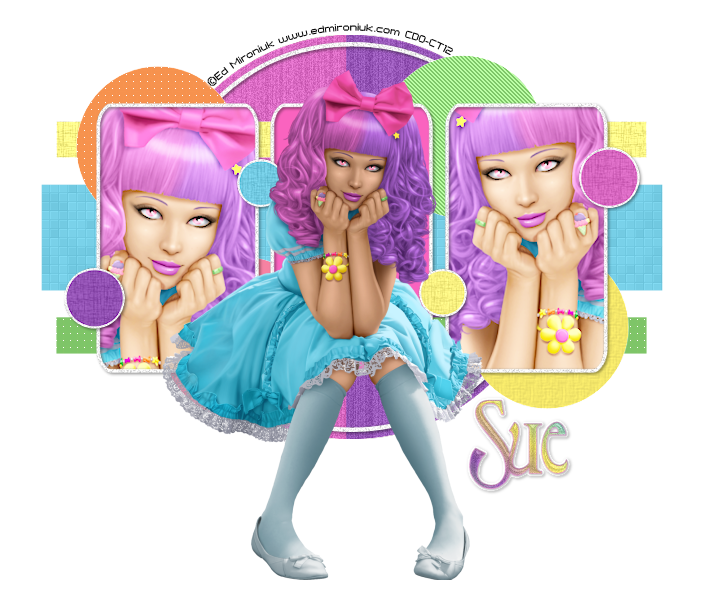
This tutorial was written by me and for those
who have a good working knowledge of psp.
Supplies Needed
Tube
Tube
Template
Temp # 36 from TwyztedT's Playroom
Filters
EyeCandy 4000 - Gradient Glow
Filters Unlimited
Penta - Jeans and color dots
Xero - Fritillary
Lokas - Gel
Filters
EyeCandy 4000 - Gradient Glow
Filters Unlimited
Penta - Jeans and color dots
Xero - Fritillary
Lokas - Gel
Okay, let's get started.
Remember to save often!!!
Open template
Shift D and close original
Re-size canvas to 800 x 800
Crop when tag is done
These are the basic steps you will need to follow
1. select layer
2. float layer
3. add new layer
4. fill new layer with color
5. apply filter or texture
6. close original layer or add gradient glow to layer
Open white bg layer and fill empty area with white
Using your selection tool - rectangle
Select half of the circle layer
Float
So now half of circle layer is floating
Add new layer
Fill with color choice
Invert
Float
Now other half should be floating
Fill the same new layer with different color
Select none
Close original
Duplicate new layer
On top copy apply filter of choice
I used FU - Special Effects - Aged Film
Then changed blend mode to luminance (L)
Middle rectangle - Fritillary filter changing
granularity to 10 and variation to 5
Top rectangle - FU Paper textures - Papyrus
Bottom rectangle - Color dots changing distance to 5
Four circles - different colors and effects
Color dots, Papyrus, and jeans
Black frame bgs - different colors
Paste close up tube on right and left
Merge tube layers togetherDuplicate and on top copy change blend mode to screen
White circles - Float - Contract by 2
Add new layer
Fill with different colors
Apply papyrus texture
Paste tube and move to middle frame area
Add drop shadow
Add name
I used gradient I made HERE
I applied noise at 10 and then gel
effect then gradient glow 3,25,100, white
Add copyright info
Crop & Save


No comments:
Post a Comment