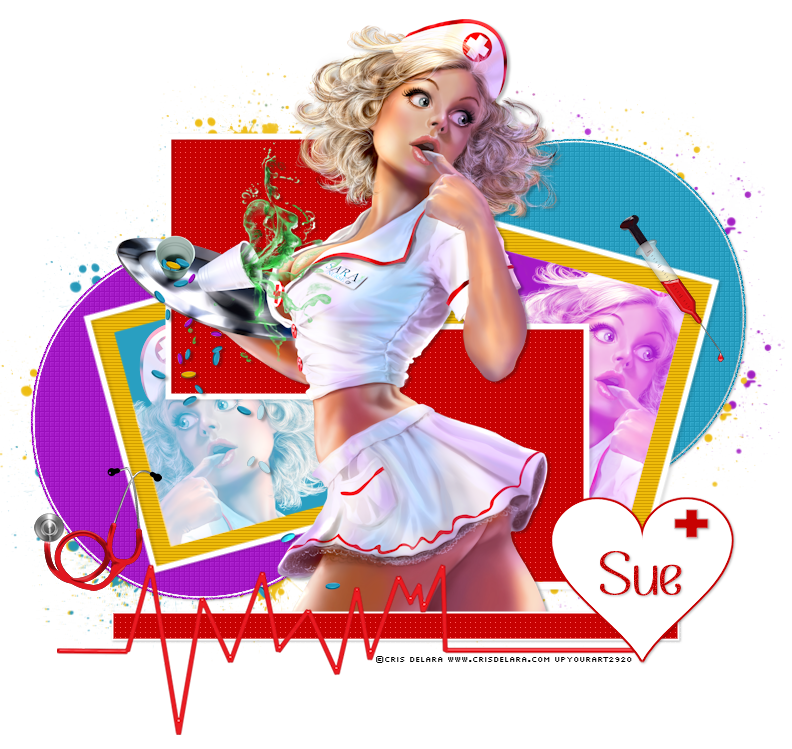
This tutorial was written by me and for those
who have a good working knowledge of psp.
Supplies Needed
Tube
Tube
Artwork by ©Cris DeLara at UYA
My Supplies
Template
Splatter Brush
Filters
EyeCandy 5 Impact- Gradient Glow
Penta - color dots
Photo Effex - Scan Lines
Xero - Fritillary
Splatter Brush
Filters
EyeCandy 5 Impact- Gradient Glow
Penta - color dots
Photo Effex - Scan Lines
Xero - Fritillary
Okay, let's get started.
Remember to save often!!!
Open my template and shift D
Close original
Use my tag as a guide if needed
Steps to follow
1. float
2. defloat
3. Add new layer
4. fill with color of choice
5. select none
6. close original (except on the circle layers)
1. float
2. defloat
3. Add new layer
4. fill with color of choice
5. select none
6. close original (except on the circle layers)
right circle - #33a9cb then fritillary default setting
After you have circles colored on the original layer apply
gradient glow and then noise at 30
Go HERE if you aren't familiar on my way
of adding gradient glow using EC 5 Impact
left square - #d09d00 then scan lines
left inner square - #33a9cb then invert and paste tube
Change blend mode to screen
right square - #d09d00 then scan lines
right inner square - #a419c6 then invert and paste tube
Change blend mode to screen
left and right red - I kept mine red so feel free to color to match your tube
red line - I also kept same
heart outline - red
heart - white
Once template is colored paste your tube
Move to top but below red line and heart
Add drop shadow to layers of choice
Add any elements of choice from kit
I used
cross 1 re-sized small and placed on heart
ekg readout 1 - places at bottom on red line
syringe 1 - placed at top right
stethoscope 1 - placed on left areaAdd new layer and move to bottom
Using splatter brush and colors from tube
paint some splatter around tag
Add name
Apply noise at 30
Add copyright info
Crop & Save


No comments:
Post a Comment