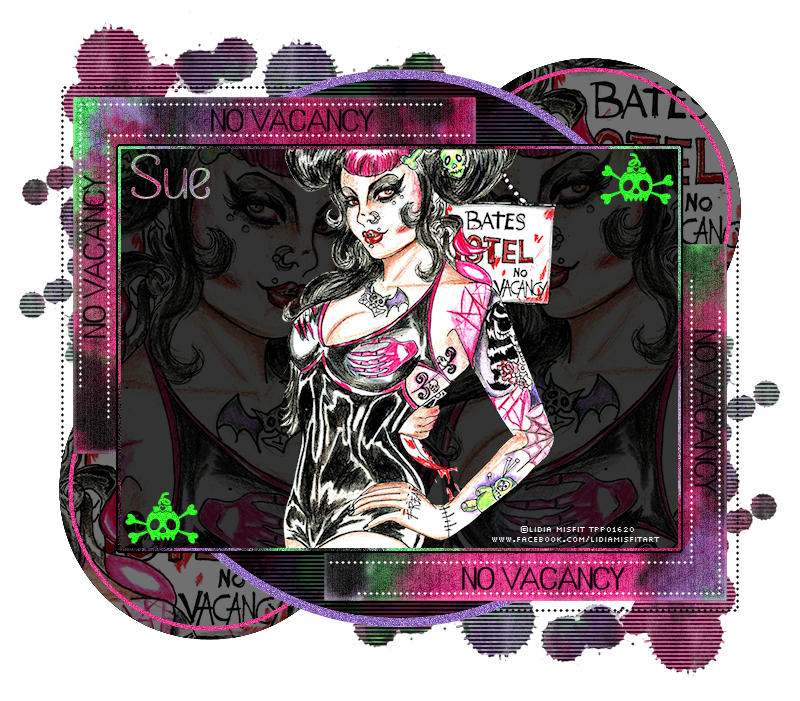
This tutorial was written by me and for those
who have a good working knowledge of psp.
Supplies Needed
Pepito
Template
Okay, let's get started
Remember to save often!!!
Open template and shift D.
Close original.
I re-sized my canvas to 800 x 800
to give me more room and cropped when I was done
but this is totally up to how you like to do it.
There are a few basic steps for this template that are repetitive.
1. Select layer
2. Float
3. Add new layer
4. Fill with color or pattern of choice
5. Select none
4. Fill with color or pattern of choice
5. Select none
6. Close original layer
I like to start at bottom layer and go up.
Use my tag as guide if needed
Delete all layers above the skulls layer
Left and Right circles - Invert
Paste tube
Delete
Select none
I used sign part of tube
Left and Right glitter circles - #d42b7c
Glitter circle - #8664b2
Circle - my pattern
Apply scan lines distance of 2, color black
Lower opacity to 40
Left and Right rectangles - my pattern
Glitter rectangle - my pattern
Apply noise at 25
Rectangle 2 - Float
Invert
Paste tube
Duplicate
Mirror
Delete
Select none
Merge together
Lower opacity to 20
Skulls - #37ff31
Apply noise
Paste tube
Crop any of tube if needed
Paste my splatter background
Move to bottom
Paste my text
Duplicate so there are 4 layers
Rotate one left 90 degrees and one right 90 degrees
Move where they go
Add name
Apply noise
Add copyright info
Save


No comments:
Post a Comment