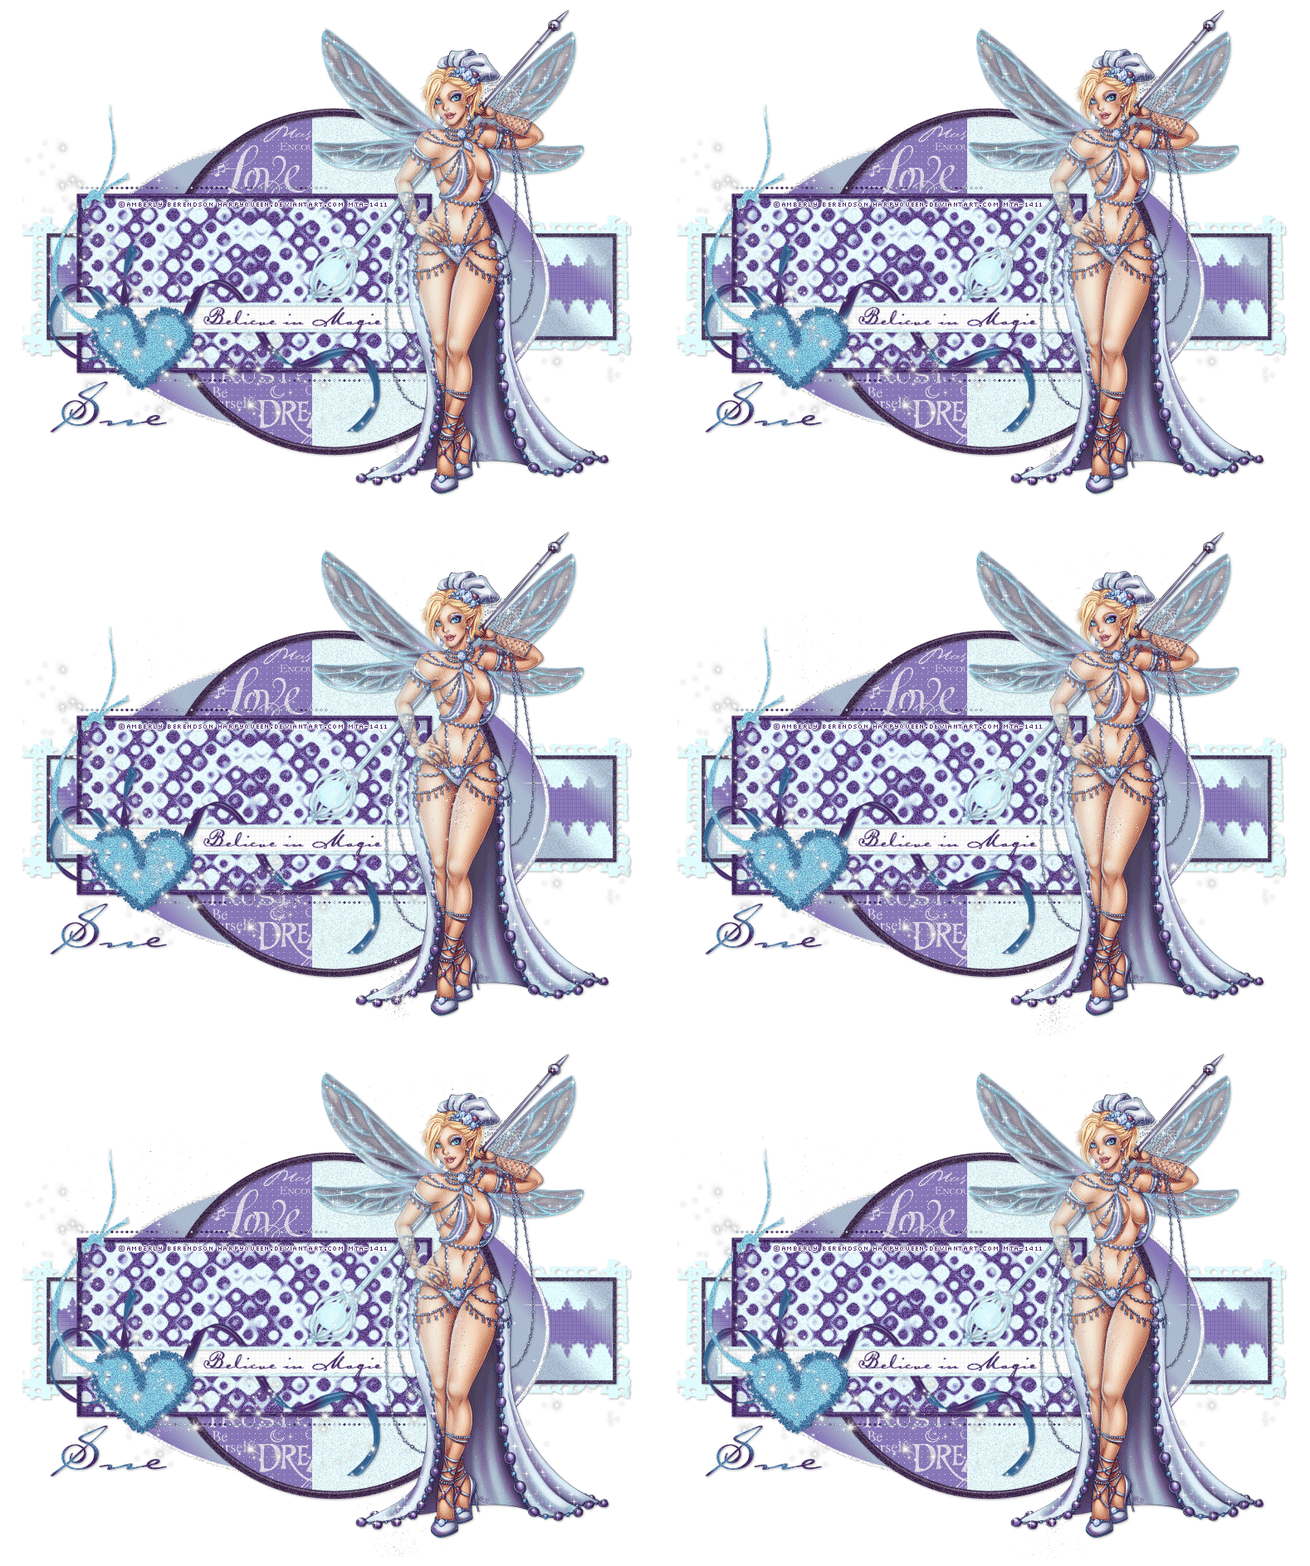
This tutorial was written by me and for those
who have a good working knowledge of psp.
Supplies Needed
TubeArtwork by ©Amberly Berendson at MTA.
Font
Carlotta
Filters Used
Zero - Fritillary
DSB Flux - Bubbles
Lokas - Gel
Template
Okay, let's get started.
Remember to save often!!!
Open template and shift D
Close original
Re-size canvas to 800 x 800
Crop when done
Start from bottom and work your way up.
These are the basic steps you will need to follow
1. select layer
2. float layer
3. add new layer
4. fill new layer with color or gradient of choice
5. deselect and close original layer
My color pallet

Paper bg - light blue
Back rectangle - gradient of light purple and blue
Apply noise at 20
Border back rectangle - dark purple
Border - gradient of medium purple and blue
Apply fritillary filter - default settings
Oval - medium gradient again
Circle - medium purple
Word art - apply noise
Line circle - light blue and noise
Border circle - dark purple
Apply noise and gel effect
Front rectangle - dark purple and light blue
Apply bubbles filter - default setting
Rectangle frame - dark purple
Apply noise and gel effect
Small rectangle - apply fritillary filter
Small frame - light blue
Apply noise
Dotted lines - Gradient of dark purple and blue
Heart - medium blue
Apply noise
Ribbon - gradient of dark purple and blue
Apply gel effect
Glitter heart - Dark blue
Apply noise
Word art - delete and write your own
Paste your tube
Move to right area
Add name
Add copyright info
Save
To Animate
Open animation in AS
Copy merge your tag in psp and paste into AS
Ctrl L until you have 18 frames
Delete info layer from animation
Ctrl A
Drag to tag
Click back button on animation and repeat drag to tag
I repeated this 4 times so I covered areas of tag I wanted
View tag and if it looks how you want it to save as gif.
That's it!


No comments:
Post a Comment