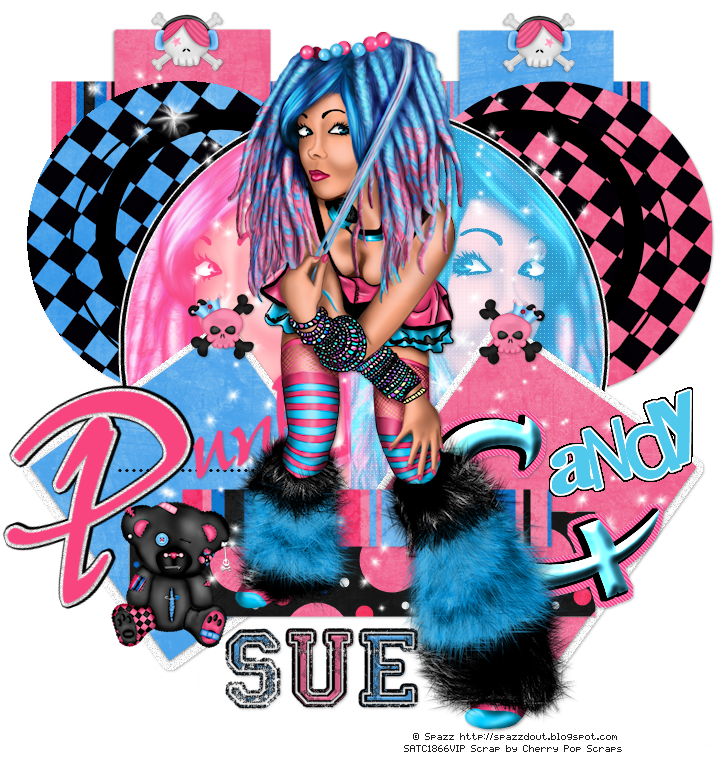
Colleged
Okay, let's get started
Remember to save often!!!
Open template and re-size canvas to 800 x 800
Crop after tag is done
There are a few basic steps for this template that are repetitive.
1. Select layer
2. Float
3. Invert
4. Paste paper
5. Hit delete
6. Close original layer
Lock the "punk" layers together and move to left
Rotate slightly left 15 degrees
Lock the "candy" layers and move to rightStarting from bottom layer and going up this is what I used
large black rectangle - paper 10
white rectangles - papers 7 and 8
small circles - papers 1 and 2
black circle - float then contract by 6
delete then float again add new layer fill with white
and then contract by 2 add new layer and fill with black
Move above the other circle layers so it becomes a frame
large pink circle and half blue circle - merge together
Float
Invert
Paste tube close up
Move to one side
Delete
Select none
Duplicate
Mirror
Merge together
Change blend on tube layer to screen
white rectangles - add noise at 25
pink and blue rectangles - papers 7 and 8
white long rectangle - paper 3
small black rectangle - paper 10
Now it's time to add elements from scrap kit
I used elements 1, 3, 7, and 15
Use my tag as guide if needed for placing elements.
Add name
Add drop shadow to layers of choice
Add copyright info
Don't forget to crop
Save


No comments:
Post a Comment