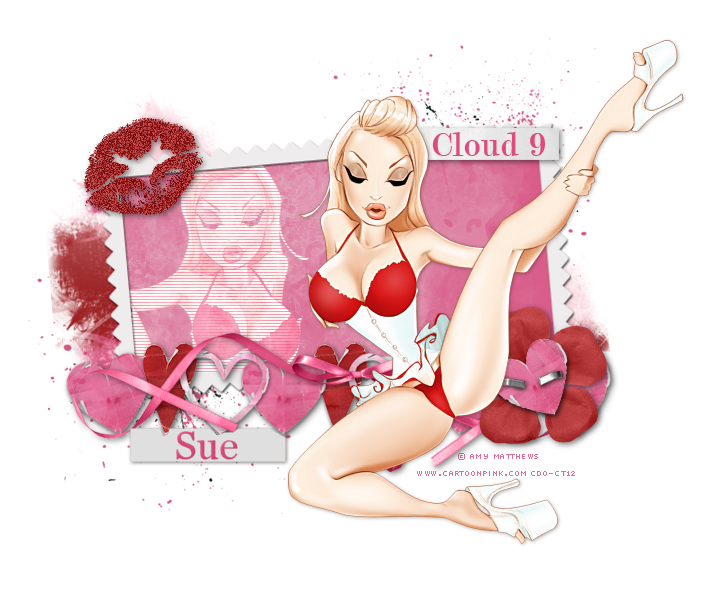
This tutorial was written by me and for those
who have a good working knowledge of psp.
Supplies Needed
Tube of choice, I used Artwork by ©Amy Matthews at CDO.
Font of choice, I used Vani
Let's Begin!
Open cluster frame
Shift D and close original
Using selection tool point to point select frame area
Add layer
Fill with color of choice
I used #d85f8b
Add new layer
Apply texture brush of choice using lighter color
I used #e1e1e1
Paste tube
Duplicate and mirror bottom tube
Move below frame
Change blend mode to screen
Apply scanlines using #b63b3d
Move top tube layer to right area
Use my tag if needed
Using preset shape - rectangle with foreground closed and background #e1e1e1
Paste tube
Duplicate and mirror bottom tube
Move below frame
Change blend mode to screen
Apply scanlines using #b63b3d
Move top tube layer to right area
Use my tag if needed
Using preset shape - rectangle with foreground closed and background #e1e1e1
draw out a rectangle like the one under Cloud 9 at top of cluster
Convert and move to bottom left
Add name to rectangle
Add copyright info
Save


No comments:
Post a Comment