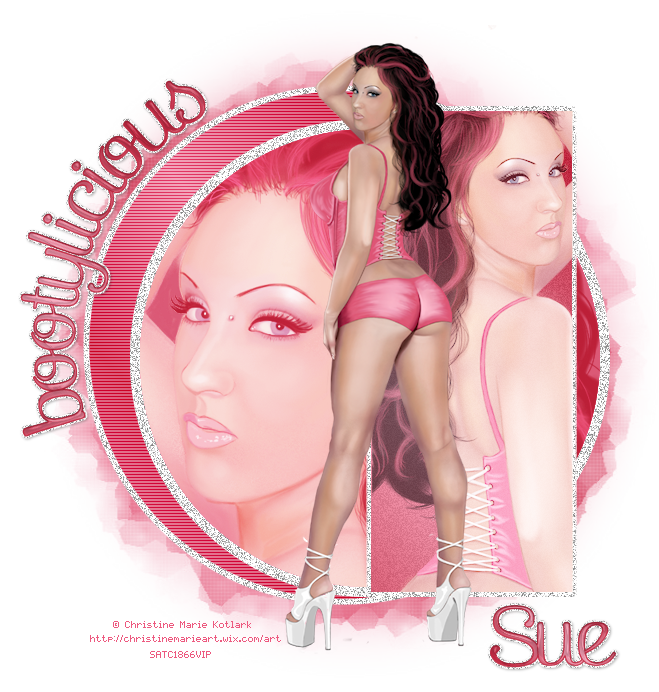
This tutorial was written by me and for those
who have a good working knowledge of psp.
Supplies Needed
Tube of choice, I used artwork by ©Christine Marie Kotlark at SATC.
Font of choice, I used Pepita Script
Mask of choice, I used WSL #219
Let's Begin!
Open template and shift D.
Close original.
Delete info layer, text layer and gradient rectangle layer
I re-sized my canvas to 800 x 800
to give me more room and cropped when I was done
but this is totally up to how you like to do it.
Highlight the black circle and float
Add new layer and fill with color from tube
I used gradient #f3a6bb and #de5e7b
Apply scanlines filter using #bc1f37
with spacing set to 2
Highlight the gradient circle and float
Add new layer and fill with #db5976
Paste large tube and crop
Change blend mode to screen
Duplicate and change the blend mode to soft light
Highlight black rectangle and float
Add new layer and fill with gradient used above
Apply slight noise set about 5 or so
Keep selected
Paste medium tube ( I mirrored mine before pasting)
Delete
Duplicate tube
On bottom one change opacity to 50
One top tube change blend mode to screen
Paste smaller full length tube and move to center area
Using your circle preset shape draw out a
circle a little bigger than the largest one
Select text tool and on a curve
(when the half moon with A shows up)
type out bootylicious
Close circle and change to raster
Apply gel effect
Float text and expand by 2
Invert
Duplicate the noise frame layer
(bottom layer of template)
Delete
Move below text layer
Add drop shadow
Add name
Do the same steps as you just did for text
Add copyright info
Add new layer fill with gradient
Apply mask
Merge group
Save


No comments:
Post a Comment