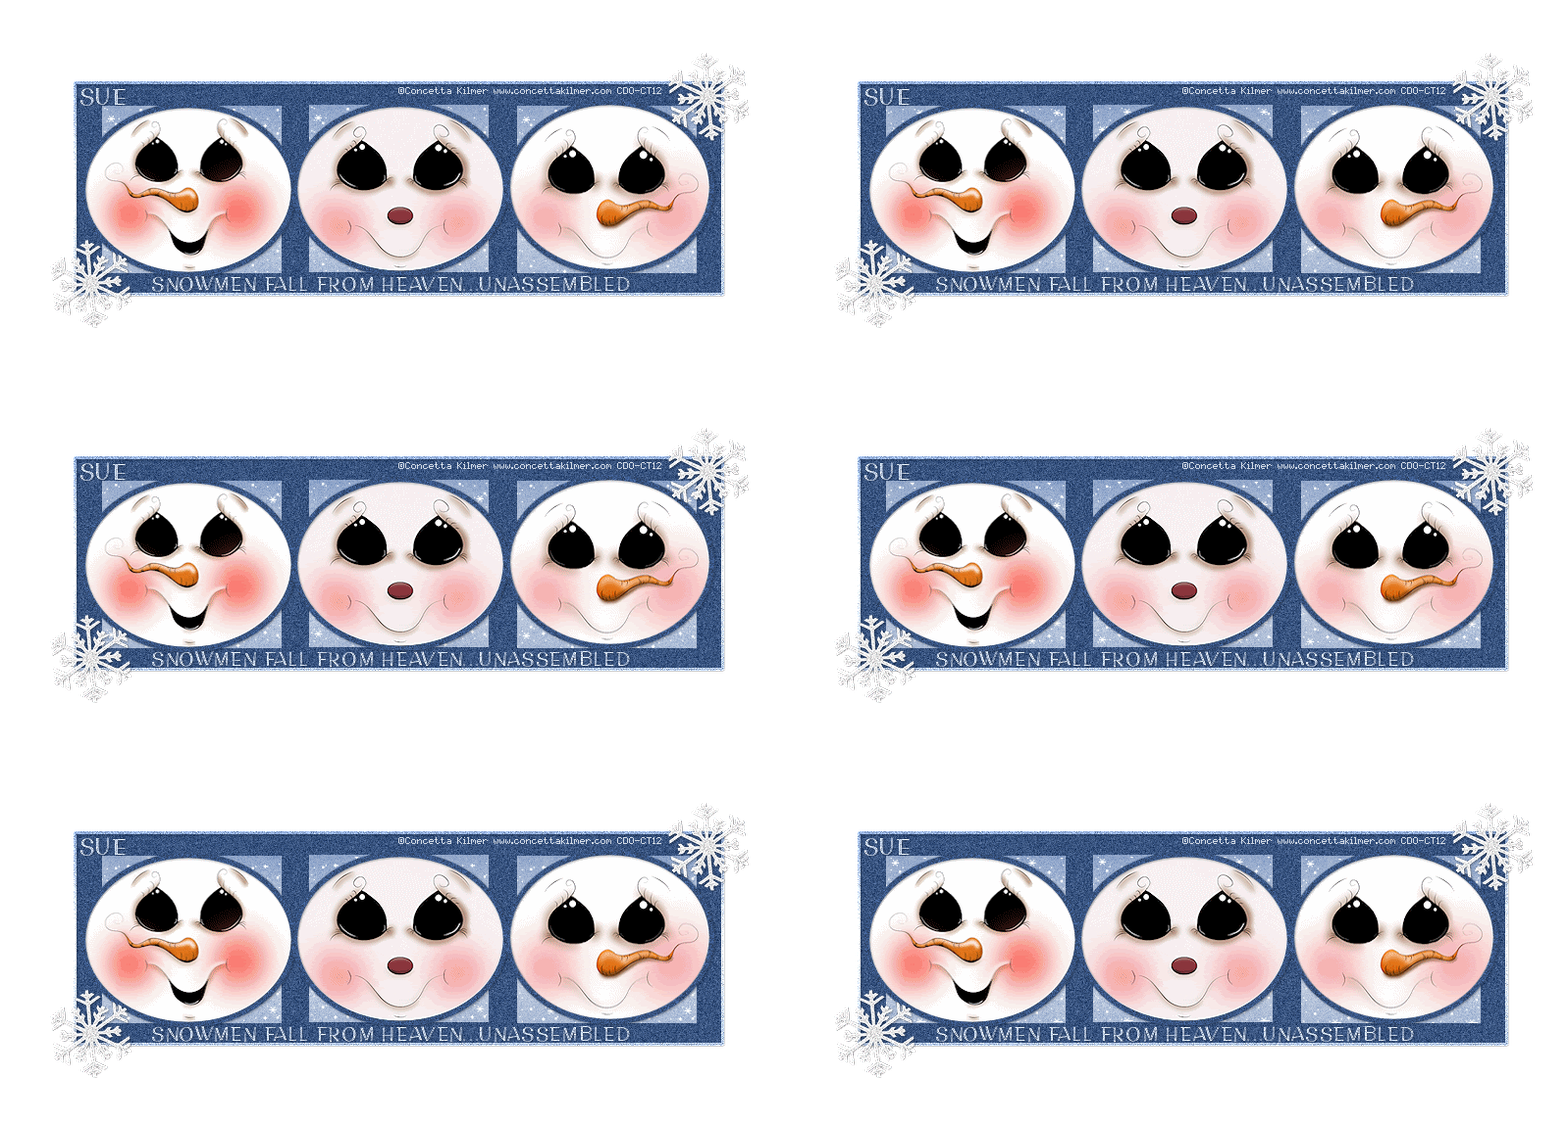
This tutorial was written by me and for those
who have a good working knowledge of psp.
Supplies Needed
Tubes of choice, I used Artwork by ©Concetta Kilmer at CDO.
Font of choice, I used Dean Martin
Let's Begin!
Open my supplies and shift D.
Close original.
Feel free to colorize any of the layers to match your tubes.
Select the white oval bg and float
Invert
Paste tubes and re-size if needed and then delete.
Once you have all the tubes cropped make sure that these
layers are below the oval frame and shadow layers.
I merged the three together but you don't have to.
Add name.
For my name and the text I used #b4c0d5
then added noise at 20 and then sharpened once.
Add copyright info.
Once you have tag how you like it close everything above the gradient square layer.
Copy merged and paste into AS.
Ctrl L until you have 10 frames.
Open the snow animation and Ctrl A
Drag the snow and fit to each square.
Make sure you view the animation for each square
as you don't want it to be outside the square at all.
Do this for all three squares by clicking the back arrow on
the snow and dragging to next square until all three are done.
Back to PSP and close the layers that are open and open the ones that are closed.
Copy merged and paste into AS.
Ctrl L until you have at least 10 frames
Ctrl A and drag to your tag and fit where it goes.
Save as Gif.
Make sure when saving since the snow flakes have a drop
shadow that you change the customize optimization settings in AS.
The partial transparency setting needs to be
convert pixels set to 40.
That's it!!!


No comments:
Post a Comment