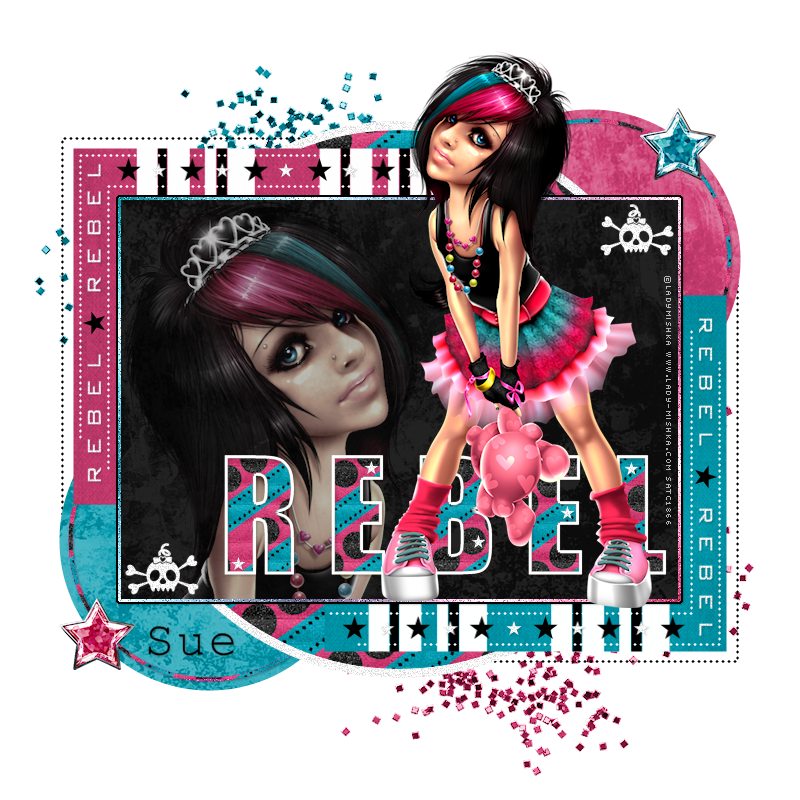
This tutorial was written by me and for those
who have a good working knowledge of psp.
Supplies Needed
Font of choice, I used Aya Script.
Mask, I used #84 from Weescotslass Creations.
Template, I used #156 by Kristin
Mask, I used #84 from Weescotslass Creations.
Template, I used #156 by Kristin
Let's Begin!
Open template and shift D.
Close original.
Delete info layer and pixel word layer.
We are going to use same steps for each layer of tag.
1. Select layer
2. Float
3. Invert
4. Paste paper
5. Hit delete
6. Close original layer
I like to start at bottom and go up.
Left Circle - Paper 9
Left Glitter - Paper 17
Right Circle - Paper 7
Right Glitter - Paper 17
Circle - Paper 17
Rectangle Left - Paper 1
Rectangle Right - Paper 3
Glitter Rectangle - Gradient of the two colors.
Fill new layer and move below original and change blend on original to luminance (L)
Rectangle 2 - Paper 8
Word art 2 - Paper 17
I also Expanded by 2 and made white border for this.
Paste elements of choice.
Add tube.
I used close up and regular tubes.
On close up tube drop opacity to 70 or where you like it.
Add name.
Add copyright info.


No comments:
Post a Comment