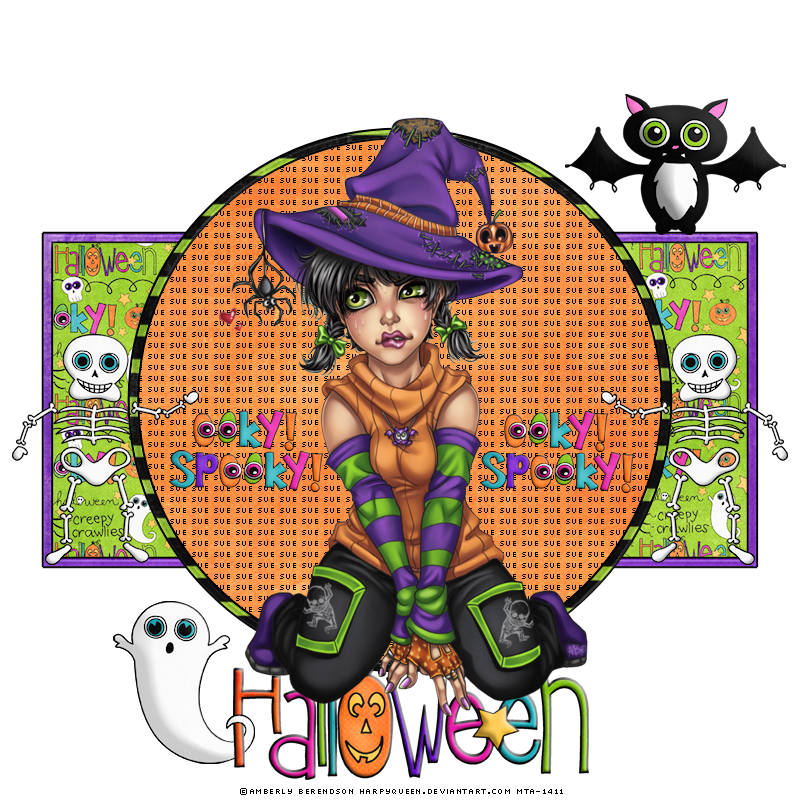
This tutorial was written by me and for those
who have a good working knowledge of psp.
Supplies Needed
Font, I used Pixelette.
Filter, I used Mura's Meister - Copies.
Items from kit we will be using
dcorbitt_ookspooky_bat.png
dcorbitt_ookspooky_ghost.png
dcorbitt_ookspooky_skeleton.png
dcorbitt_ookyspooky_halloweentitle.png
dcorbitt_ookyspooky_spooky.png
dcorbitt_ookyspooky_pp6.jpg
dcorbitt_ookyspooky_sp5.jpg
dcorbitt_ookyspooky_pp4.jpg
dcorbitt_ookyspooky_sp3.jpg
Let's Begin!
Open new canvas 700 x 700.
Select preset shape - rectangle
using paper as foreground with background closed.
Width 8
Draw rectangle out quite large.
Use my tag a guide if needed.
Add a bevel to frame.
Select - modify - expand by 2.
Add new layer
Fill with black.
Move below frame.
Merge the two.
Using magic wand click inside frame.
Modify - expand by 5
Invert
Paste paper and hit delete.
Do above steps again only change from rectangle to circle.
Once you have both shapes done paste tube and place where you like.
Paste the other elements and place where you like.
For the ghost and halloween word art
I duplicated the ghost and moved one below word art and one above.
Then on top copy I erased part of ghost so it's like he's wrapped around the H.
For Ooky Spooky
I used the spooky word art and just cropped the SP off for ooky.
Add Name.
For name I typed out name and applied.
Objects - Align - Center
Then applied filter using
tiling changing gap to 1.
Add copy right info.
Save!


No comments:
Post a Comment