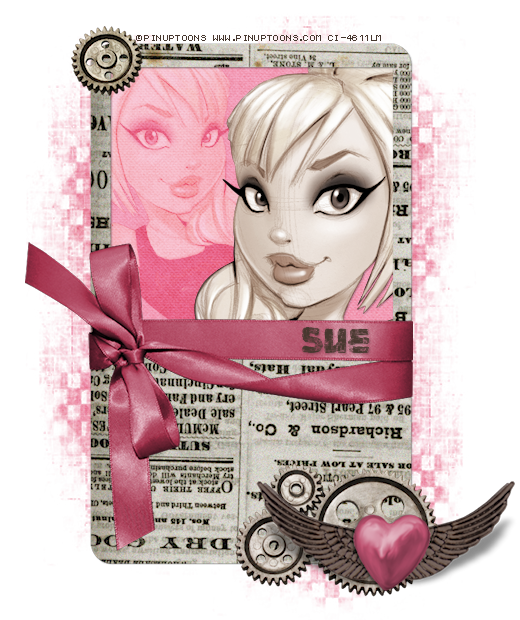
This tutorial was written by me and for those
who have a good working knowledge of psp.
Supplies Needed
Tubes of choice, I used Artwork by ©PinUpToons at CDO.
Font of choice, I used Vtks Message .
Mask, I used #214 from Insatiable Dreams.
Let's Begin!
Paste frame 6 into psp and re-size canvas
to 800 x 800.
So we have room to work.
Remember to crop when done.
Paste gears 1 and re-size and
place in bottom right corner of frame.
Paste winged heart 2 and place same
area just more right than gears.
Paste gear 2 and re-size and move to top left corner.
Using selection tool select around
square opening of frame.
Invert.
Paste paper 4 and hit delete.
Select none.
Duplicate.
On top copy change blend to multiply at 50 % opacity.
Paste ribbon 3.
Duplicate.
On top copy change blend to multiply at 50 % opacity.
Paste paper 4 again and move below everything else.
Duplicate.
On top copy change blend to multiply at 50 % opacity.
Merge those two together.
Apply mask.
Paste tube.
Move to right area of square.
Duplicate and re-size a lil smaller.
Mirror smaller tube and move to left.
On left tube change blend mode to soft light.
On left tube change blend mode to soft light.
Back to the right tube.
Duplicate and on top tube colorize
using S -15 and H -34
Lower opacity to 70.
Add name.
Add copyright info.
Save.


No comments:
Post a Comment