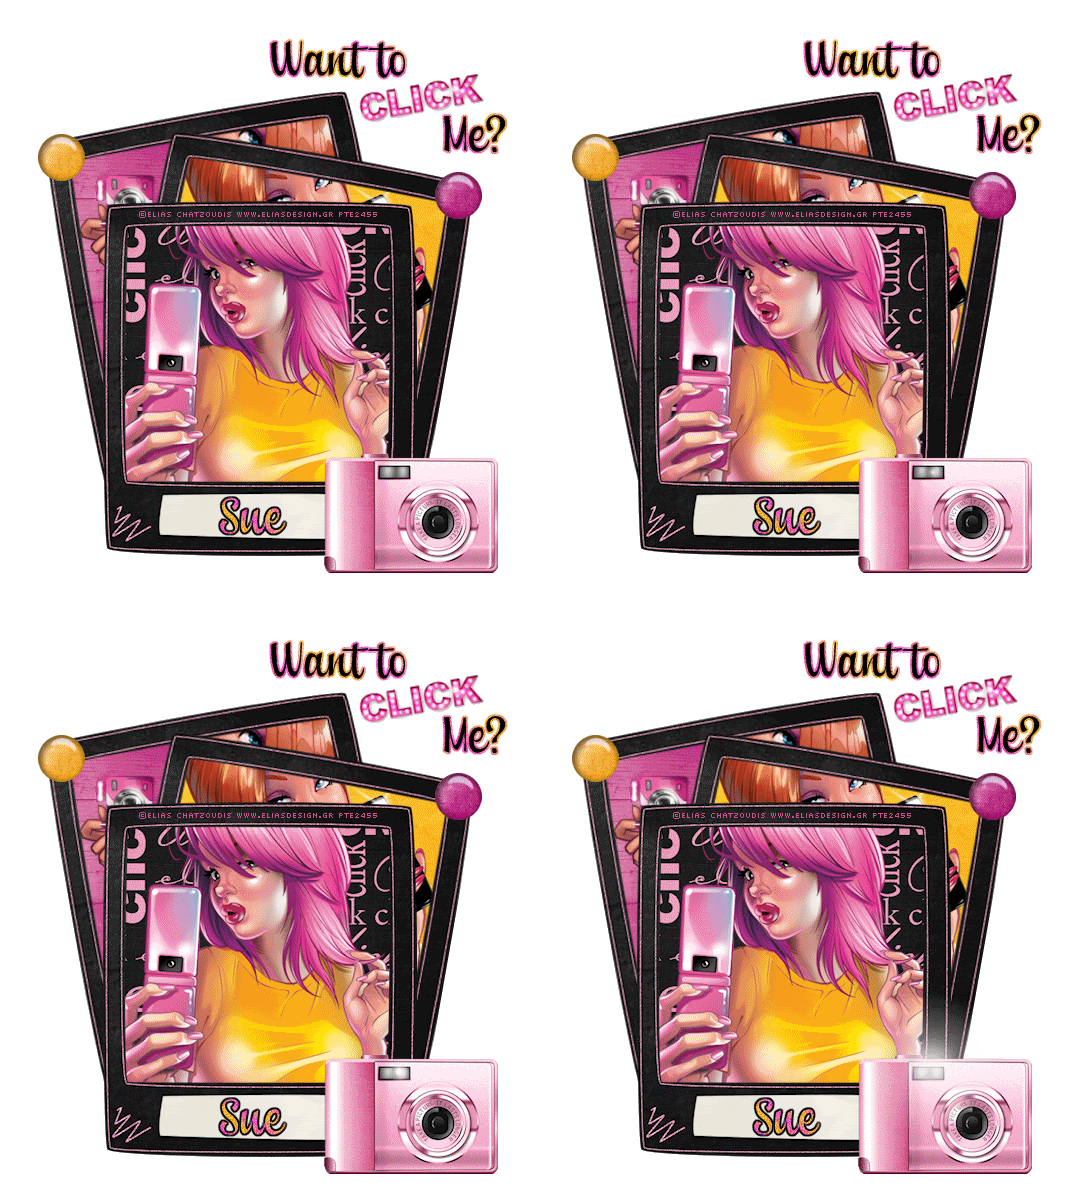
This tutorial was written by me and for those
who have a good working knowledge of psp.
Supplies Needed
Tube of choice, I used artwork by ©Elias Chatzoudis.
Font of choice, I used Clipper Script Fat.
Animation, I used Camera Snap Flash by Lovey at Love Shack.
Animation, I used Camera Snap Flash by Lovey at Love Shack.
Let's Begin!
Open new canvas 800 x 700.
Refer to my tag as guide if needed as you go along.
Paste frame 5 and duplicate twice so you have 3.
On bottom copy rotate 10 left.
On middle copy rotate 10 right.
Using selection tool - point to point
select area that's open for each frame.
Invert and paste paper and hit delete.
I used
top - paper 5
middle - paper 2
bottom - paper 1
Paste elements 21 and 22 re-size and place on corners.
Paste wordart 1 and re-size and rotate left 10.
Move to top right area.
Add text of choice.
I used gradient of colors from paper 1 and 2.
Then applied noise at 10.
Move this layer below your text layer.
Paste element 1 (camera)
Re-size.
OK now add tubes of choice.
I used ones with camera or cell in mine to go along with tag.
Crop each by floating the paper behind and invert then hit delete.
Add any other elements of choice.
Add name.
I did same as before just vice versa with colors.
Add copyright info.
Now to animate copy merge and paste into AS.
Ctrl L 3 times so you have total of 4.
Open animation.
Delete info layer.
Ctrl A.
Drag animation to camera area and drop.
You may need to back arrow and do again depending if you like how it looks.
That's it!!!


No comments:
Post a Comment