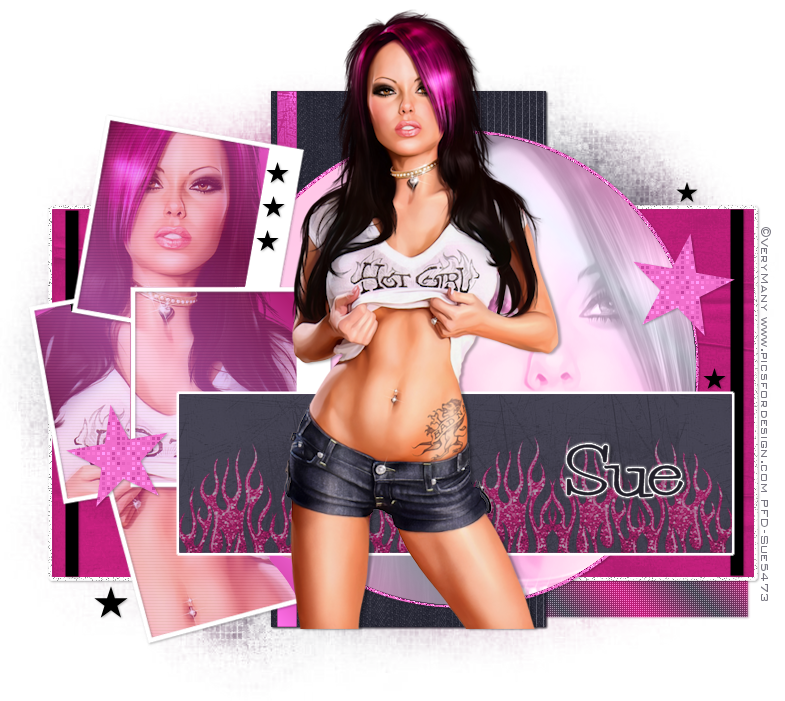
This tutorial was written by me and for those
who have a good working knowledge of psp.
Supplies Needed
Font of choice, I used PetuniaBounce.
Tag Template, Template #417 by Missy.
Optional Plug-ins,
EyeCandy - Gradient Glow
Photo Effex - Scanlines
Penta - Color Dot
Let's Begin!
Open template and shift D. Close original. Delete info layer.
Select black circle layer and float then add new layer and fill with gradient of two colors from tube
then invert and paste background tube layer and hit delete then change blend mode to Luminance (L).
Select rectangle float then add new layer and fill with color of choice. Add texture if desired.
Do the same steps for the other layers using different colors and/or gradient or textures.
For middle black rectangle I applied jean texture and colored to match, for the small pink rectangle I used texture and the small rectangle on right I used gradient then applied color dot and for rectangle right below tube I filled with color then added new layer using a darker color as texture and filled layer. Use my tag as guide if needed.
Select the picture frame backgrounds on left and float add new layer and fill with color
then invert and paste tube and hit delete. Duplicate and on top layer apply scanlines and lower opacity to 40. On other tube layer lower to 80 and change blend mode to screen or whatever you like.
Paste tube and place it where you like it.
Paste mask layer I supplied.
Paste flames I supplied.
Add drop shadow to layers.
Add copyright.
Add name and give it a gradient glow. 3,50,100 white.
That's it!


No comments:
Post a Comment