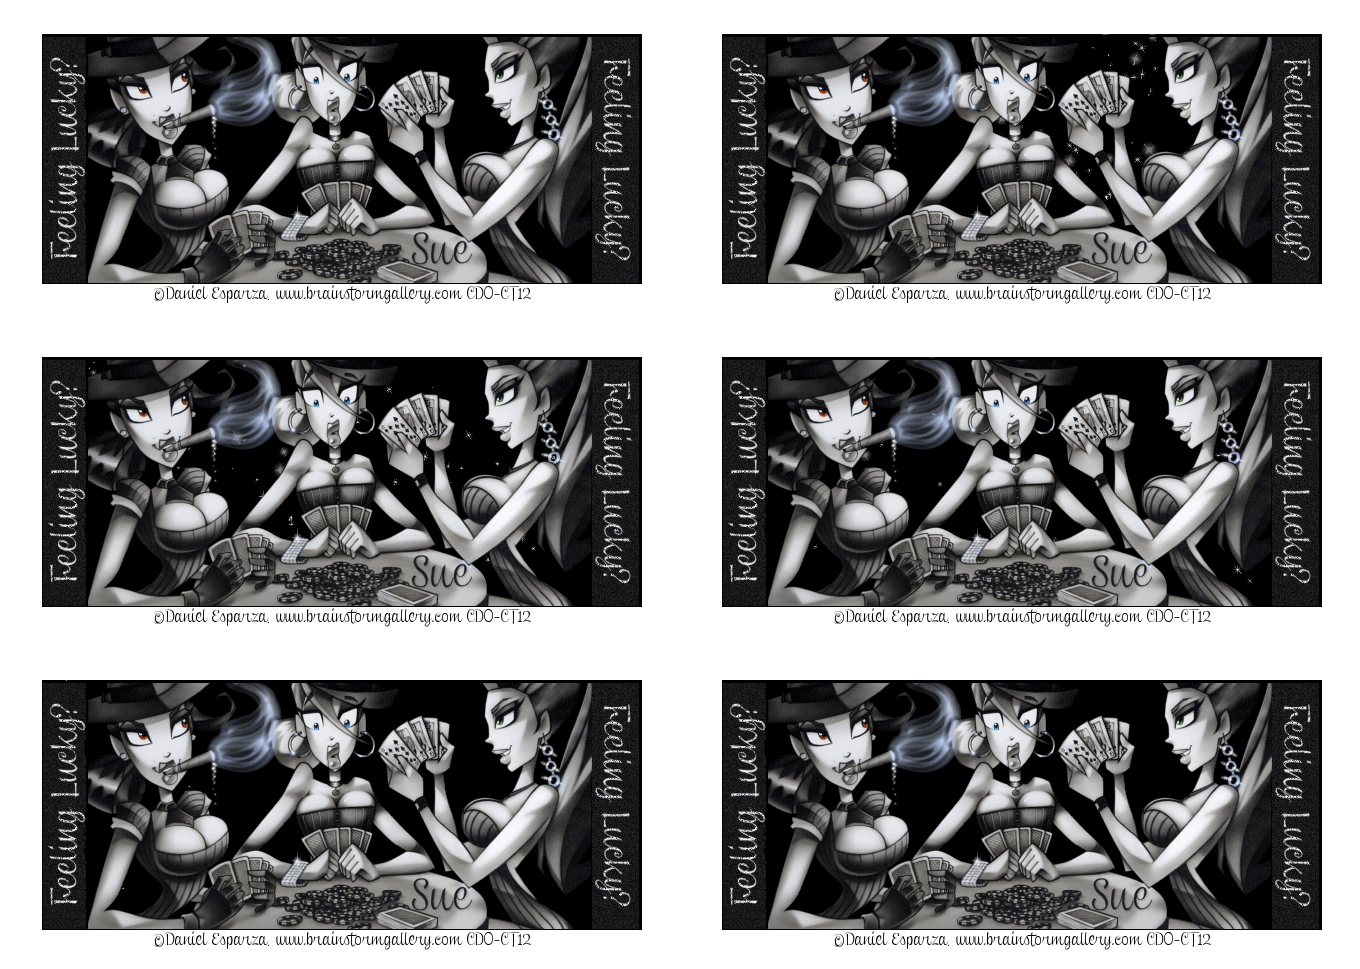
This tutorial was written by me and for those
who have a good working knowledge of psp.
Supplies Needed
Font of choice, I used Clipper Script.
My Supplies, animated background and temp
I made both these so please do not share.
The animated background I made using animation from Lovey.
Check out her site for some great animations.
Let's Begin!
Open my template supplies in psp and my animated bg in animation shop.
Shift D for both and close originals.
In psp paste tube or image of choice and place how you like it.
If using a different tube or tubes then you might want to colorize them at H-0 and S-0.
Add name.
Add copyright info.
Once you get everything the way you like it, make sure bg layer is closed and copy merged and paste into AS.
Duplicate this by Ctrl L until you have 19 frames.
Ctrl A and drag to the animated background.
If your merged image is larger than animated bg like mine was as I placed copyright out of square you will need to put animated bg layers on a bigger canvaas before dragging merged layer.
Once you place your merged layer where it fits save it as a gif.
Avatar
If you want to make a matching avatar then back to psp using selection tool crop area you want to use and copy merge and paste as a new image. Remember avatars are relatively 160 x 180 depending on group rules.
Add new layer and fill with black then select and contract by 2 and hit delete. Move this layer to top. Add Initial or name and copy right and save. I didn't animate mine but if you want to just use same steps as before but when you crop section from tag for avatar make sure bg layer is closed.


No comments:
Post a Comment