

This tutorial was written by me and for those
who have a good working knowledge of psp.
Supplies Needed
Tube of choice, I used artwork by ©PinUpToons at CDO.
Font of choice, I used Annual.
Tag Template, Collab Templates 29 - 32 by Denny & Pooker
Optional Plug-ins, PhotoEffex - ScanLines
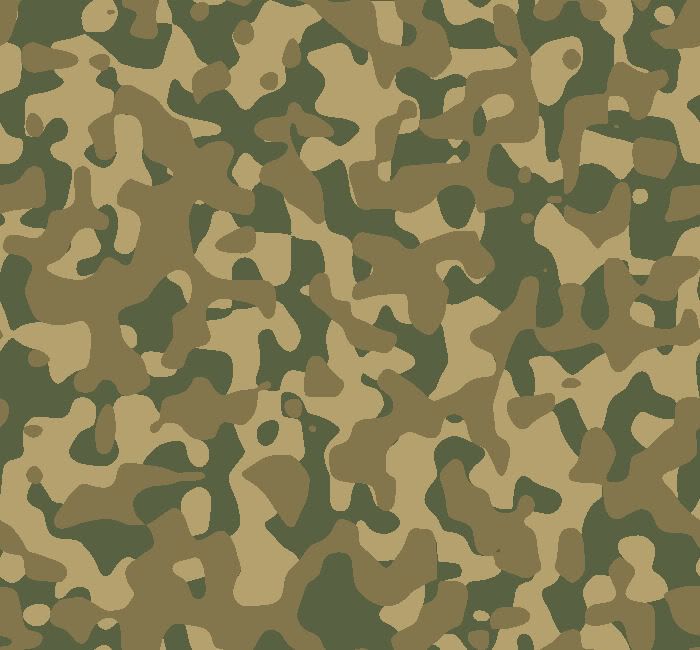
VanDerLee - Camouflage
Penta - Color Dot
Xero - Porcelain
Colors I used,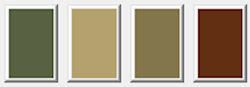

Let's Begin!
Open template and Shift D. Close original.
Delete info layer.
Paste main tube and place in middle and line up bottom with square.
Over on materials pallet merge each pair together.
Black star with black star, circle with circle and so forth by merging down from the top one.
Select pink square and float then add new layer and flood fill with color from tube.
Close original layer - you will need to continue doing this for all.
Add another new layer and using splat brush or any brush you have and scatter few splats behind tube. Use my tag as guide if needed.
Select black stars layer and float then add new layer and flood fill with color.
Paste tube and invert then hit delete do this twice but mirror tube for one.
Add xero - porcelain using default except change blue value to 0.
Lower opacity to 65.
Add new layer and go to VanDerLee - Camouflage
Use these settings...

Select pink star frame and float then invert, go back to camo layer we made and hit delete.
Add bevel.

Continue selecting each pair and adding new layer and filling with color of choice.
Once done then add a texture or plug in to each pair.
For mine...
Pink circles I used scanlines (horizontally)
4 Squares I used scanlines (vertically)
Rectangle in middle I used penta - color dots distance at 8
White circles and rectangles I added texture - Fine Leather.
For the dot layers I selected each layer and then added a new layer filled with color of choice then went back to original and floated then inverted and hit delete on colored layer.
Paste smaller tube and fit where you like over circle layers and then float circles and invert then hit delete on tubes layer. Lower opacity to 25.
Add drop shadows to layers.
Add name.
Add copyright info.
That's it!
No comments:
Post a Comment