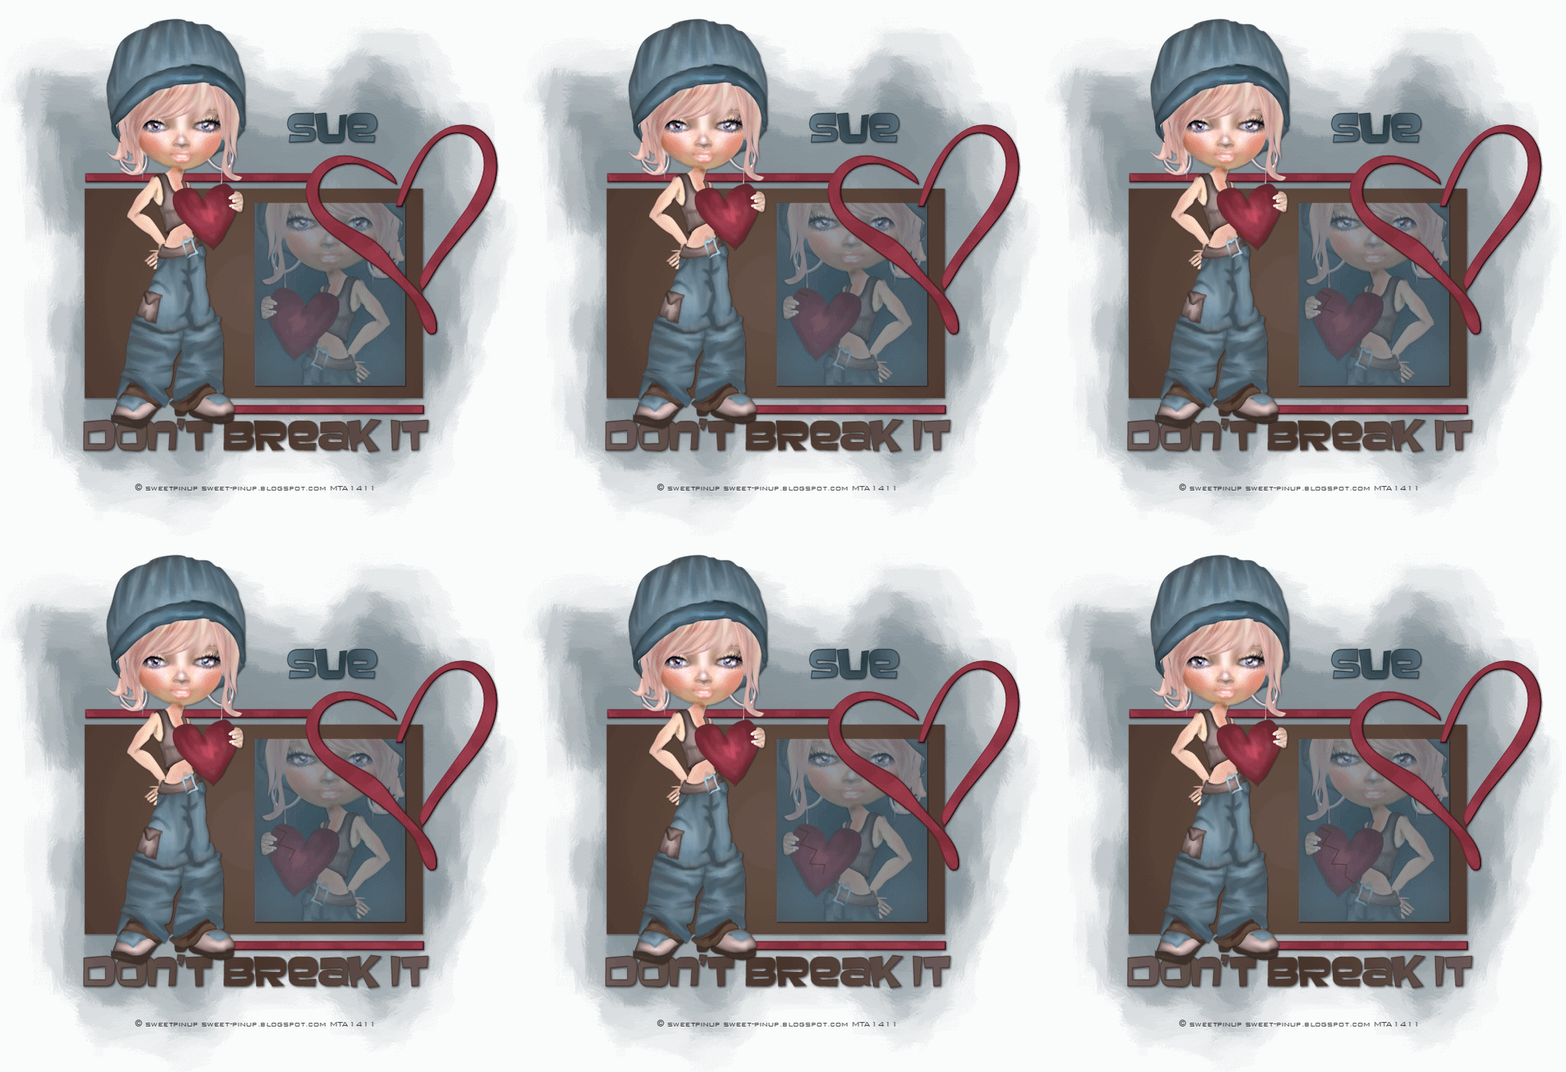
This tutorial was written by me and for those
who have a good working knowledge of psp.
Supplies Needed
Tube of choice, I used artwork by ©SweetPinUp at MTA.
Font of choice, I used Baveuse.
Template - I made.
Ok open my template and shift D.
Copy pattern fill and paste as new item in psp and minimize. Delete pattern on template.
Paste tube and place where you like.
Select bg square / rectangle and float then add new layer and fill with color from tube.
Close original layer.
Select smaller square and do the same using a different color from tube.
Effects - Art Media - Brush Strokes using whatever settings you like. Just play with this to get a desired outcome.
Duplicate tube layer and re-size by 90%and move above the smaller square layer and mirror.
Make sure the heart is showing if using same tube.
Select small rectangle again and float then invert and hit delete on tube layer.
Lower opacity to 40.
Select the small rectangle lines and do same as above using #692831. Once you have new layer filled with that color go to selections - modify and contract by 2 and fill selection with pattern I supplied.
Select none.
Add drop shadow to layers.
If you are wanting to animate and break the heart like mine then set foreground color to #692831
and bg color closed and using pen tool set to point to point draw a crack down heart.
Use mine as guide if needed.
Once this is done convert to raster.
Add saying of choice and name.
Add copy right.
With crack showing copy merge and paste into AS.
Go back to psp and using eraser tool set to 15 or so erase first crack line.
Copy and paste back in AS before layer you posted.
Continue doing this for each crack in heart and then when crack is gone as well.
In AS change frame properties to 35 for all except first frame to 100.
Save and that's it!


Another fabby tut Sue :) Loved it, another prezzie off to you in the mail ;)
ReplyDelete