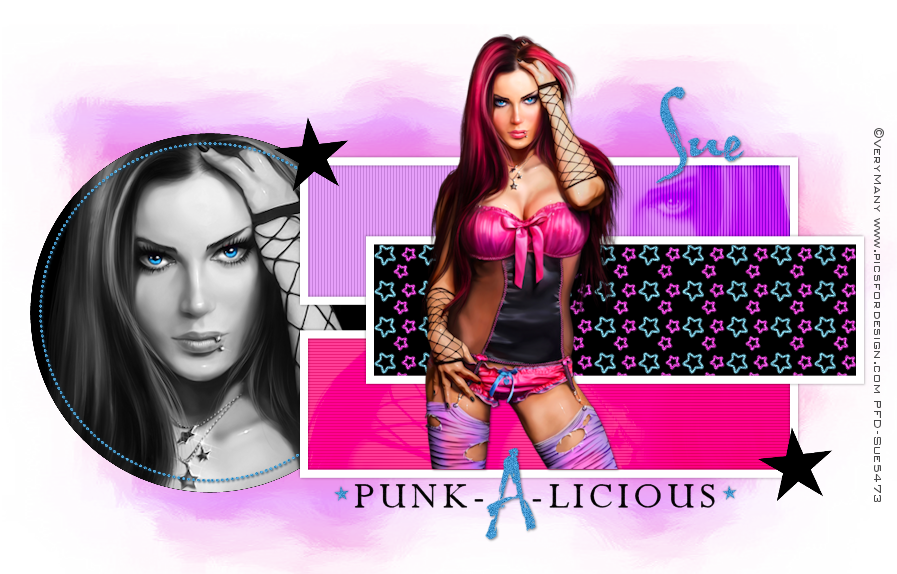
This tutorial was written by me and for those
who have a good working knowledge of psp.
Supplies Needed
Font of choice, I used HL Thuphap 4BK.
Tag Template, Template #103 by Rachael.
Optional Plug-ins, DSB Flux - Bright Noise
PhotoEffex - Scanlines
Let's Begin!
Open template and shift D. Close original.
Enlarge canvas size and rearrange the template like I have mine.
On the middle rectangle star layer add dsb flux - bright noise at 25 mix.
Select circle layer and float / invert then paste close up of tube layer. When you have it how you like it hit delete. Select none.
Duplicate tube layer. On bottom tube change blend mode to luminance (L) and on top tube layer using selection tool - point to point draw around the color of eye once both eyes are selected invert and hit delete.
On the other rectangle layers of template float and add new layer and flood fill with color from tube.
I used photoeffex - scanlines vertical on top and horizonal on bottom.
Paste background tube image or tube and move above rectangles how you like. Select the rectangles and invert and hit delete on the tube image layer. Change blend mode to burn.
Paste main tube and place where you like.
I changed the A in text layer to match mine I used for name. Just crop the A and delete and place your own there.
Using a gradient of two colors from tube flood fill new layer and move to bottom and apply mask. Merge group.
I added bright noise to my name and the A and also the circle line.
Add name.
Add drop shadow to layers.
Add copyright info.
That's it! =)


No comments:
Post a Comment