This tutorial was written by me and for those
who have a good working knowledge of psp.
Supplies Needed
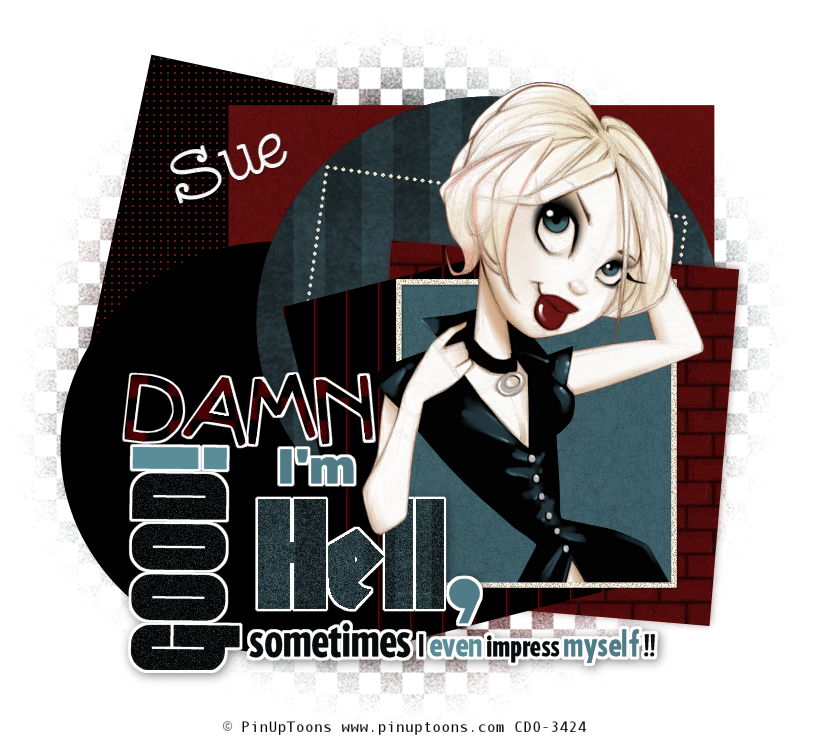
Tube of choice, I used artwork by ©PinUpToons at CDO.
Font of choice, I used Gasoline Alley NF.
Mask, I used #109 from Designs by Vabs.
Tag Template, Addictive Pleasures Template # 157
Optional Plug-ins, Graphics Plus - Vertical Lines
FM Tile Tools - Brick
Let's Begin!
Open template and shift D and close original. Delete info layer.
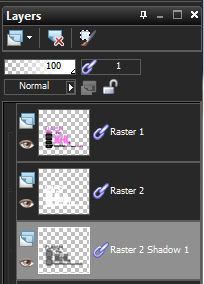
In layers pallet lock the text layers together.
Now move down a little. Look at my tag if needed.
Paste your tube and place where you like it.
OK now we are going to do the same for each layer of the template.
1.) Select layer
2.) Float layer
3.) Add new raster layer
4.) Flood fill with color of choice
5.) Add whatever texture or plugin of choice.
6.) Close original layer
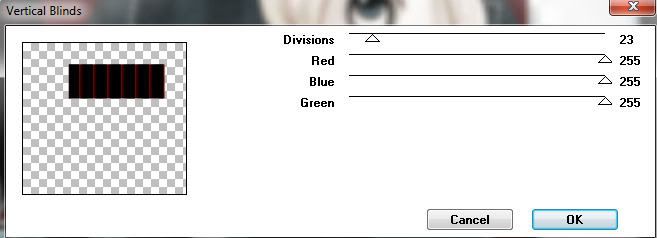
I used Graphics Plus - Vertical Blinds for the black with red lines layer. Fill with the color you want lines to be and add plugin.
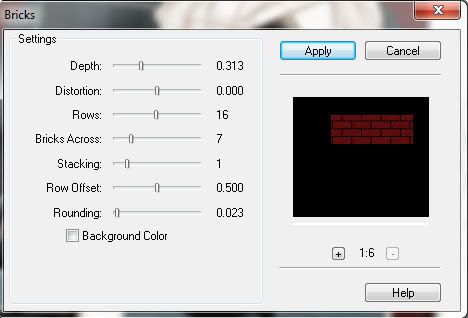
I used FM Tile Tools - Brick for the brick square layer.
I used Texture - Weave for the dotted layer.
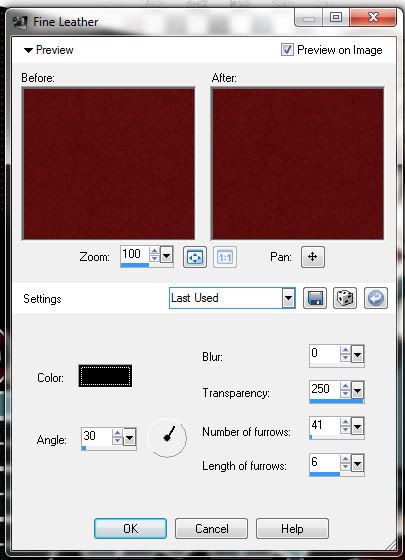
I used Texture - Fine Leather for the small square and large rectangle.
I used a texture for the large circle layer.
For the text layer I used the magic wand tool and selected letters and then added new layer and flood filled with different colors and/or patterns then applied noise to the different ones.
Once you get all your layers and text how you want them add a new raster layer and move to bottom but above the white bg layer.
Fill with color and apply brushes using the other colors from tube. I filled mine with black and used grunge brush with red and green colors once you have layer how you like apply mask.
Merge group.
Add name. I rotated mine before adding a drop shadow to it.
Add drop shadow to layers of choice.
Add copyright info.




No comments:
Post a Comment