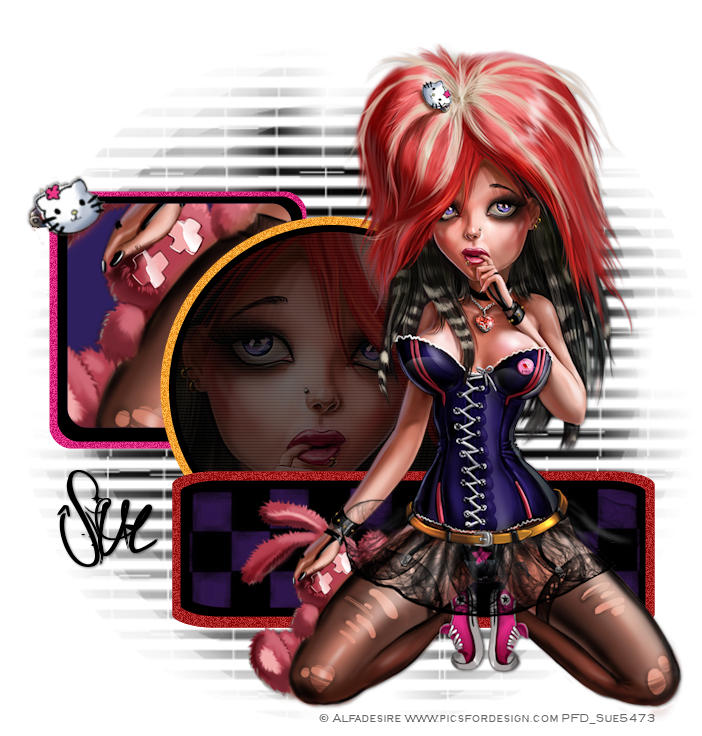
This tutorial was written by me and for those
who have a good working knowledge of psp.
Supplies Needed
Tube, I used one by ©Alfadesire at PFD.
Font of choice, I used Sick Capital Vice.
Template, #65 from Scrap Rebellion.
Link is middle of page on the left side bar under my templates.
Mask, #31 from Insatiable Dreams.
Let's Begin!
Open template and shift D. Close original. Delete info layer.
Image - canvas size - make larger so you have room to work and crop when done.
You need to start at the bottom of your layers pallet and work your way up
each layer of template.
Select mask layer and resize by 120. Now apply the mask I did to that layer.
Merge group.
Next layer up is the glitter square - float then add new layer and fill with color and add bright noise at 25 or whatever you like.
Close original glitter layer.
Next is black square and I didn't change this one at all.
After that is blue square - float then add new layer and flood fill with color.
While still floated invert and paste tube area you want to show and hit delete.
Continue going up the layers and changing however you like.
When you get to the white circle - float add new layer fill with black invert and paste tube and hit delete. Add scanlines if you like and lower opacity to 40.
Continue up.
Once you have all layers of template how you like add tube. My tube had options of pin in hair so I used on tube and also as element on template. So add any elements of choice.
Add name.
Add drop shadow to layers of choice.
Add copyright info.
You Are Done!


No comments:
Post a Comment