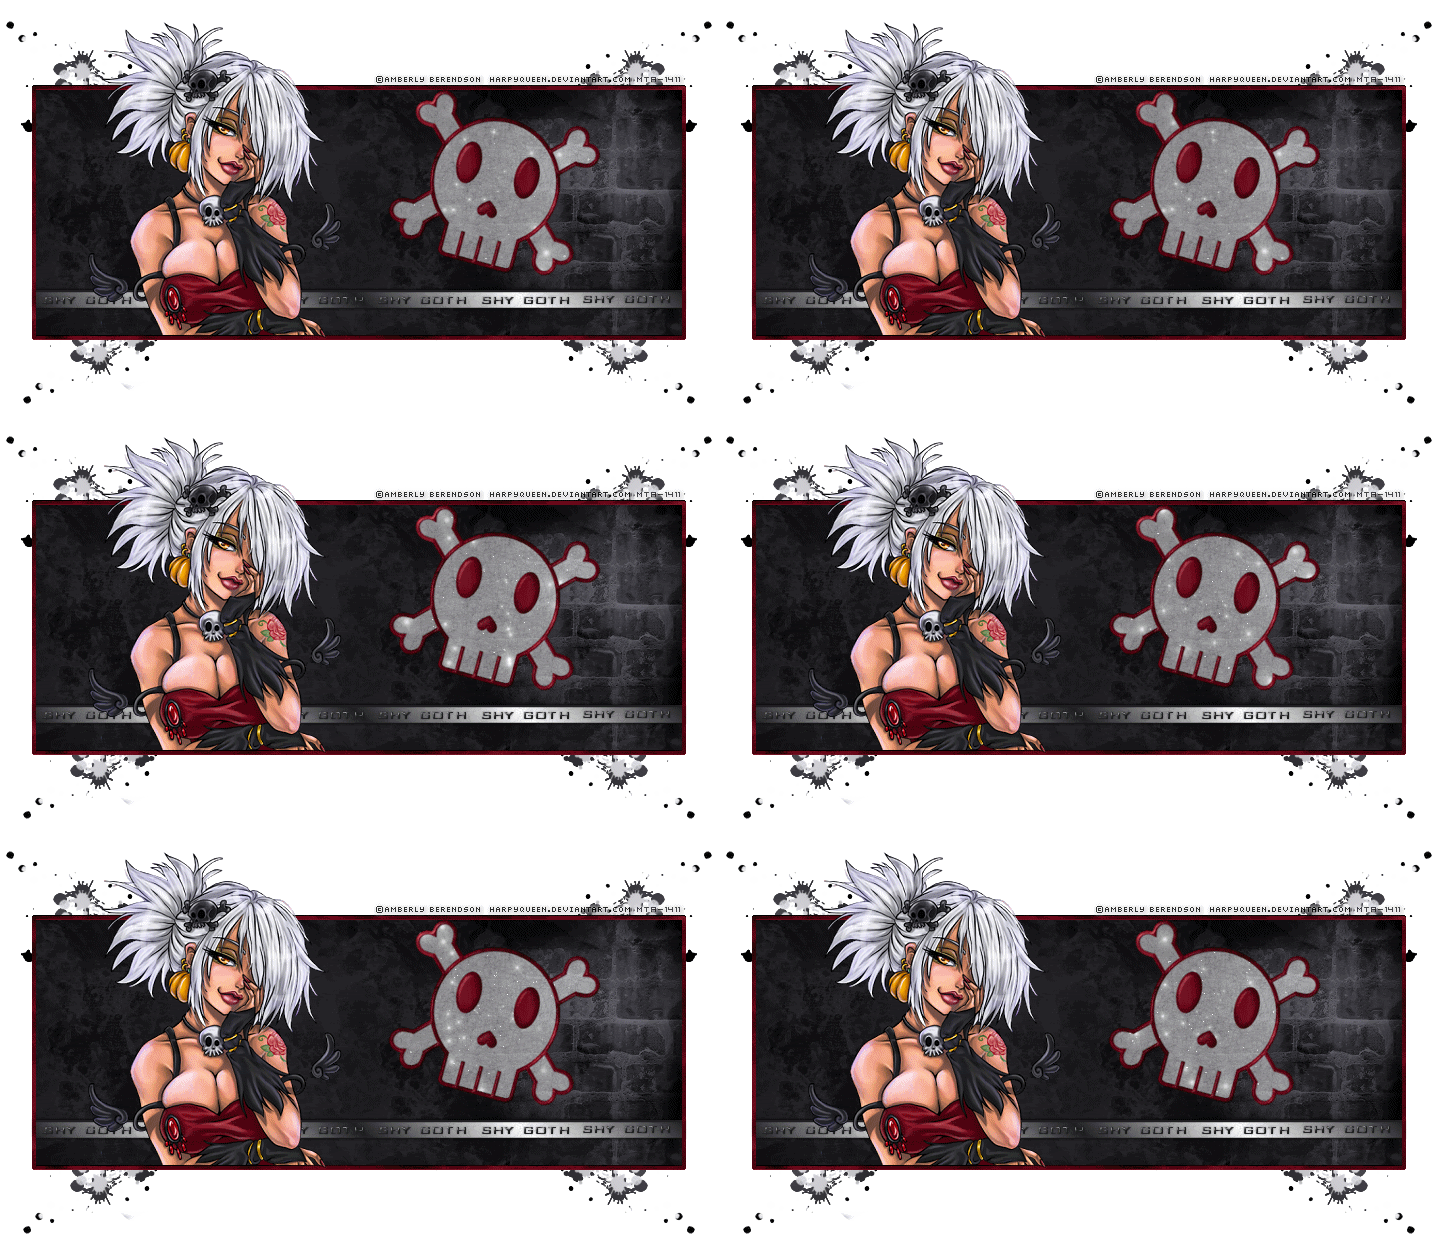
This tutorial was written by me and for those
who have a good working knowledge of psp.
Supplies Needed
Tube of choice, I used artwork by ©Amberly Berendson at MTA.
Font of choice, I used Impact and Bank Gothic.
My Supplies - Brushes, Background Layer and Animated Skull
Let's Begin!
Open my supplies and add brushes to folder, minimize bg and open skull in AS.
New Image 650 x 250 and flood fill with black.
Now make canvas size larger so you have room to play.
Select black layer and float then invert.
Add new layer and add brushes. I used splotch brush on all and then wall on right side.
Selections invert again and expand by 2 then add new layer
and flood fill with color from tube. I used #4c000f and #932c35 as gradient.
Selections contract by 3 and hit delete. Move above black layer.
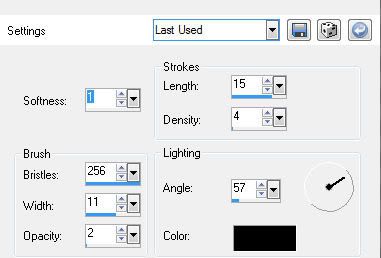
Duplicate and on top layer add Effects - Art Effects - Brush Strokes
Select rectangle preset shape using two colors from tube.
I used #373738 and #bdbdbe as gradient.
Angle 45 repeat 3.
Draw thin rectangle like mine. Convert to raster.
Type out a saying of choice and add bevel and drop shadow.
I just duplicated mine and moved down each time so it made a row.
Add tube and duplicate. Move one below frame.
Select black layer and float then invert and
hit delete on bottom tube layer.
Using eraser tool on top tube layer erase bottom on tube.
Add drop shadow to tube.
Add name and rotate left 90 degrees.
Add drop shadow and then brush stroke like above.
Add copyright.
OK now copy merge and go to AS.
In AS paste and hit ctrl L until you have 11 frames.
Select skull I made and ctrl A and drag it to where you like it on tag.
Save and that's it!!!!


No comments:
Post a Comment