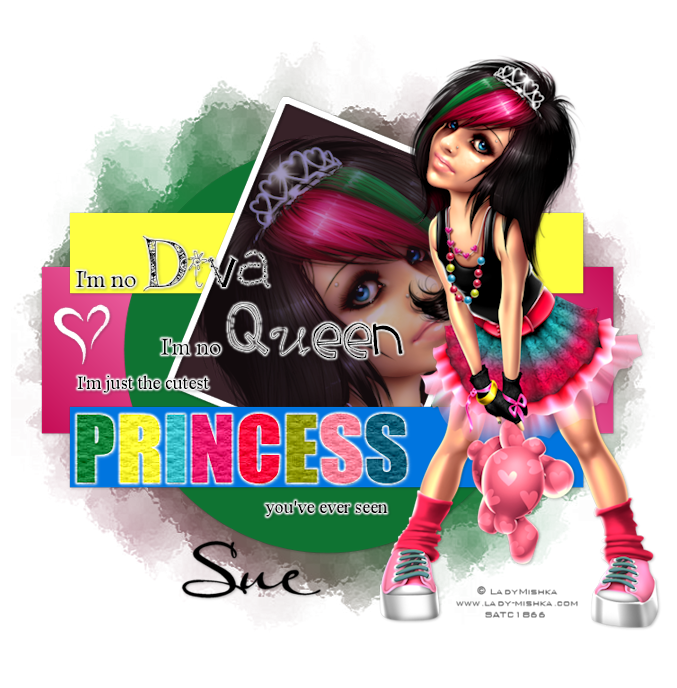
This tutorial was written by me and for those
who have a good working knowledge of psp.
Supplies Needed
Tube of choice, I used artwork by ©LadyMishka.
I bought this tube when she was at SATC
but you can now find her tubes at PFD.
Template : #80 by Rose.
Wordart: #7 by Missy.
Font of choice, I used Ability Black.
Plug-In : Eye Candy 4000 - gradient glow.(optional)
Mask: Vix - Big Mask 001
Let's Begin!
Open template and shift D and close out original and
delete info layer, large heart and word layers.
Canvas size - make to a larger size so you have
room to work and re-size later if needed.
Select the bottom rectangle and add new layer
and fllod fill with color from your tube
and close original layer.
I picked two colors from tube and changed
one to gradient and used this as fill.
Do this for each layer of template but
change the colors each time.
Once you change the color of purple square
Paste large tube and mirror image.
Select square layer and float then invert
and hit delete on tube.
Lower opacity to 70.
Select square again and go to modify
smooth by 10 and then expand by 3
then add new layer and flood fill with white
and then contract by 6 and hit delete.
Add drop shadow.
Add wordart. I selected bottom part
"you've ever seen" and promoted as new layer
and deleted from original so I could move it around.
Add gradient glow 3,25,100 White
Add dropshadow.
For "princess" float and flood
fill with different colors on a new layer.
Add a texture if desired and then gradient glow
and drop shadow like before.
Paste main tube, resize if needed and add drop shadow.
Using gradient of two colors from tube
flood fill new layer and move to bottom.
Apply mask and merge group.
Add drop shadow to temp layers.
Add name.
Add copyright info.


No comments:
Post a Comment