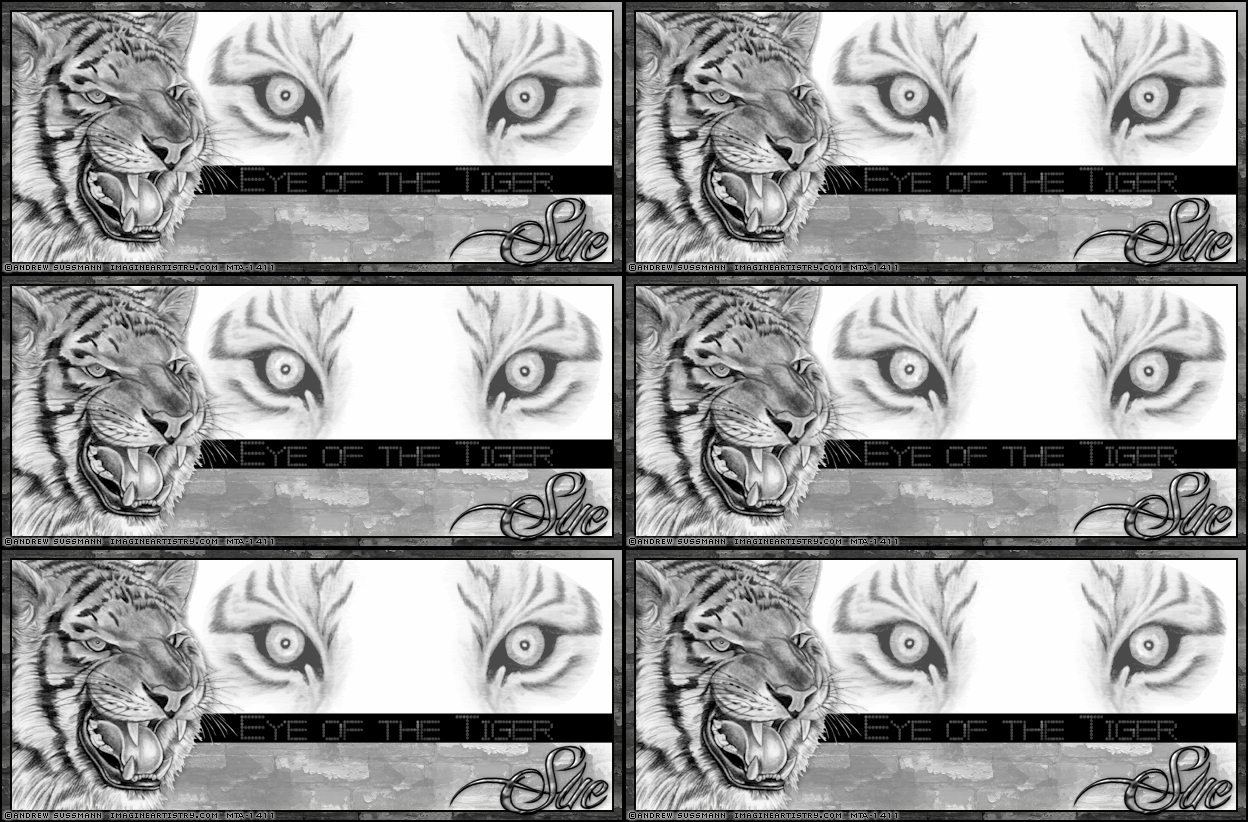
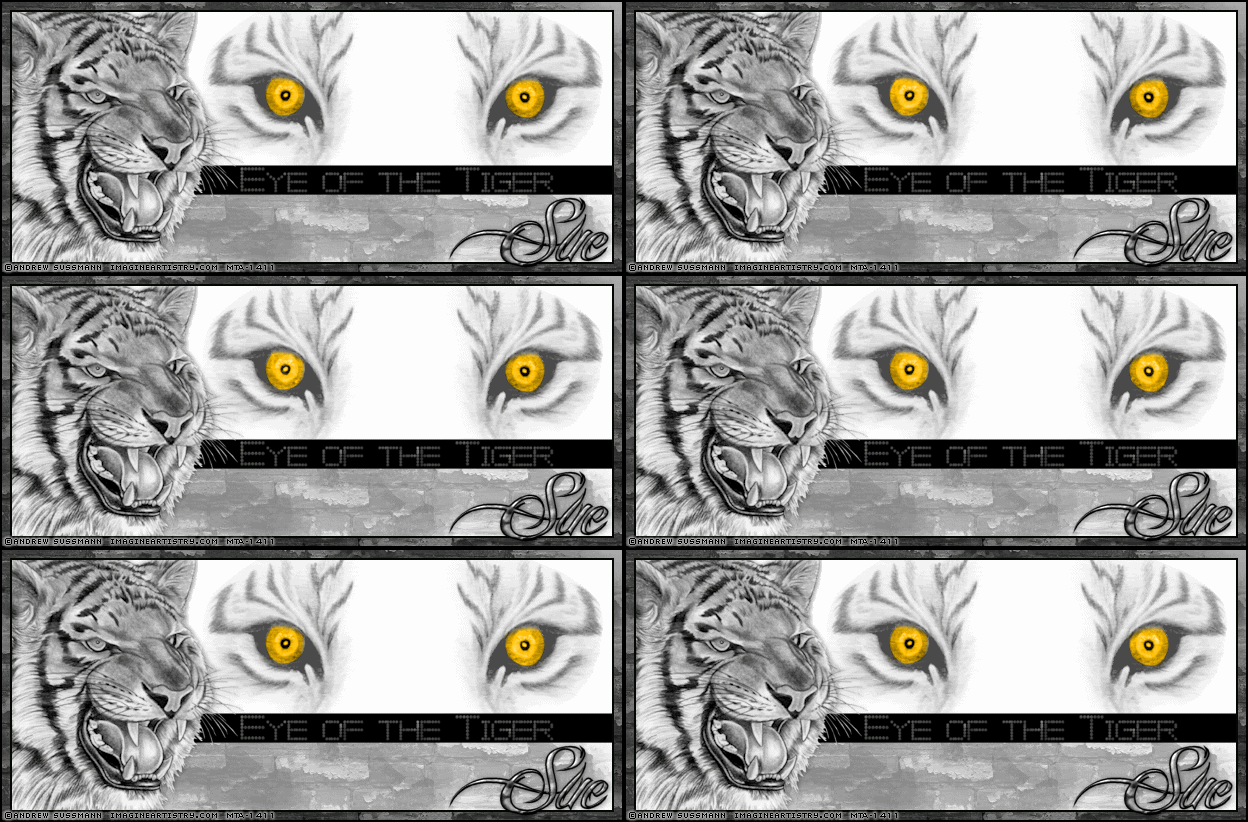
See tag below for different version of eyes.
This tutorial was written by me and for those
who have a good working knowledge of psp.
Supplies Needed
Tubes of choice, I used artwork by Andrew Sussmann at MTA.
Font of choice, I used BILLY ARGEL FONT.
Plugins: MuRa's Meister - Copies (optional)
Open new canvas size 600 x 250
Flood fill with white.
Paste tubes and resize and place like mine.
I lowered the tiger eyes tube to 70 opacity.
Paste my rectangle bg layer below the tiger
head but above the tiger eyes layer.
Using rectangle preset with foreground
closed and background set to black
draw rectangle half in the white and half in
pattern bg layer. Look at mine for reference if needed.
Paste text I supplied.
OK now you have the tag mostly done but if you
want you can sharpen the tiger head one time to
make it pop a little more or leave like it is.
I made two versions one with yellow eyes and one normal eyes.
OK now you need to select around the circle part
of eye and promote as new layer and then colorize by
changing the hue to 33 and saturation to 255 for yellow eyes
and for the normal color just copy selected part and paste into AS.
Do this for yellow eyes as well after colored.
OK back to tag - delete yellow eyes and select none.
Make sure everything is where you like it to be.
Add copy right and name.
For my name I copied the tiger head and
pasted as a new image in psp and using
MM - copies set to wallpaper - rotate
then went to effects - image effects - seamless tiling (default)
and used this as pattern for my name.
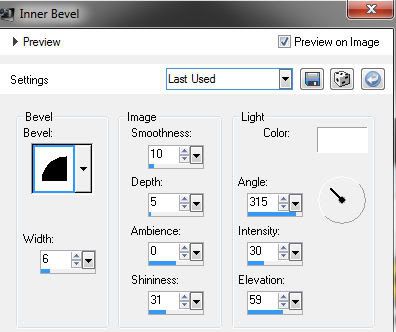
I added a inner bevel with these settings...
Add dropshadow to name and Tiger head layer.
So now place name where you like it and add borders
2 color black.
Add again but change to 12 and color gray.
Go to my supplies and select the background layer
and change opacity to 100% and copy.
Using selection tools select gray area and paste
background layer into selection.
Add border again set at 2 color black.
Copy and paste into AS.
Hold Ctrl button and hit L key 5 times
so you have a total of 6 frames.
Select the eyes you pasted into AS earlier.
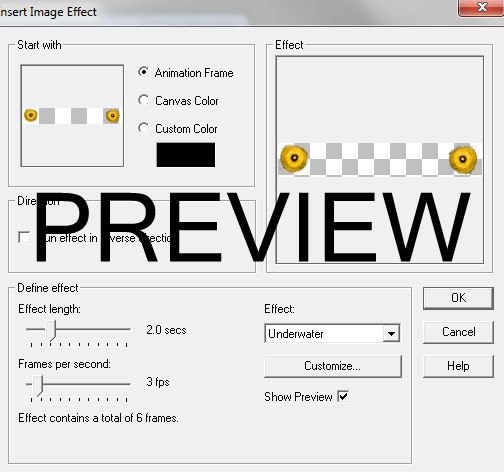
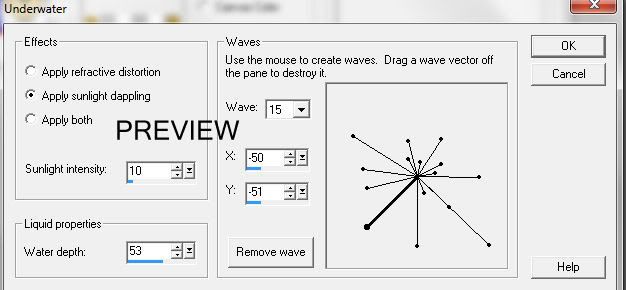
Go to Insert Image Effects - Underwater
using these settings...
Go to first (original) frame and delete.
CTRL A and drag eyes to your tag and line up where thy fit.
Save as gif.
You are done!

No comments:
Post a Comment