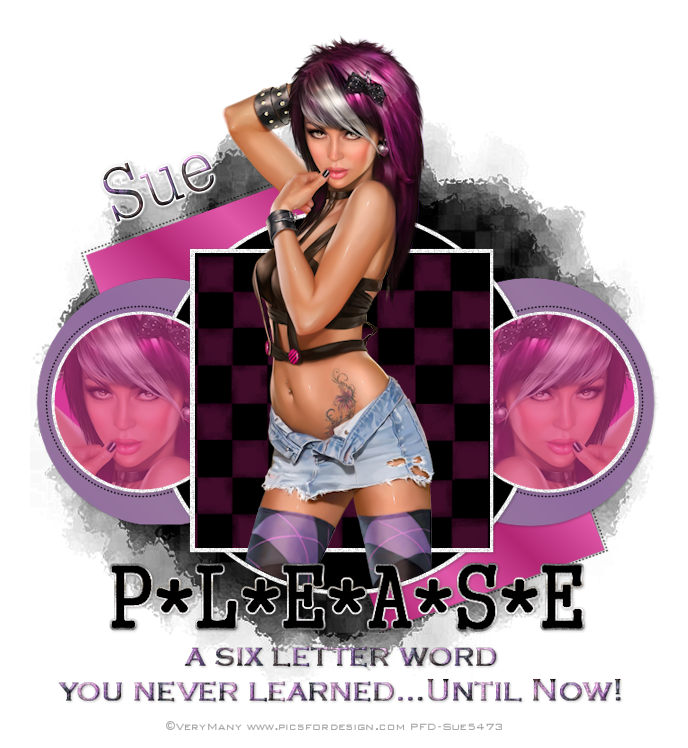
This tutorial was written by me and for those
who have a good working knowledge of psp.
Supplies Needed
Template : Collab Temp 3 from Alisha & Tina.
Font of choice, I used DilleniaUPC.
Mask: Vix - Big Mask001
Brush: Checks Brush.
Plug-In : Eye Candy 4000 - gradient glow.(optional)
Let's Begin!
Place brush into your brush folder.
Open template and shift D and close out original and
delete info layer.
Enlarge canvas so you have space to work.
Move word layers down a little.
Select / Float Bottom Square on left and right then add
new layer and flood fill with color from
tube. I selected 2 colors similar and made gradient.
Close original layer.
Select / Float Pink Cirles on left and right then add
new layer and flood fill with color.
Close original layer.
Select Big Pink Circle layer and do the same
with different color.
Close original layer.
Select / Float Light Pink Circles on left and right then
add new layer and flood fill with color
and keep selected then invert selection.
Paste tube and place it where you like and hit delete.
Select none.
Duplicate this layer and then mirror.
Drop opacity to 45.
Select / Float Big Square then add
new layer and flood fill with black.
Keep selected and using checks brush
with different color size 400
click inside selected area.
Effects - Art Media - Brush Strokes.
Select none and lower opacity to where you like it.
Select / Float "please" layer then add
new layer and expand by 2 then flood fill
with color. I used metal steel gradient.
Add noise - 20 gaussian monochrome checked.
Move below original layer and add drop shadow.
Merge the two together.
For the other word layer I deleted mine and typed it
out myself andding ...Until Now!
Using part of my tube as a pattern.
Just select part of tube and copy and paste
in PSP and set background as that pattern.
Add inner bevel if desired.
Paste Tube and place her where you like.
I have mine coming out of the circle not the square.
Just delete any excess that might be out of circle.
Add Name using same pattern and then add gradient glow
set to 3,25,100 white.Add drop shadow.
Add drop shadow to other layers.
Add Copyright.
That's it!


No comments:
Post a Comment