

This tutorial is written for those that
have a working knowledge of PSP.
You will need...
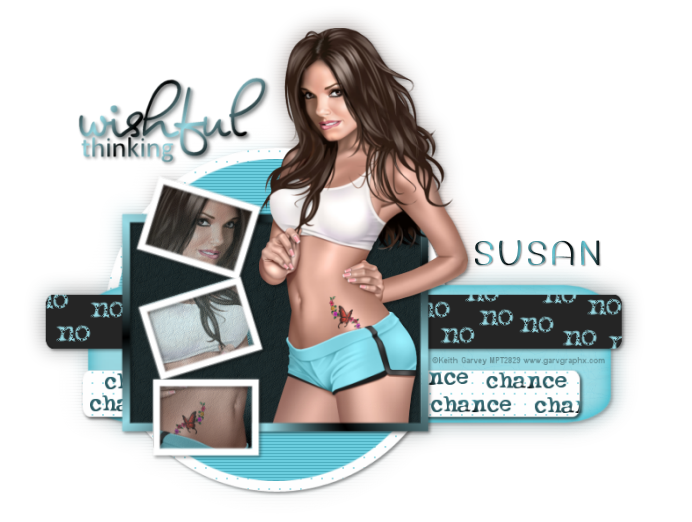
Tube of choice, I used artwork by Keith Garvey
and you can purchase his work here.
do not use the same image in the tutorial
unless they too have the appropriate
My PSP Tubes artist license to do so.
Template is one I received through yahoo groups years ago.
You can get it here.
Word art you can get here.
No scrap needed, but you can use scrap papers if you want.
PhotoEffex / Scanlines
Fonts I used is bigattino font and typewriter font.
Okay lets begin!
Remember to save often!!!
Open template and shift D and close original.
Go to image / canvas size / 700 x 700
On the large rectangle layer
select / float / flood fill with color from your tube
do this for the circles and the rectangles
on my small rectangle I added Effect / Weave
with these settings...
2,10,8, weave color white, gap color of rectangle, fill gaps
On Medium and Small rectangle layers type any words you would like
and place around layer randomly and select rectangle layer / float / invert
go to text layers again and hit delete
On circle layer I used Effects / Photoeffex / Scanlines
default settings
Large Frame I used two colors from tube and on
material layer / gradient / foreground-background

I applied same weave as above to the Large Circle
Use my tag for reference.
Paste tube / cut off any excess
Duplicate tube and move over and above the small rectangles
Select rectangles / Float / Invert
Go back to tube and hit delete.
Close off white bg and go to Edit / Copy Merge
Paste as a new layer and make sure it's on bottom
Adjust / Blur / Glaussian Blur at 10
Apply Scanlines same as above.
Add Wordart / Name / Copyright
Add drop shadow of choice to layers.
Re-size / Save.
Hope you enjoyed my tutorial.
No comments:
Post a Comment