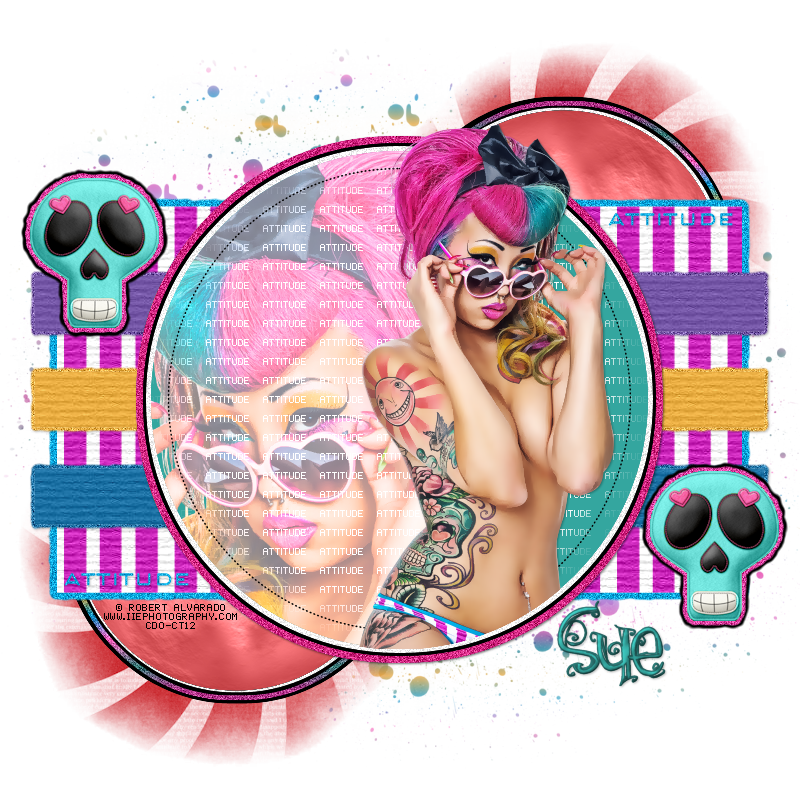
This tutorial was written by me and for those
who have a good working knowledge of psp.
Supplies Needed
Tube
Tube
Artwork by ©Robert Alvarado at CDO
Font
{hazel grace}
Template
#150 by Toxic Desirez
Splatter Of Choice
Filters
Eye Candy 5 - Impact - Gradient Glow
Mura's Meister - Cloud
Filters Unlimited - Paper Textures
My Supplies
..................................................................
Okay, let's get started.
Remember to save often!!!
Open template and my supplies
Shift D
Close originals
My supplies are for matching my tube if you are using a different tube
then use supplies you have to match your tube
My supplies are for matching my tube if you are using a different tube
then use supplies you have to match your tube
Delete Stars and Skull Layers
Begin with bottom layer and work up.
Use My Tag As Guide If Needed
Don't forget the gradient glow on layers.
Here are the steps you will need to take
1. Select layer
2. Float
3. Add New Layer
4. Fill With Color Choice
5. Add Texture or Filter Of Choice
6. Duplicate
7. Add Gradient Glow and Noise To Duplicate Bottom Layer
6. Duplicate
7. Add Gradient Glow and Noise To Duplicate Bottom Layer
Fill every layer of template with color of choice and add
a filter/texture of choice as well
a filter/texture of choice as well
Duplicate the new color layer and add your gradient glow and noise at 40%
Go HERE if you aren't familiar on my way of adding gradient glow using EC 5 Impact
I provided a pattern I made and used on the Lrg Rectangle layer
that matches my tube so if using same tube
On the left and right black circles I floated those and contracted by 5
and added a new layer and filled with a gradient I made using colors from my tag and then filled new layer and contracted by 5 again and deleted so it made a ring inside the black area and then I added noise to it
I floated the Attitude text on left and right and added a new layer and filled with color and added noise
Paste tube and crop to Circle 3
To do this duplicate tube and then float the circle
Once circle is floated Invert and hit delete on the bottom copy of tube
Select None
Now go back to the top copy of tube and crop just the bottom part of tube outside the circle
Merge both tubes together
Now your tube should fit the circle area at the bottom but still be outside the circle at the top
Paste Close Up Tube
Mirror
Float Circle again and Invert
Hit delete on close up tube
Duplicate
Change blend mode on bottom copy to Screen
and on the top copy to Color (L)
Or play around with blend modes until you get it how you like it
Paste my bg layer and move to bottom in layers pallet
Move to right top
Duplicate and move to bottom left
Look at my tag if needed
Paste my skull
Duplicate
Move where you like
Move to right top
Duplicate and move to bottom left
Look at my tag if needed
Paste my skull
Duplicate
Move where you like
Using Splatter brush of choice
Add new layer at bottom and brush some splatter around area of tag
Add new layer at bottom and brush some splatter around area of tag
Add name
Add drop shadow to layers
Add copyright info
Crop & Save


No comments:
Post a Comment