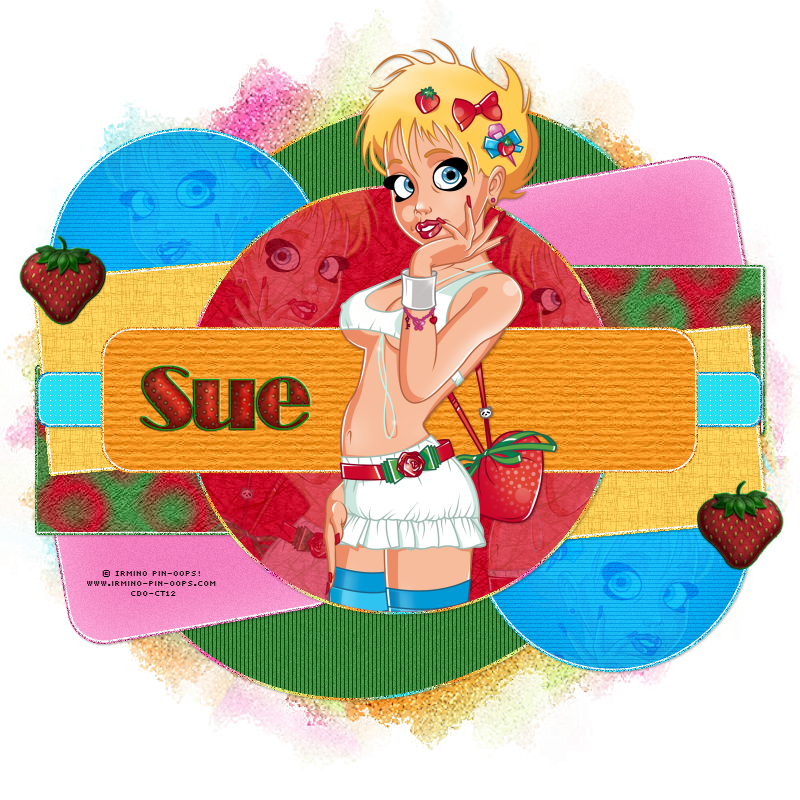
This tutorial was written by me and for those
who have a good working knowledge of psp.
Filters
Eye Candy 5 - Impact - Gradient Glow
Filters Unlimited (FU)- Paper Textures
Photo Effex - Scan Lines
Xenofex - Shatter
and any other filters of choice
Mask
Big Mask 01 by Vix
Okay, let's get started
Remember to save often!!!
Open template and shift D
Close original and re-size canvas to 800 x 800
Crop after tag is done
Delete info layer
There are a few basic steps for this template that are repetitive.
1. Select layer
2. Float
3. Add new layer
4. Fill with color of choice
5. Apply filter of choice
6. Apply gradient glow and noise at 50 to original layer
Go HERE if you aren't familiar on my way of adding gradient glow using EC 5 Impact
Go HERE if you aren't familiar on my way of adding gradient glow using EC 5 Impact
We are going to start at the bottom layer (in layers pallet)
and work our way up the template following the steps above.
First start merging matching layers together
rectangle with rectangle
circle with circle
and so on and so on
Once you have layers merged go back to bottom layer
Duplicate
Re-size larger and apply mask
Merge group
black oval - #449147 + scan lines
green circles - #008ee0 + scan lines + tube (lower opacity)
blue rectangles - #f787c5 + FU
orange rectangles - red & green + xenofex scatter + FU
pink rectangles - #ffd65f + FU
blue long rectangle - duplicate
white outline - instead of adding new layer invert selection and promote to layer on bottom layer
black circle - red + tube (lower opacity)
black circle - red + tube (lower opacity)
white rectangle - delete
green large rectangle - #f19221 + FU
Add name
Just crop each letter of name if using alpha
Add drop shadow to layers
Crop and Save


No comments:
Post a Comment