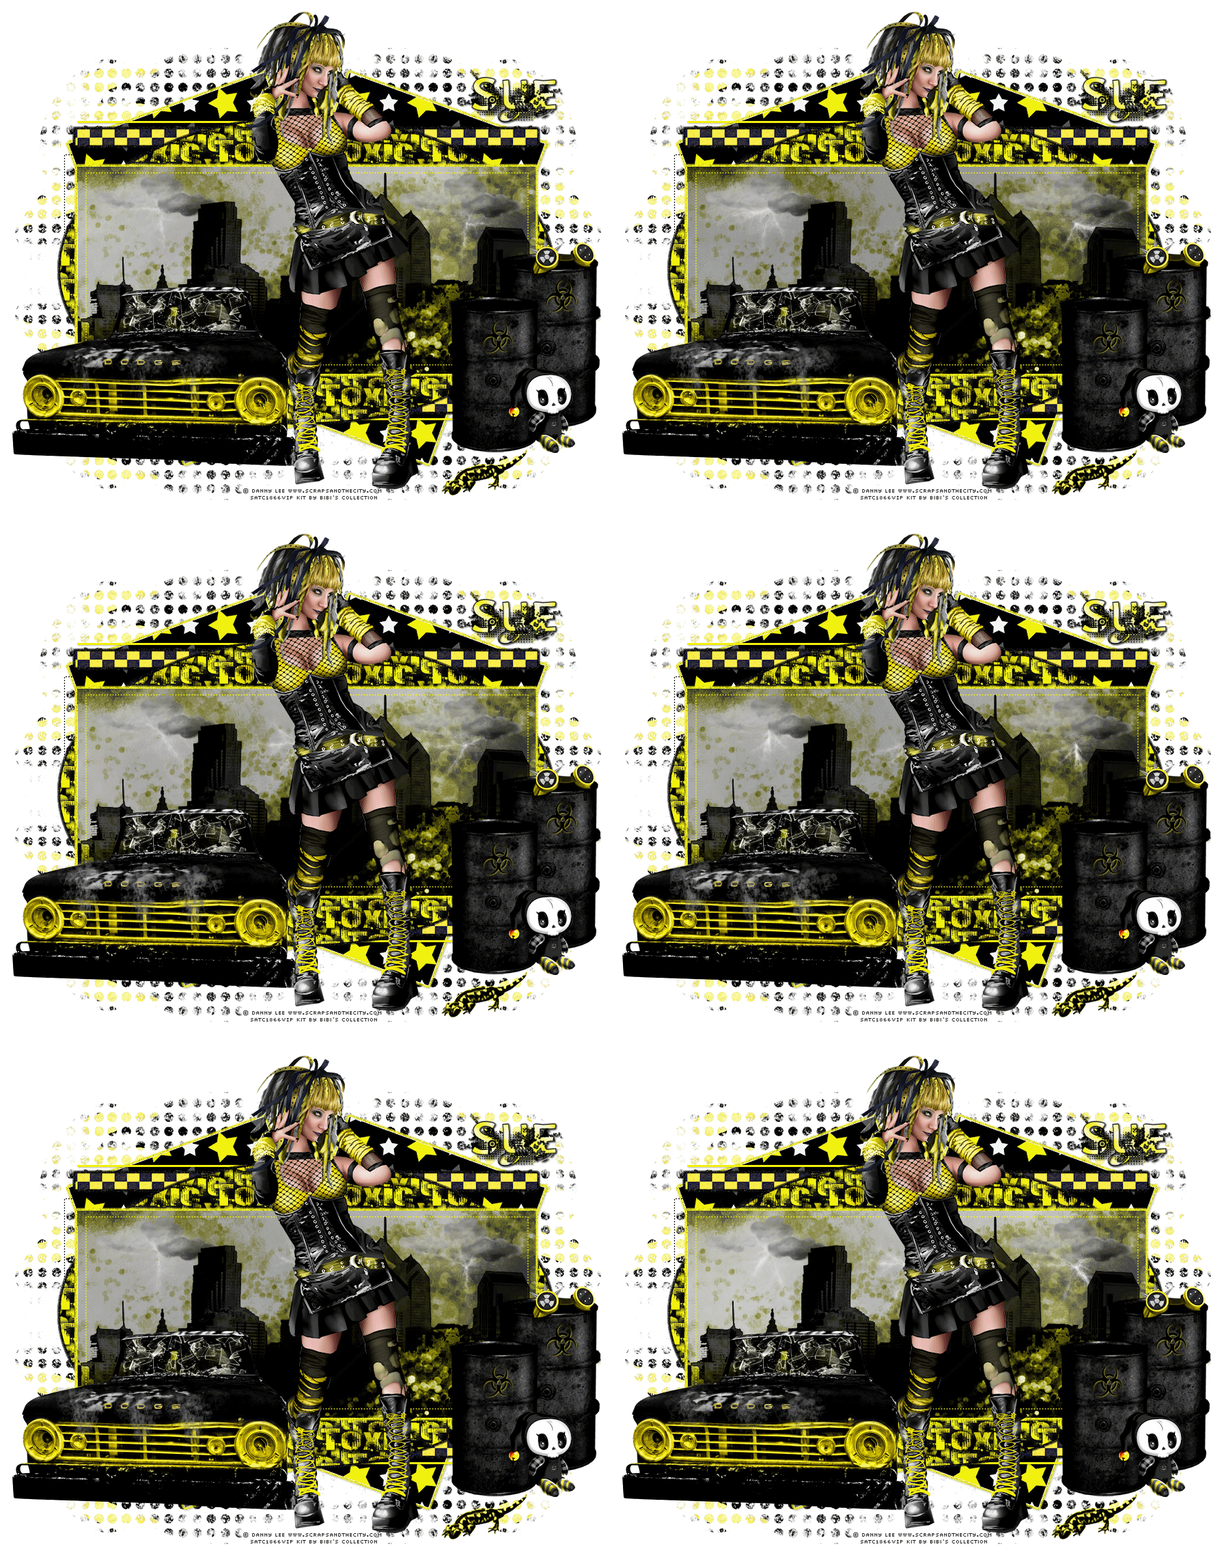
This tutorial was written by me and for those
who have a good working knowledge of psp.
Supplies Needed
Tube
Artwork by ©Danny Lee at SATC
Font
Scrap Kit
My Pattern
Animation
Storm Clouds by Abstract
Animation Shop (AS)
Okay, let's get started
Remember to save often!!!
Re-sizing elements is as desired, depending on the size you make your tag
Open template and shift D
Close original and re-size canvas to 800 x 800
Crop after tag is doneDelete info, stars and words layers
There are a few basic steps to follow
1. Select layer
2. Float
3. Invert
4. Paste paper
5. Hit delete
6. Apply gradient glow and noise at 30 to original layers
Go HERE if you aren't familiar on my way of adding gradient glow using EC 5 Impact
We are going to start at bottom and go up
Merge like layers together
red rectangles - paper 6 + close outline layers and apply gg for outline
thin rectangles - paper 1
thin rectangles - paper 1
lines - yellow
oval - paper 7
rectangle - paper 5 + new layer filled with yellow and blend mode set to burn at 50 opacity
Now add elements from kit
Use my tag as guide if needed
I Used
4
13
16
34
50
76
80
82 - apply yellow drop shadow then a black drop shadow to these
Paste tube
Add name
Add CR info
Once you have tag how you like it close everything from skyline up and copy merge
Paste into AS
Ctrl L until you have 21 layers
Some of the animations are more than 21 but that's ok
Open animations
For stormy night I colorized and sized to my area in psp first
Start with lightning first and place area where you put the clouds on main tag
Ctrl A
Drag to tag
Do this for all three animations
You may need to play with each one and make sure you look at it after each one as there isn't much that's more frustrating to get done and realize the first animation isn't right grrr lol
Hope you enjoyed the tutorial and could follow along
Save as Gif


No comments:
Post a Comment