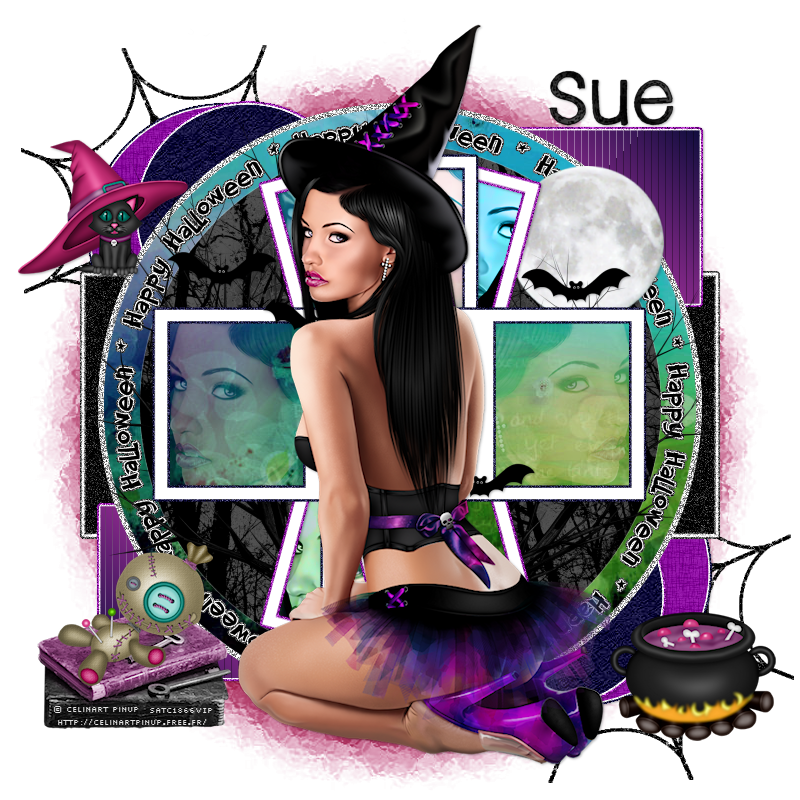
This tutorial was written by me and for those
who have a good working knowledge of psp.
Scrap
(PTU) Witchy by Bibi's Collection at SATC
Mask
Halloween 2012 #8 by Vix
Template
#0810 by Vaybs
Halloween 2012 #8 by Vix
Template
#0810 by Vaybs
Filters Used
Eye Candy 5 Impact - Gradient Glow
Filters Unlimited - Paper texture
Tramages - Tow the Line
Okay, let's get started
Remember to save often!!!
Resize elements as desired
Open template and shift D
Close original and delete info layer
Move text layer below moon layer
There are a few basic steps to follow
1. Select layer
2. Float
3. Invert or add new layer
4. Paste paper or fill with color
5. Hit delete
6. Apply gradient glow and noise at 50 to original layers
Go HERE if you aren't familiar on my way of adding gradient glow using EC 5 Impact
We are going to start at bottom and go up
Merge like layers together
1 and 2, 3 and 4, 6 and 7
1 and 2 - #9415a9 + FU papyrus texture
3 and 4 - #1c1949 + FU filter paper
5 - gradient glow + noise
6 and 7 - gradient of above colors + tow the line
9 - paper 10
10 - paper 1
13+15+17+19 - paper 10 + close up tube
14+16+18+20 - duplicate + gradient glow on bottom copy
Add tube and center
I colorized the desaturated layer in tube and changed
blend mode to overlay
Now add elements of choice
I Used
16
18
22
28
35
Add name
Add CR info
Crop & Save


No comments:
Post a Comment