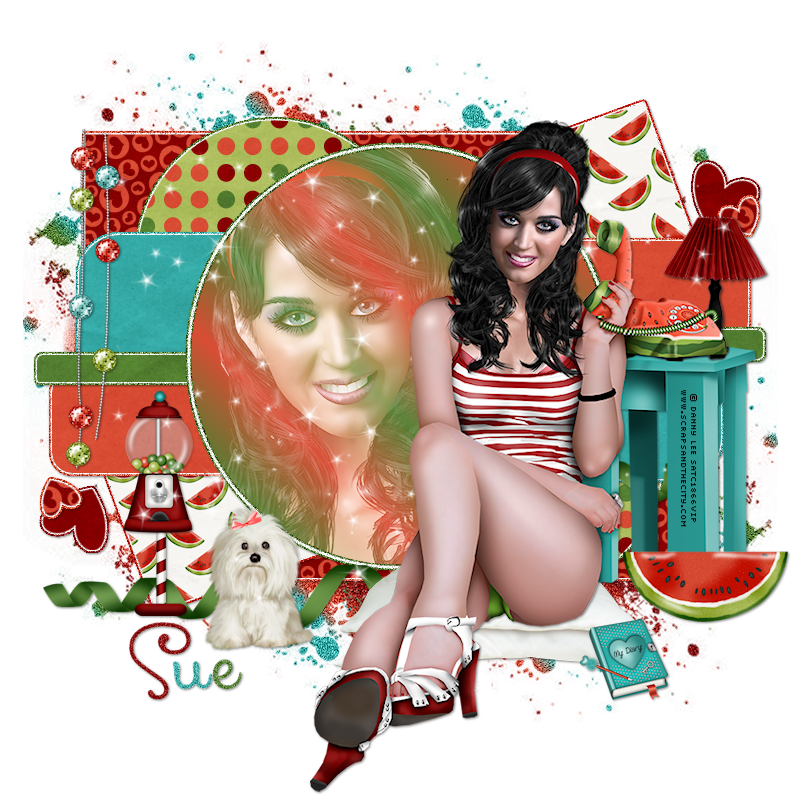
This tutorial was written by me and for those
who have a good working knowledge of psp.
Supplies Needed
Tube
Artwork by ©Danny Lee at SATC
Fonts
Xiomara
Scrap Kit
(PTU) Frutal Woman by Lizquis Scraps at SATC
Filters Used
Eye Candy 5 Impact - Gradient Glow
MaskHERE
Okay, let's get started
Remember to save often!!!
Re-sizing elements is as desired, depending on the size you make your tag
Open template and shift D
Close original and re-size canvas to 800 x 800
Crop after tag is done
Delete info layer and merge like layers together
Delete info layer and merge like layers together
We are going to start at bottom and go up
There are a few basic steps to follow
1. Select layer
2. Float
3. Invert or add new layer
4. Paste paper or fill with color
5. Hit delete
6. Apply gradient glow and noise at 50 to original layer
6. Apply gradient glow and noise at 50 to original layer
Go HERE if you aren't familiar on my way of adding gradient glow using EC 5 Impact
dark rectangle - paper 1
circles - paper 11
squares - paper 13
rounded squares - paper 6
pink rectangles - paper 4
grey rectangles - paper 10
big hearts - paper 2
lil hearts - paper 1
circle - gradient of #d94d34 and #558031 + close up tube
Change blend mode to screen on tube
** Don't forget step 6**
Paste tube and move to right
Now add elements from kit
I USED
balls chain
dog
diary
cushion
gumball
ribbon 2
sparkle 1
watermelon
lamp
Make gradient of all the colors in tag
Fill new layer
Apply mask
Merge group
Move to bottom
Add name
I used different colors for each letter
Apply noise at 30
Add drop shadow to layers
Add copyright info
Crop & Save


No comments:
Post a Comment