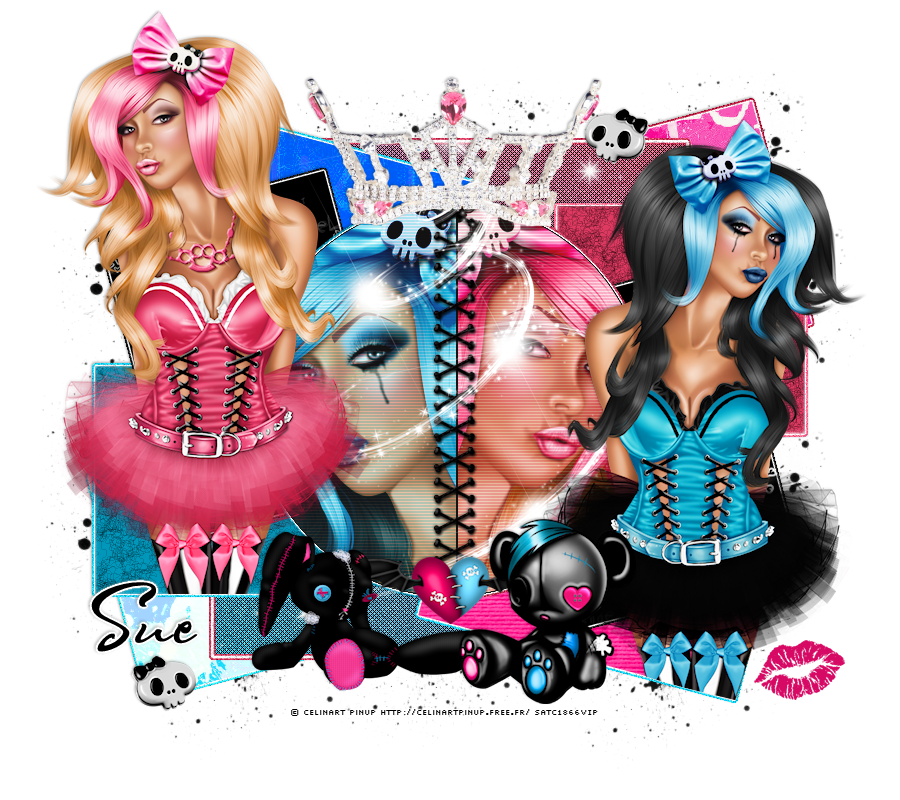
This tutorial was written by me and for those
who have a good working knowledge of psp.
Okay, let's get started
Remember to save often!!!
Open template and re-size canvas to 800 x 800
Crop after tag is done
Close info layer
Follow these steps
1. Select layer
2. Float
3. Invert or add new layer
4. Paste paper or fill with pattern or texture
5. Hit delete if using paper
6. Apply gradient glow to original
layer using color of choice and then noise at 30
Go HERE if you aren't familiar on my way
of adding gradient glow using EC 5 Impact
of adding gradient glow using EC 5 Impact
We are going to start at the bottom layer (in layers pallet)
and work our way up the template following the steps above.
black top - paper 10
black bottom - paper 8
white top - pink
white bottom - blue
Apply screen works filter - any pattern
grey top rectangle - paper 4
grey bottom rectangle - paper 12
grey top square - pink
grey bottom square - blue
Apply fine leather or any texture of choice
dark grey top - paper 2
dark grey bottom - paper 2
circle - using selection tool select half of the circle and float
Paste tube and delete
Go back to circle
Invert
Float
Paste other tube
Now select each tube and float
Contract by 1
Invert
Delete
Do this for both and you should have a black line
in middle of both tubes
Re-size elements to your desired size
Use my tag for guide if needed
Paste element 76
Apply copies - v-tile
Crop all but first line
Place over the black line between tubes
Apply scan lines using matching light color
So pink tube is really light pink and blue tube is really light blue for lines and change top two settings to 2
Paste both tubes
Move pink to left and blue to right
Use selection tool to crop even with template
Paste both tubes
Move pink to left and blue to right
Use selection tool to crop even with template
Now add elements of choice
I used
4
23
29
30
35
44
63
64
Add new layer and move to bottom
Using splatter brush paint around tag area
Add name
Add copyright info
Crop & Save


No comments:
Post a Comment