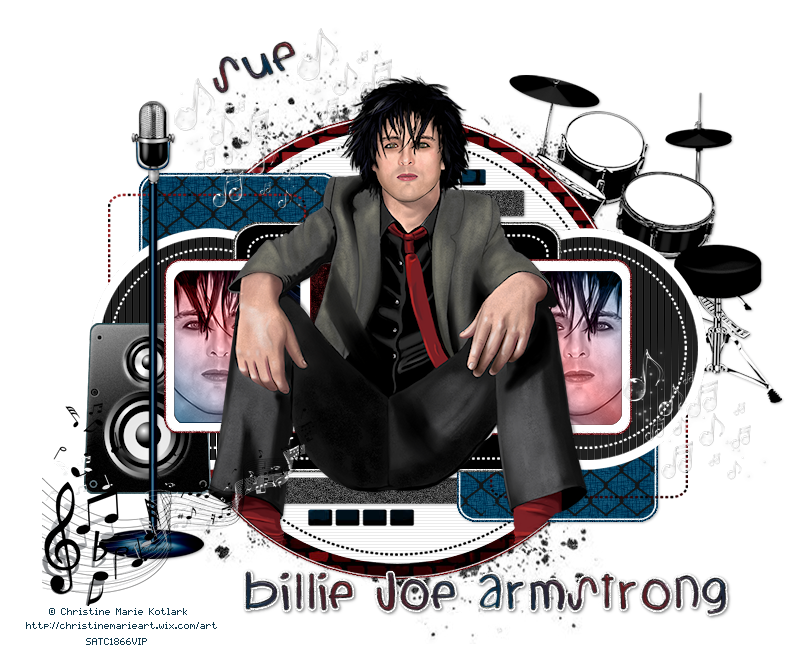
Template
Filter
Tramages - Tow the Line
Tramages - Tow the Line
Lokas - Gel
Photo Effex - Scan Lines
Eye Candy 5 Impact - Gradient Glow
Filters Unlimited - Paper Textures
Mask
Okay, let's get started
Remember to save often!!!
Open template and shift D
Close original and re-size all by 70% or to desired size
Now re-size canvas to 800 x 800
Crop after tag is done
Delete info layer
There are a few basic steps to follow
1. Select layer
2. Float
3. Invert or add new layer
4. Paste paper or fill with color
5. Hit delete
6. Apply gradient glow and noise at 30 to original layer
6. Apply gradient glow and noise at 30 to original layer
Go HERE if you aren't familiar on my way of adding gradient glow using EC 5 Impact
We are going to start at the bottom layer
and work our way up the template following the steps above
red circle - paper 3 brick area
white circle - apply scan lines
grey stripes - apply noise
red squares - #003757
Apply FU papyrus paper texture
Invert
Paste mesh element 41
white dotted line - paper 3
grey circles - tow the line
black rectangle - duplicate and apply gradient glow / noise to original
white squares - duplicate and apply gradient glow / noise to original
red squares - gradient of red and blue on new layer
Paste tube and crop
Duplicate
Mirror
Merge tubes
Change blend mode to luminance (L)
red squares - gradient of red and blue on new layer
Paste tube and crop
Duplicate
Mirror
Merge tubes
Change blend mode to luminance (L)
mini black boxes - paper 2
Paste paper 11
Move to bottom
Apply mask
Merge group
Now paste tube
Duplicate
Float red circle
Invert
Delete bottom tube
On top tube crop excess off bottom
Merge together the tubes
Start adding elements from kit
I used
11
18
22
46
88
Add text of choice
I used a gradient of red and blue with foreground of black glitter
Apply gel
Duplicate
Apply gradient glow to bottom text
Add drop shadow to layers
Add copyright info
Crop and Save


No comments:
Post a Comment