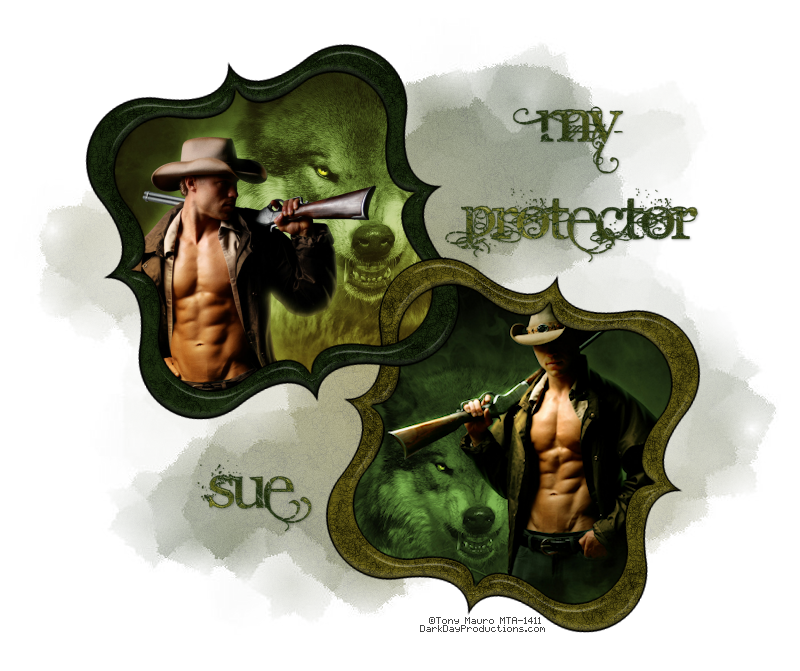
This tutorial was written by me and for those
who have a good working knowledge of psp.
Supplies Needed
Tube
I used artwork by ©Tony Mauro at MTA
Font
Angelic War
My Frame
Mask
I used Big Mask 04 by Vix
Filters Used
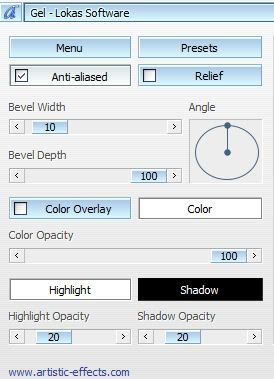
Lokas - Gel
Okay, let's get started.
Remember to save often!!!
Open my frames and shift D
Close original
Select the left frame and float
Add new layer
Fill with color of choice
I used opposite colors from images
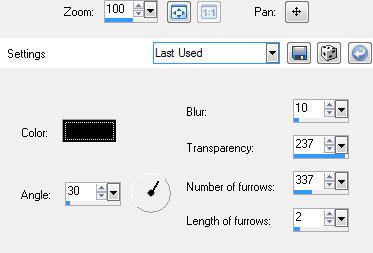
Apply texture - fine leather
Apply gel effect
Repeat steps for right frame
Once you have both frames done
click inside left frame outline
Expand by 4
Invert
Paste image
Delete
Repeat steps for right frame
Make a gradient using the two colors from frames
Add new layer
Fill with gradient and apply mask
Merge group
Move to bottom above white bg
Add text of choice
Apply noise at 10
Apply gel effects using same setting as above
Drop shadow
Add name
Apply same steps as your text
Add copyright info
Close white bg and save as PNG


No comments:
Post a Comment