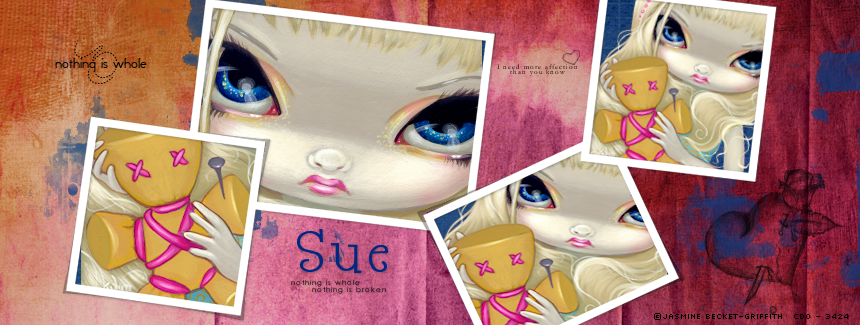
This tutorial was written by me and for those
who have a good working knowledge of psp.
Supplies Needed
Tube of choice, I used Artwork by ©Jasmine Becket-Griffith at CDO.
Scrap kit, I used (PTU) Facebook Cover Set by Pimp'd Designz
Font of choice, I used Happyjamas.
Let's Begin!
Paste paper 3 into psp.
Add new layer and flood fill with #fb91d5.
Move below other layer
Change blend on top layer to luminance (L)
Paste paper 19 and move to top
Change blend to multiply
Add new layer and apply some brushes of choice
in various colors
Paste frame 06 and re-size by 90%
Using magic wand click inside opening of frames and the expand by 4.
Invert
Paste paper 05
Hit delete
Paste tube and place at different sizes and areas of tube into frame.
Use my tag as guide if needed.
Add drop shadow to frame layer and any others of choice.
Add copyright info.
Facebook doesn't allow URL's so make sure the tube you are using allows
you to leave that off of your timeline.
Add name
Save


No comments:
Post a Comment