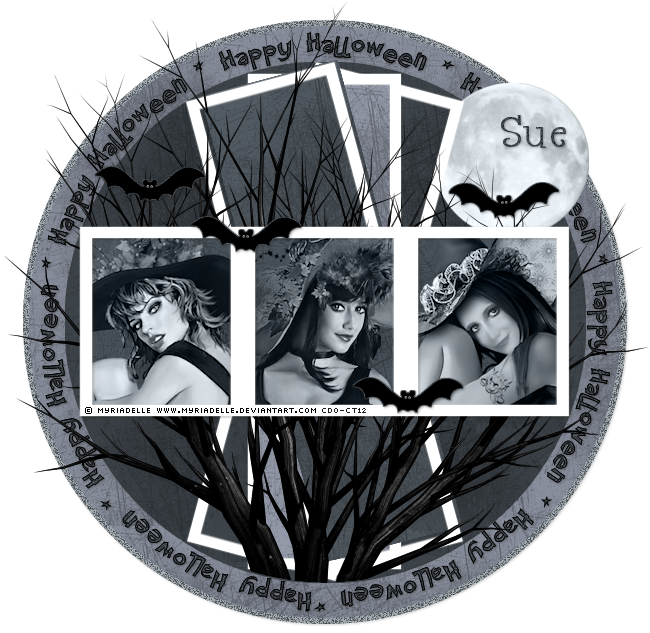
This tutorial was written by me and for those
who have a good working knowledge of psp.
Supplies Needed
Tubes of choice, I used Artwork by ©Myriadelle at CDO.
Font of choice, I used Happyjamas.
Let's Begin!
Open template and shift D.
Close original.
Delete layers info, 7,6,5,4,3,2,1.
Move layer 22 below layer 11
and layer 12 above 18.
OK now start at bottom with layer 8 and work your way up doing these steps.
1. Select layer
2. Float
3. Add new layer
4. Fill with color
5. Close original layer
I used colors #3c4349, #8a909e and #32383c.
I also added a texture to my color layer as well.
For layer 8 and moon layers I moved original layer above the new layer
I made and dropped opacity to 60 and changed blend mode to luminance (L).
On layer 22 the text layer
Float - contract by 1
Add new layer and fill with color.
And layer 21 the bats layer
do same thing except expand by 1 not contract.
Paste tubes and change blend mode to luminance (L).
Once you have all the layers how you like them add name.
Add copyright info.
Save.


No comments:
Post a Comment